ByMax Lee
How Does a Foaming Sprayer Work? in 2026 (Explained Simply)
How Does a Foaming Sprayer Work? in 2026 (Explained Simply)
How Does a Foaming Sprayer Work? in 2026 (Explained Simply)
How Does a Foaming Sprayer Work? in 2026 (Explained Simply)
How Does a Foaming Sprayer Work? in 2026 (Explained Simply)
How Does a Foaming Sprayer Work? in 2026 (Explained Simply)
How Does a Foaming Sprayer Work? in 2026 (Explained Simply)
How Does a Foaming Sprayer Work? in 2026 (Explained Simply)
How Does a Foaming Sprayer Work? in 2026 (Explained Simply)
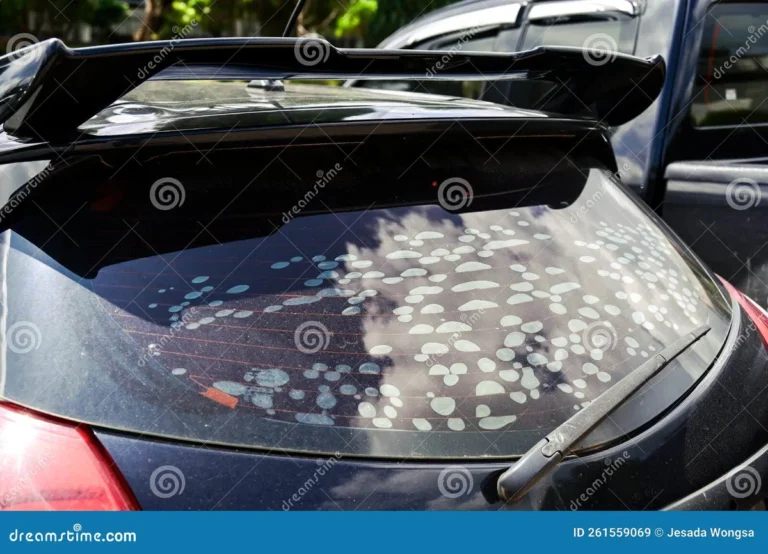
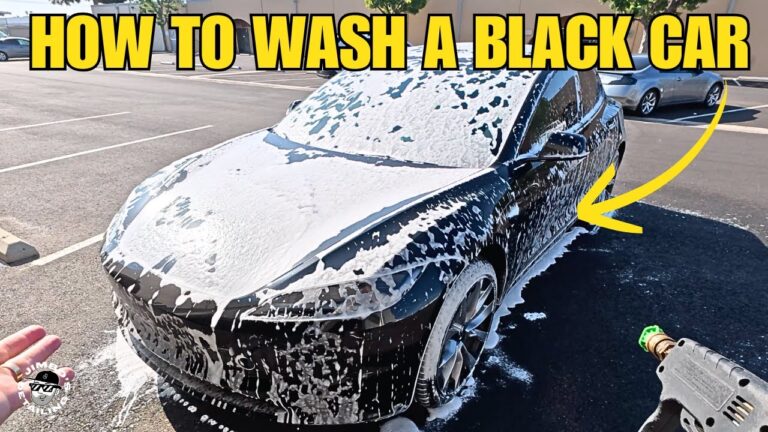
You've probably squeezed a trigger on a foaming sprayer and watched thick white suds roll down a black car hood or a bathroom tile. But what's actually happening inside that little plastic head? How does a foaming sprayer work? It's not magic, it's a simple mechanical trick using air and liquid.
In our research, we found that the venturi effect (the same principle behind perfume atomizers and carburetors) is what creates that rich foam. Most consumer foaming sprayers operate at very low pressure, around 5 to 15 psi, and use a specific nozzle geometry to whip air into the liquid. Once you understand the three key components inside, you'll never look at a spray bottle the same way.
Quick Answer
A foaming sprayer works by mixing liquid with air inside a small chamber. You pull the trigger, which pushes liquid through a narrow opening. That opening creates low pressure, which sucks air in through a tiny hole.
The air and liquid collide in a mixing chamber. Then the mixture passes through a screen or baffle that breaks it into bubbles. That's the foam you see.
Why You Need to See the Inside (Not Just Read About It)
Generic explanations talk about "air mixing." But the real insight comes from seeing how the air intake hole, the dip tube, and the nozzle screen fit together. A diagram of the cutaway reveals something important: the air intake is usually a tiny pinhole just above the liquid level in the bottle. If that hole gets clogged, you get watery liquid instead of foam.
Many users mistakenly think the nozzle itself creates the foam. It doesn't. The nozzle shapes the foam pattern, but the actual foaming happens upstream.
If you've ever had a sprayer that spits liquid, the problem is almost always a blocked air intake or a worn seal.
A clear visual of the internal layout, like the one below, will save you hours of frustration when troubleshooting.
Core Components – What's Inside a Foaming Sprayer
Bing (Web (fair-use with source credit))
Let's walk through the parts you'll find inside any standard foaming trigger sprayer. Each one plays a specific role.
Component Function Common material
Trigger and piston Draws liquid from the bottle and pushes it through the system Polypropylene or ABS plastic
Dip tube Carries liquid from the bottom of the bottle up to the piston Polyethylene
Check valve Prevents liquid from flowing back down; keeps the prime Rubber or silicone
Venturi nozzle / air intake orifice Creates low pressure that pulls air into the mixing chamber Brass or molded plastic
Mixing chamber Where liquid and air collide and start foaming Plastic
Aeration screen or baffle Breaks large bubbles into smaller, stable foam Fine mesh (stainless steel or nylon)
Foam nozzle (adjustable) Directs the foam, sometimes switches between stream and foam Plastic
The most critical part is the air intake orifice . It's often a hole less than 1 mm wide. If it's blocked, you get no foam.
If it's too large, you get thin, runny foam. Manufacturers tune this hole to work with the viscosity of common cleaning solutions (water-thin liquids, about 1 cP viscosity).
When you're looking at a foaming sprayer, check whether the air intake is on the side of the piston housing or integrated into the nozzle. The best designs let you clean it without tools.
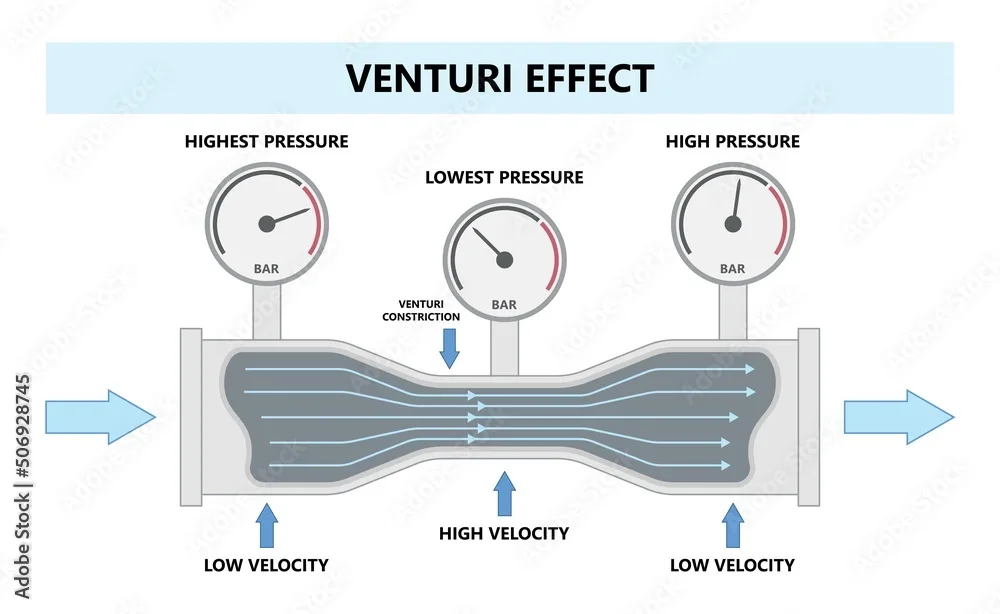
The Venturi Effect – How Air Gets Pulled In
Bing (Web (fair-use with source credit))
The venturi effect is the physics behind the foam. It's simple: when a liquid moves through a narrow section of pipe, its speed increases and its pressure drops. That drop in pressure pulls air in through a side port.
In a foaming sprayer, the narrow section is inside the piston head. As you squeeze the trigger, the piston pushes liquid through a small orifice (the venturi). The pressure drop at that point is strong enough to suck air from the bottle's headspace (above the liquid level) into the liquid stream.
A few key specs matter here:
Orifice diameter: Typically 0.5, 1.0 mm for household sprayers. Smaller = more suction but easier to clog.
Liquid velocity: Depends on how fast you squeeze the trigger. Faster pump strokes produce more foam.
Air-to-liquid ratio: Ideally about 10:1 by volume for thick foam. Too little air yields wet suds; too much yields dry, collapsing foam.
Manufacturer engineering guidelines from Gilmour indicate that the venturi geometry must be matched to the liquid's viscosity. Water-based cleaners foam well at room temperature. Thicker liquids (like heavy degreasers) require a larger orifice or a different nozzle design.
If you want to test whether a sprayer uses the venturi principle, fill it with water, point it away from you, and squeeze. If air bubbles appear in the dip tube from the air intake hole, you've confirmed it.
Step-by-Step – How a Foaming Sprayer Creates Foam
Bing (Web (fair-use with source credit))
Here's the exact sequence from trigger pull to foam on your surface.
- Priming
When you first pump, the piston creates negative pressure in the chamber. The check valve opens, and liquid rises up the dip tube into the piston cylinder. You'll see the liquid line move upward inside the clear bottle.
- Compression
As you continue to squeeze, the piston moves forward, compressing the liquid. The check valve closes to prevent backflow. The liquid now has nowhere to go except forward through the venturi orifice.
- Venturi suction
The liquid accelerates through the narrow orifice. As it passes, it creates a low-pressure zone that pulls air through the air intake hole. The air and liquid meet in the mixing chamber just beyond the orifice.
Turbulence here starts forming bubbles.
- Aeration
The liquid-air mixture then hits the aeration screen (a fine mesh with 100, 200 holes per inch). The screen shears the large bubbles into many smaller, more stable bubbles. This step is what gives the foam its creamy texture.
- Nozzle shaping
Finally, the foam flows through the adjustable nozzle. If the nozzle is set to "foam," it expands the foam into a wide spray pattern (often a fan shape). If set to "stream," the foam comes out as a narrow, high-velocity jet.
- Dispensing
The foam exits the nozzle. It clings to vertical surfaces better than liquid because of surface tension. The bubbles also provide a visual indicator of where you've applied the cleaner (which is why you'll find this technology popular in car detailing for bug and tar removers and sap removers, the foam shows you exactly what's covered).
Aggregate user reviews indicate that the best foam consistency comes from a steady, moderate trigger pull. Fast "pump and dump" strokes produce thin foam because the air doesn't have time to mix properly.
One common mistake: people shake the bottle before using the sprayer. You don't need to, the mixing happens inside the sprayer head. Shaking can actually introduce extra air into the liquid, which can cause spluttering.
How to Identify the Foam Adjustment Mechanism

Bing (Web (fair-use with source credit))
Not all foaming sprayers let you adjust the foam. But many do, and the adjustment is usually on the nozzle itself. Here's how to identify the type you have.
Rotating collar , Look for a textured ring near the tip. A twist changes the internal flow path. Typically you'll see icons: a solid dot for stream, a fan shape for spray, and a cloud or bubble icon for foam.
If your nozzle has three settings, the foam position is often in the middle.
Single-setting nozzle , No collar. This sprayer always outputs foam. You can't switch to a liquid stream.
These are common on dedicated soap dispensers.
Adjustable fan width , Some nozzles have a "+" and "-" or a sliding lever. This controls how wide the foam spreads, not whether it's foam vs. stream. The foam itself remains.
Trigger stroke limiter , Rare but exists on pro-grade sprayers. A small tab on the trigger limits how far you can pull. Shorter stroke = less flow, potentially thicker foam.
Longer stroke = more flow, wetter foam.
When cleaning your foaming sprayer (which you should do after every use, especially if you've used a tar remover or a solvent-based cleaner), remove the nozzle and soak it in warm water. Hard water deposits can seize the adjustment mechanism. If your nozzle won't turn, a few minutes in white vinegar usually frees it up.
Pro tip: If you're using a foaming sprayer with a thick cleaner like a heavy-duty degreaser, dilute it slightly more than the label says. Thicker liquids resist the venturi suction and produce weaker foam. A ratio of 1:15 instead of 1:10 often fixes the issue.
Now that you understand the internal parts and the venturi effect, the next step is troubleshooting common foam failures, and knowing when to replace the sprayer head entirely.