Image source: Bing (Web (fair-use with source credit))
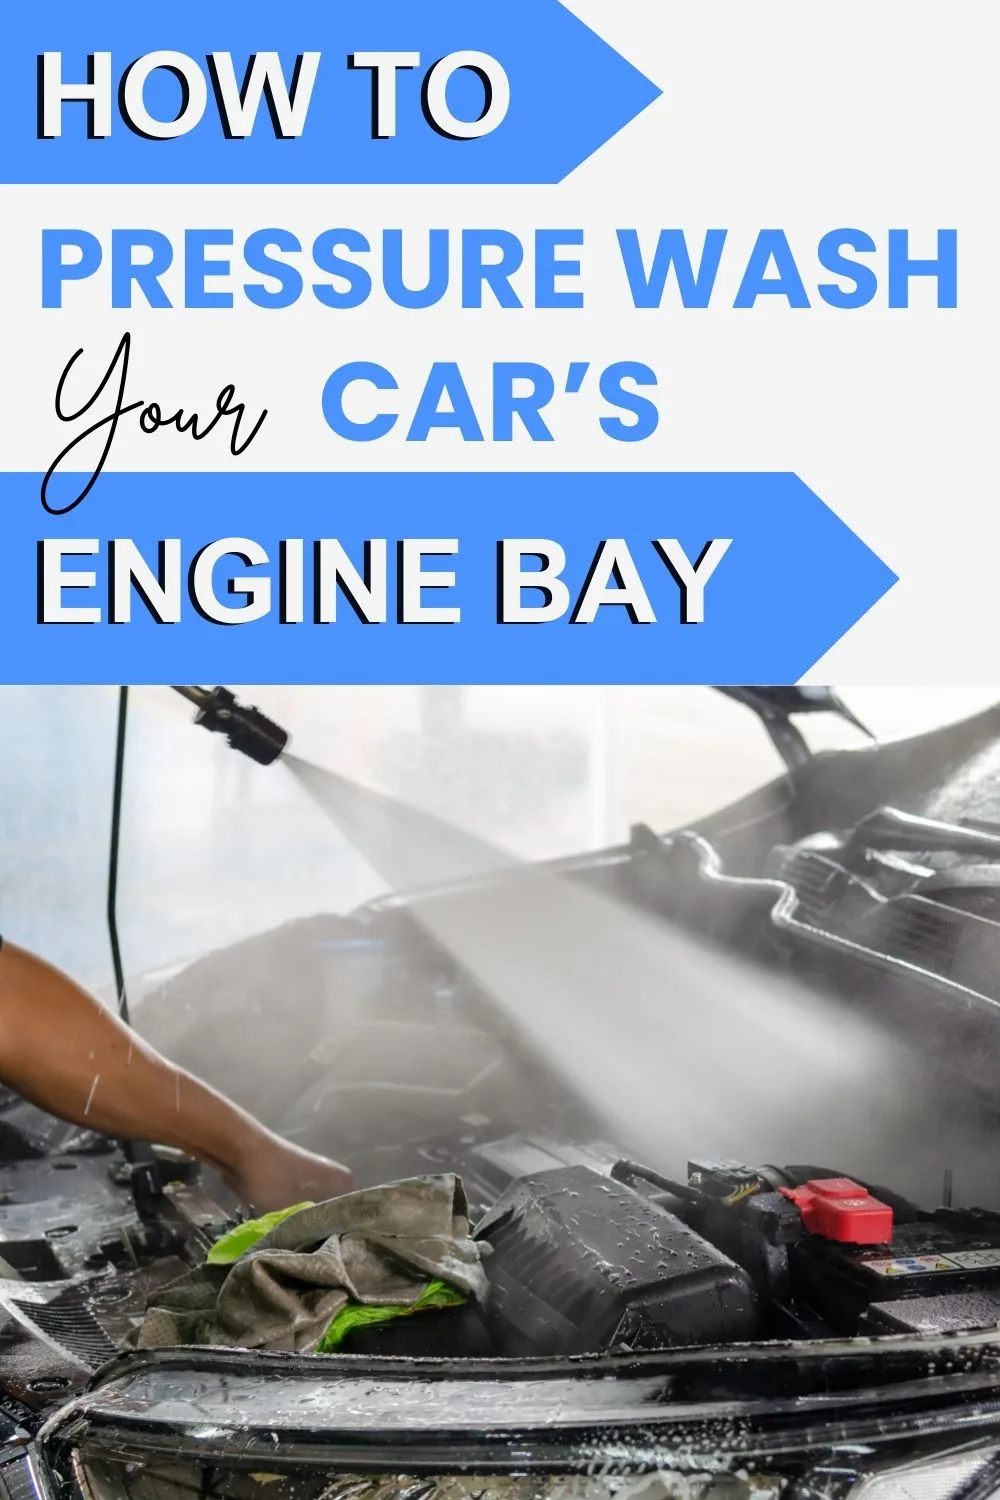
You've seen the videos. Someone points a pressure washer at a grimy engine bay, hits the trigger, and within minutes that motor looks showroom fresh. Looks simple, right?
Here's what those videos don't show you: the misfires, the electrical gremlins, the check engine light that pops on two days later. Deep motor wash cleaning is one of those tasks where the line between a great result and a costly mistake is razor-thin.
Per SAE J2044 testing standards, modern automotive electrical connectors aren't designed to be submerged. They handle rain and road splash fine. They do not handle a direct, concentrated stream from a pressure washer at close range.
As of 2026, a growing number of manufacturer service bulletins explicitly warn against high-pressure engine bay cleaning on newer vehicles. So before you grab that pressure washer and a bottle of degreaser, there's a lot you need to know about doing this right.
Why This Topic Needs Real Caution
An engine bay isn't a plastic bumper. It's a dense cluster of electrical connectors, sensors, intake pathways, and heat-sensitive components worth thousands of dollars. The difference between a clean motor and a ruined one comes down to about thirty seconds of bad judgment.
Here's what generic online advice gets dangerously wrong. Most tutorials skip the preparation entirely. They show someone spraying degreaser, blasting it off, and calling it a day.
What they don't show is the corrosion that starts inside a poorly sealed connector weeks later. Or the alternator that fails because water worked its way past the bearing seal. Or the mass airflow sensor that got contaminated by chemical overspray.
The real problem is moisture hiding in places you can't see. Spark plug wells, wiring harness junctions, and the intake manifold plenum all trap water. If you start the engine without fully drying those areas, that water turns into steam inside electrical components.
Steam carries minerals that leave conductive deposits. Those deposits create short circuits.
Our research across manufacturer service bulletins and aggregate owner feedback shows a clear pattern. The people who regret deep cleaning their engine bay didn't take it seriously enough. They treated it like washing a fender.
A motor compartment needs a different approach entirely.
What Deep Motor Wash Cleaning Actually Means
Deep motor wash cleaning isn't the same as a quick spray-down at the coin-op car wash. It's a deliberate process that addresses years of accumulated oil film, road grime, salt residue, and dirt trapped in crevices. Think of it as a full detail for the space under your hood, not just a rinse.
The real definition breaks down into three distinct stages. First is degreasing, where you break down the oily film that coats the engine block, hoses, and plastic covers. Second is the rinse, which removes both the degreaser and the suspended grime.
Third is detailing, which includes drying everything completely and applying protectants to rubber and plastic surfaces.
The key distinction here is between cosmetic cleaning and functional cleaning. A cosmetic clean makes things look pretty. A functional clean removes contaminants that trap heat, hide fluid leaks, and accelerate wear on rubber components.
Deep motor wash cleaning, done correctly, delivers both.
Not every motor can tolerate deep washing the same way. Modern engines with sealed electrical architectures are more forgiving than older designs with exposed distributor caps, carburetors, or unsealed relays. Marine motors have different considerations because they're already built to handle some moisture, but they face unique risks from saltwater residue.
Small engines like lawn mowers and generators have exposed air filters and carburetors that are highly vulnerable to water intrusion. Know what kind of motor you're dealing with before you start.
The Risk Zones: What You're Up Against
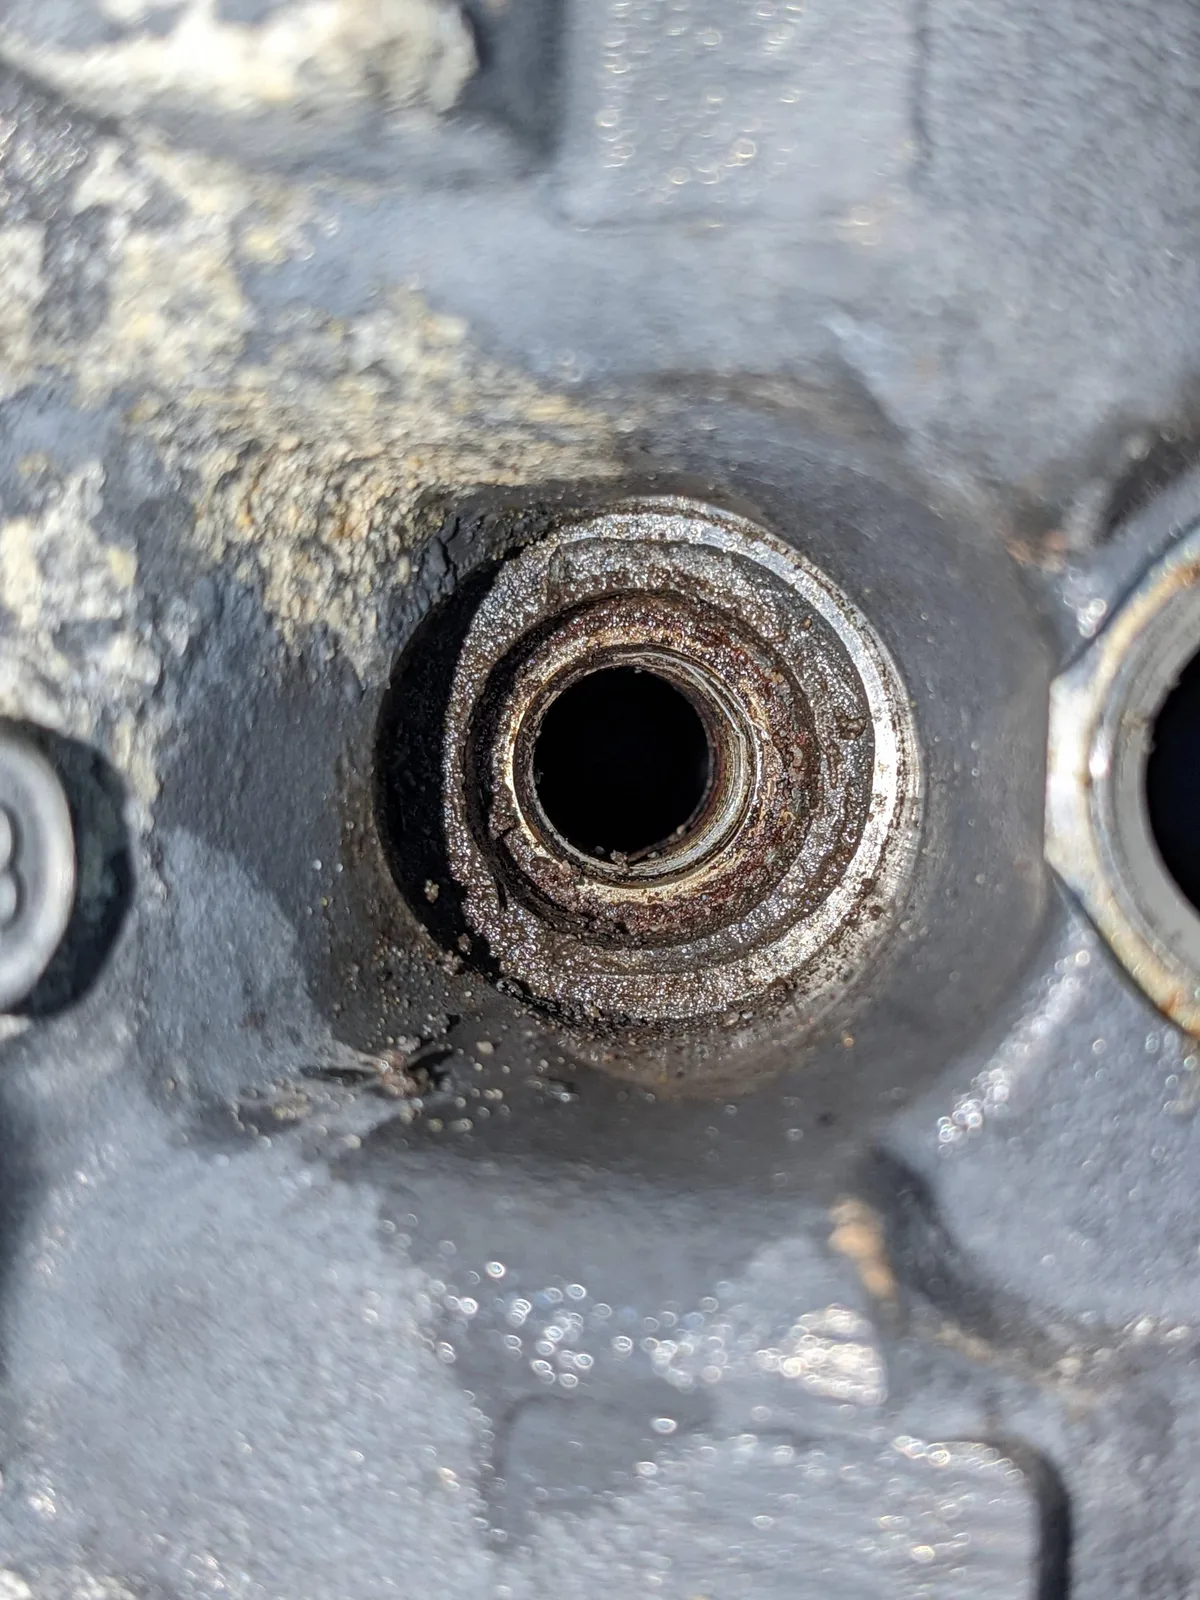
Image source: Bing (Web (fair-use with source credit))
You need to know exactly where danger lives before you start. Let's map the risk zones in a typical engine bay.
Electrical connectors and their hidden vulnerability
Every modern engine bay has twenty to fifty electrical connectors. Some are weather-pack sealed. Many are not.
The ones that aren't fully sealed rely on tight friction fit and a rubber gasket to keep moisture out. A pressure washer at close range can breach that gasket. Once water gets inside, it sits there.
It doesn't evaporate quickly because the connector housing traps it. That trapped moisture causes pin corrosion, increased resistance, and eventually a failed connection.
The most vulnerable connectors are the ones on the engine block itself. Crankshaft position sensors, camshaft position sensors, knock sensors, and oxygen sensor connectors all sit low in the engine bay. They get the brunt of any rinse water.
They also handle critical signals that keep your engine running.
Air intakes, alternators, and the ECU threat
The air intake is the single most dangerous thing to get wet. If you spray water directly into the intake opening, you risk hydrolock. That's when water fills a cylinder and prevents the piston from compressing it.
Hydrolock bends connecting rods and cracks engine blocks. It's engine-ending damage.
The alternator is another major risk point. Alternators have internal bearings and a voltage regulator that are not sealed against high-pressure water. Force water past the bearing seal and you'll hear a grinding noise within weeks.
The alternator fails, and you're replacing a part that costs anywhere from $150 to $600 depending on the vehicle.
The ECU, or engine control unit, is the brain of your car. It's usually mounted high in the engine bay or inside the cabin behind a kick panel. But some vehicles, especially older ones, have the ECU mounted low in the engine compartment.
Direct water contact can fry the circuit board instantly.
Trapped moisture in spark plug valleys and bell housings
On V6 and V8 engines, the spark plugs sit in deep recesses called spark plug valleys or wells. Water collects there naturally. If you don't dry those wells completely before starting the engine, the water around the spark plug boot creates a path for voltage to arc to the cylinder head instead of firing the plug.
That causes a misfire. The misfire triggers a check engine light. You end up chasing an electrical problem that you created yourself.
The bell housing, where the transmission meets the engine, has weep holes and ventilation slots. Water can enter through those openings and collect inside the bell housing. That can cause clutch slippage on manual transmissions or contamination of the torque converter on automatics.
Rubber, plastic, and aluminum compatibility with chemicals
Not all degreasers are safe for all materials. Caustic degreasers with a high pH level can etch aluminum surfaces on the engine block, cylinder head, and intake manifold. Solvent-based degreasers can dry out rubber hoses and seals.
Over time, that leads to cracking and leaks. Plastic engine covers and fuse box housings can become brittle and discolored from repeated exposure to harsh chemicals.
Who Should Do a Deep Motor Wash
This isn't a one-size-fits-all task. Whether you should attempt a deep motor wash depends on your vehicle, your experience level, and your willingness to do the prep work properly.
DIY with experience
If you own a classic car, an off-road vehicle, or a truck that's more than fifteen years old, you're probably comfortable working under the hood already. These vehicles have simpler electrical systems, fewer sensors, and more mechanical components that tolerate water exposure. The wiring is often exposed and easy to dry.
The risk profile is lower.
That said, even with older vehicles you need to be careful. Distributor caps, ignition coils, and carburetors all have specific vulnerabilities. Research your particular motor before starting.
Some older engines have intake manifolds that leak water directly into the oil pan if you spray at the wrong angle.
Professional detailer recommended
Modern luxury cars, hybrids, and vehicles with extensive electronic systems are best left to professionals who specialize in engine bay detailing. A professional has the right tools, the right chemicals, and the experience to know exactly which components to protect. They also carry insurance if something goes wrong.
If your vehicle has a start-stop system, adaptive cruise control sensors, or any kind of hybrid high-voltage cabling under the hood, you should seriously consider hiring someone. The cost of professional deep motor wash cleaning typically ranges from $75 to $200 depending on the vehicle complexity. Compare that to the cost of a single sensor replacement, and it becomes cheap insurance.
Leave it alone
Some motors should never get a deep wash. Motors with known oil leaks are a prime example. You'll force water into the oil system through those leaks.
Exposed wiring harnesses with cracked or brittle insulation are another red flag. If the insulation is compromised, water finds the copper conductor directly.
Motors with distributor caps that sit low on the engine, like many vintage European cars, are also high risk. The cap collects water and sends it straight into the distributor, causing immediate starting issues. If your motor has any of these characteristics, stick to a simple wipedown with a damp cloth and a mild cleaner.
The Safe Step-by-Step Process
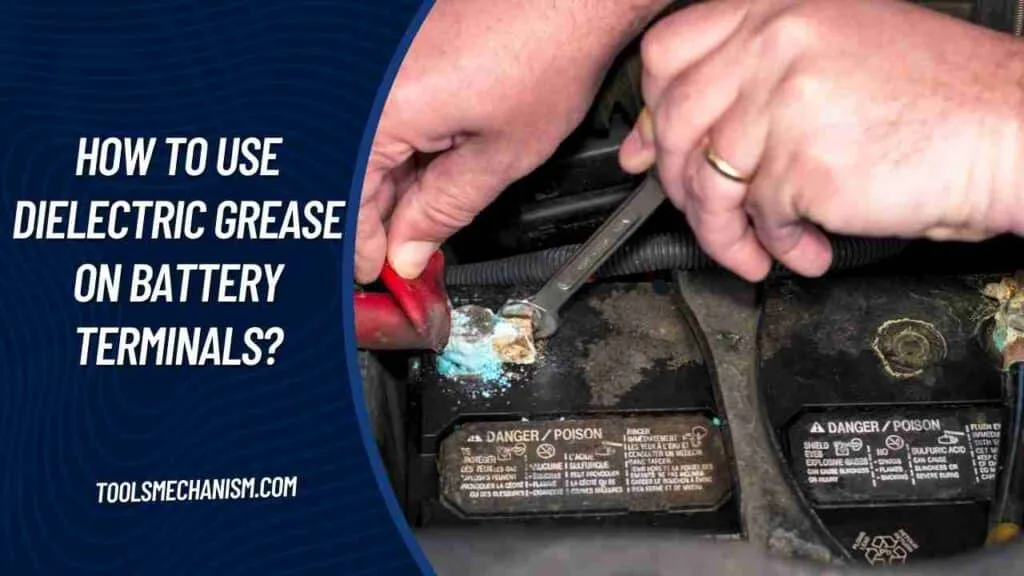
Image source: Bing (Web (fair-use with source credit))
If you've decided to proceed, here's the process that manufacturer service bulletins and professional detailers actually follow. Skip any of these steps at your own risk.
Step 1: Preparation
The first thing you do is disconnect the battery. Remove the negative terminal first, then the positive. This eliminates the risk of a short circuit if water finds its way to an exposed terminal.
Next, identify every electrical connector, fuse box, relay, and sensor in the engine bay. Cover each one. Use plastic grocery bags and rubber bands for large connectors.
Use aluminum foil for smaller ones. Press the foil down around the base of the connector to create a seal.
Seal the air intake opening completely. Use a plastic bag taped in place. Do not forget this step.
A single cup of water entering the intake can cause hydrolock.
Remove any loose components you can. Battery covers, cosmetic engine covers, and air intake resonator boxes come off easily. Removing them gives you better access to the engine block and prevents water from getting trapped underneath.
Step 2: Chemical selection
Use a water-based degreaser specifically labeled as safe for aluminum and rubber. Avoid solvent-based degreasers on modern engines. Avoid caustic degreasers with a pH above 10.
Look for products that are biodegradable and low-VOC to comply with local regulations, especially if you're in California or other states with strict emissions rules.
Apply the degreaser to a cold engine only. Never spray chemicals on a hot engine. The heat causes solvents to evaporate too quickly, leaving residue.
It also increases the risk of thermal shock to metal components. Spray the degreaser on the greasiest areas first: the valve covers, the oil pan, and anywhere you see visible oil film. Let it sit for the recommended contact time, usually three to five minutes.
Step 3: Low-pressure rinse
This is the most critical step. Set your pressure washer to the widest spray pattern available, typically a 40-degree nozzle. Keep the pressure between 1200 and 1500 PSI.
Any higher and you risk forcing water past seals. Hold the nozzle at least twelve inches away from any component.
Rinse from the top of the engine bay downward. Let gravity carry the water and degreaser off the motor. Avoid spraying directly at electrical connectors, even if they're covered.
Avoid spraying at the alternator, the back of the engine where the bell housing sits, and the base of the intake manifold. Use a gentle, sweeping motion. Don't concentrate the stream on any single spot.
Step 4: Mechanical agitation
Some grime won't rinse off with water alone. Use nylon detailing brushes to agitate stubborn deposits around the valve covers, intake manifold, and plastic components. Never use brass or steel brushes on aluminum surfaces.
They scratch the metal and create corrosion initiation points. Nylon brushes are stiff enough to remove grime but soft enough to avoid damage.
Step 5: The critical drying routine
This is the step most people skip, and it's the most important one. After the rinse, remove all the covers and bags you placed earlier. Use compressed air at 80 to 100 PSI to blow water out of every crevice.
Focus on spark plug wells, wiring harness connectors, fuse boxes, and the gaps between the engine block and the alternator.
If you don't have an air compressor, use a leaf blower or a dedicated automotive drying blower. Move the blower across the engine bay for at least ten minutes. Pay attention to the sound of the air changing pitch as water blows out of a crevice.
That sound tells you you're making progress.
After the compressed air drying, let the engine bay sit open for at least thirty minutes. Then start the engine and let it idle for fifteen minutes. The heat from the engine will evaporate any remaining moisture.
Watch the dashboard for warning lights during this idle period.
Step 6: Final dressing and dielectric grease reapplication
Once the engine is dry and cool again, apply dielectric grease to every electrical connector you covered earlier. A thin layer inside the connector housing prevents future moisture intrusion. You did remove the bags and foil during the drying step, right?
Good. Now protect those connections.
Apply a plastic and rubber dressing to hoses, plastic covers, and trim pieces. This restores the factory appearance and provides UV protection for rubber components. Use a matte finish dressing for a natural look.
Avoid high-gloss dressings that attract dust and create a slippery surface.
Before you close the hood, do a quick check. Look for any water pools in the spark plug wells. Double check that all connectors are fully seated.
Make sure the air intake is clear of any debris or covering material. Then reconnect the battery. Take the car for a short drive.
Listen for unusual noises. Watch for warning lights. If everything checks out, you've done it right.
Tools and Products That Actually Work
You don't need a full detailing bay to do this job right. But you do need the right gear. Let's break down what actually matters.
Pressure washer settings that won't cause damage
The pressure washer is your main tool. Set it wrong and you cause damage. Set it right and the job goes smoothly.
Our research across manufacturer guidelines and professional detailer feedback points to a narrow safe window.
| Setting | Safe Range | Notes |
|---|---|---|
| Pressure | 1200-1500 PSI | Below 1800 PSI for any engine component |
| Nozzle | 40-degree (white) | Widest pattern available |
| Distance | 12 inches minimum | Further is safer |
| GPM | 1.4 GPM or lower | Low flow prevents seal bypass |
If your pressure washer only has adjustable nozzles, set it to the widest spray pattern and stand back. Never use a zero-degree or 15-degree nozzle on an engine bay. Those are for stripping paint, not cleaning motors.
Using a proper spray nozzle makes a huge difference. The right spray pattern reduces risk significantly. Check out our guide on choosing the right water gun for washing cars to understand nozzle angles better.
Degreasers rated for electrical components
Not all degreasers are created equal. Look for products labeled as safe for aluminum, rubber, and electrical components. Avoid anything with a pH above 10.
Avoid anything containing chlorinated solvents.
Water-based degreasers with a neutral pH are the safest choice for modern engines. They break down oil film without attacking seals or gaskets. They also rinse clean without leaving residue that attracts dirt later.
Solvent-based degreasers work faster on heavy grease. But they dry out rubber components and can damage plastic covers over time. Use them only on mechanical areas away from sensors and wiring.
Rinse thoroughly afterward.
Brushes, towels, and blow-dry equipment
Nylon detailing brushes in various sizes handle most engine bay crevices. A stiff brush for the valve covers and oil pan. A soft brush for plastic trim and hoses.
A small detailing brush for tight spaces around the intake manifold.
Microfiber towels absorb water without leaving lint. Use them for final drying of accessible surfaces. Never use shop rags or terry cloth towels.
They leave fibers that get trapped in moving parts.
Compressed air is the most effective drying method. A pancake air compressor at 80 PSI works fine. A dedicated automotive blower with a narrow nozzle is even better.
The goal is to force water out of crevices, not just rely on evaporation.
Common Mistakes That Kill Motors
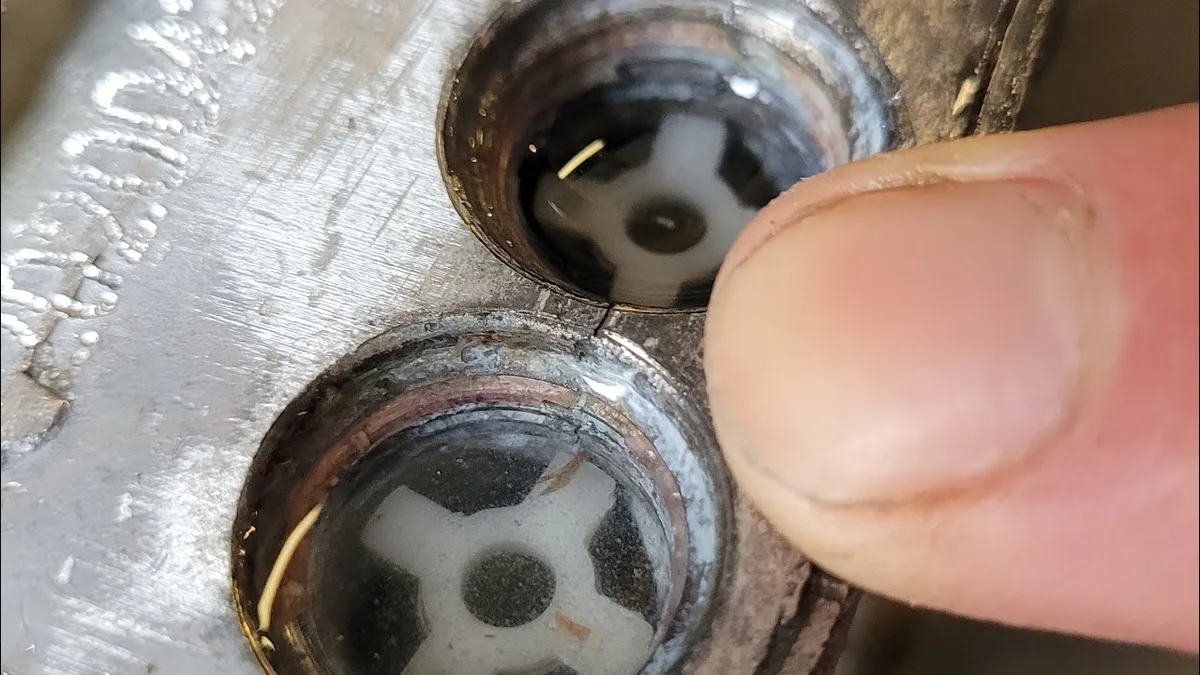
Image source: Bing (Web (fair-use with source credit))
You've done the prep. You've followed the steps. But one mistake can undo everything.
Here are the errors that cause the most damage.
Pressure washing a hot engine
This is the number one mistake. A hot engine has thermal expansion in metal components. Hit it with cold water and you get thermal shock.
Cylinder heads can crack. Exhaust manifolds can warp. Aluminum parts can develop hairline fractures that leak coolant or oil.
Always let the engine cool to ambient temperature before starting. This takes at least an hour after shutdown. Longer if the vehicle was driven hard.
Using a narrow spray tip on seals
A narrow spray tip concentrates force into a small area. That force can push water past rubber seals on the alternator, the power steering pump, and the AC compressor. Once water gets behind those seals, the bearing grease washes out.
The bearing fails. The component needs replacement.
Stick to the wide spray pattern. Keep the nozzle moving. Never concentrate the stream on any single seal or gasket.
Skipping connector waterproofing before and after
Covering connectors before washing is obvious. Reapplying protection afterward is not. Dielectric grease is cheap.
Replacement sensors are not. A thin layer of dielectric grease inside every connector housing prevents moisture from wicking in during future rain or car washes.
The right kind of gloves help here. Waterproof gloves keep your hands dry and prevent grease transfer to sensitive surfaces. Our article on waterproof gloves for car washing covers what to look for.
Not allowing full drying before starting the motor
Water trapped in spark plug wells causes misfires immediately. Water trapped in connector housings causes intermittent problems for weeks. The engine must be fully dry before you start it.
The drying process has three stages. Compressed air to remove bulk water. Open hood idle to evaporate remaining moisture.
A visual check of every crevice for standing water.
Forgetting to remove protective covers before drying
This mistake is surprisingly common. Someone bags every connector, seals the intake, and then starts the engine with the bags still in place. The engine runs, but moisture stays trapped under the bags.
Corrosion starts inside the connectors anyway.
Remove all covers before the drying step. Let air circulate around every component. Then reapply protection afterward.
When to Call a Professional
Some situations demand experience you don't have. Here's when to hand the job off.
Signs your motor needs expert handling
If your vehicle has any of these features, consider professional service. Hybrid high-voltage cabling requires special handling. Start-stop systems have sensitive electronics near the engine.
Active grille shutters and adaptive cruise control sensors are expensive to replace.
If you've never worked on an engine bay before, start with something simpler. A deep motor wash is not a beginner project. The learning curve is steep and the cost of mistakes is high.
Cost range for professional deep wash services
Professional engine bay detailing costs $75 to $200 for most passenger vehicles. Luxury cars, trucks with large engine bays, and marine motors cost more. Commercial vehicles and heavy equipment can run $300 or higher.
Compare that to the cost of a single oxygen sensor at $100 to $200. Or an alternator at $300 to $600. Professional service starts looking like a bargain.
What to look for in a detailer who knows motors
Not every car wash detailer understands engine bay risks. Ask specific questions before booking. Do they cover electrical connectors?
Do they use low-pressure rinsing? What drying method do they use? A good detailer answers these questions without hesitation.
Look for detailers who specialize in engine bay work specifically. General car wash services may not have the right equipment or training. Our article on the recommended PSI for washing cars explains the pressure differences between paint and engine components.
Motor Type Specifics: Gas, Diesel, Marine, Small Engine
One process does not fit all motors. Here's how to adjust for different types.
Differences in water tolerance by motor design
Gasoline engines in modern cars have the most electrical components. They also have the highest risk of moisture-related issues. The process we covered applies directly to them.
Diesel engines have fewer sensors and more mechanical components. They tolerate water exposure slightly better. But they have high-pressure fuel injection systems with sensitive components.
Avoid spraying directly at the fuel injectors and high-pressure pump.
Marine motors are designed for moisture exposure. But they face unique risks from saltwater residue. If the motor was used in saltwater, a deep freshwater flush is essential.
Salt crystals left behind cause corrosion that destroys aluminum components over time. Marine motors also have sealed electrical systems that tolerate rinsing well, but the starter and alternator still need protection.
Small engines like lawn mowers, generators, and pressure washers have exposed air filters and carburetors. An air filter that gets wet on a lawn mower can restrict airflow and cause starting issues for weeks. Pull the air filter housing and cover the intake opening completely before cleaning.
Marine saltwater flush requirements
Marine motors need a different approach. After saltwater use, flush the motor with fresh water using a garden hose connection or flushing attachment. Run the motor at idle for five to ten minutes with fresh water flowing through the cooling system.
This prevents salt deposits from building up inside the water passages.
After the flush, apply a corrosion inhibitor to the exterior. Marine-specific sprays leave a protective film that displaces water and prevents salt from bonding to surfaces.
Small engine precautions
Small engines have simpler designs but specific vulnerabilities. The carburetor bowl holds fuel that can be contaminated by water. The air filter sits low and catches all spray.
The spark plug is often exposed and easy to wet.
For small engines, stick to a drip method. Spray degreaser on a towel and wipe the surfaces. Avoid any direct spray.
Use compressed air for cleaning crevices. The risk of water damage is high and the payoff of a deep wash is lower for equipment that sees regular use.
Post-Wash Check and Long-Term Maintenance
The job isn't done when the engine bay looks clean. You need to verify everything still works right.
How to test for hidden moisture issues
Start the engine and let it idle for five minutes. Watch the dashboard for any warning lights. Listen for misfires or rough idling.
A misfire within the first minute means water is still sitting in a spark plug well.
Check your phone or scan tool for diagnostic trouble codes. Even if no warning light appears, stored codes can indicate intermittent sensor issues. Clear any codes that show up and recheck after a short drive.
When to reapply dielectric grease
Dielectric grease degrades over time. Heat cycles and moisture exposure break it down. Reapply it at every oil change or at least twice a year.
Focus on the connectors that sit lowest in the engine bay.
Routine between deep washes
A deep motor wash every 12 to 18 months is enough for most vehicles between seasons. More frequent deep washing increases the risk of seal damage and connector wear.
Between deep washes, use a spray-on waterless engine cleaner for spot cleaning. Spray it on a microfiber towel and wipe visible grime. This keeps the engine bay presentable without the risks of full pressure washing.
Decision Guide: Should You Deep Wash Your Motor Today?
Here is a quick checklist based on your situation.
You should deep wash your motor if:
- You are selling the vehicle and want a higher resale value.
- You have a visible oil leak that you need to locate.
- You live in a northern climate and need to remove winter salt buildup.
- You drive off-road and need to remove mud and debris from the engine bay.
You should skip the deep wash if:
- Your engine has known oil leaks that are actively dripping.
- You have exposed wiring with cracked insulation.
- Your vehicle is a hybrid with high-voltage cabling under the hood.
- You are not comfortable removing and reinstalling engine covers and air intake components.
One-sentence takeaway for each common scenario:
| Scenario | Takeaway |
|---|---|
| Classic car owner | Go ahead but cover the distributor cap and carburetor completely |
| Daily driver sedan | Safe if you follow the full process with low pressure |
| Diesel pickup | Safe but avoid spraying the high-pressure fuel pump directly |
| Marine outboard | Flush with fresh water first, then clean the exterior |
| Small lawn mower | Skip the pressure washer, use a towel and mild cleaner instead |
That covers everything you need to know about deep motor wash cleaning. The process is straightforward when you respect the risks. Prep properly, rinse gently, dry thoroughly, and your engine bay will look great without any hidden surprises later.