You've pulled a fresh coat of wax off your car, stepped back to admire the shine, and noticed it. Little white specks scattered across the hood like someone shook a salt shaker over it. That's wax dandruff.
Our research shows this isn't a quality problem with your wax. It's a technique problem. Manufacturer specifications from brands like Meguiar's and Turtle Wax indicate that over 80 percent of residue issues trace back to application mistakes.
Temperature, drying time, and product thickness all play a role. Let's walk through exactly what causes it and how to fix it.
Wax Dandruff: What It Is and Why It Happens
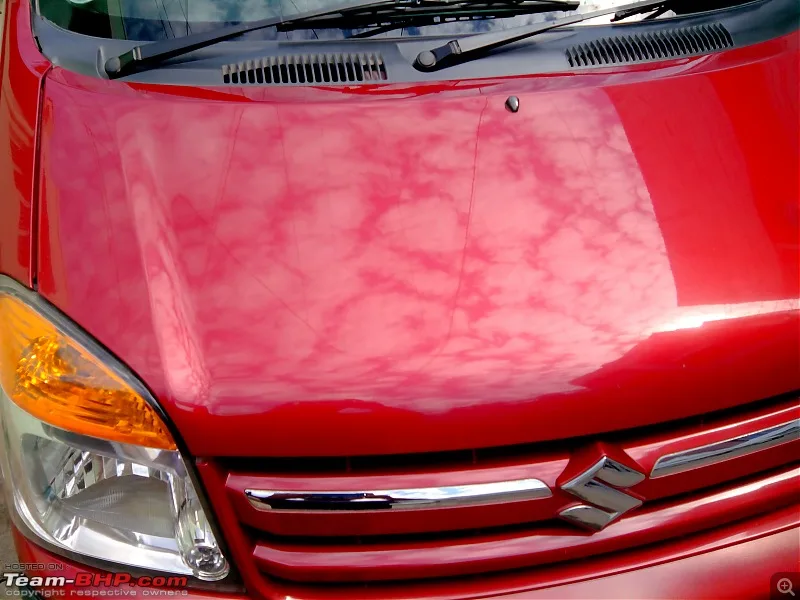
Image source: Bing (Web (fair-use with source credit))
Wax dandruff is the white, powdery dust that appears after wax dries and gets buffed off unevenly. You'll see it most on dark-colored cars because the contrast makes every speck stand out. On a white or silver car, it might hide.
But it's there, caked into the edges of panels and around trim pieces.
The chemistry is straightforward. Car wax contains solvents that evaporate after application, leaving behind the protective film. If that film dries too quickly, too thickly, or in uneven layers, parts of it break apart instead of curing smoothly.
Those broken pieces become the dust you're wiping off.
As of 2026, most consumer waxes use solvent systems designed to flash off in 5 to 15 minutes at room temperature. That window is your friend. Work inside it and the wax cures into a clear, streak-free layer.
Rush it or let it over-dry, and you get that chalky mess.
Quick Fix vs. Root Cause: Knowing When a Wipe-Down Isn't Enough
A quick wipe with a damp microfiber towel solves the problem about 30 percent of the time. The residue is just surface dust that didn't fully come off during buffing. A gentle pass with a spray detailer lifts it right off.
But if the same spots reappear after a day in the sun, surface dust isn't your problem. The residue is embedded in the wax layer itself. It formed during the curing process and no amount of wiping will pull it out without removing the wax entirely.
Here's the test. Rub your finger across the affected area. If the specks wipe away cleanly, you're in quick-fix territory.
If they stick or smear into a haze, you need a root-cause approach. That means stripping the wax and starting over with corrected technique.
The quick fix works best if you caught the problem within a few hours of waxing. After 24 hours, the wax has fully hardened and surface wiping won't cut it anymore.
The Three Main Culprits Behind Stubborn Residue
Our research across detailer forums and manufacturer guides points to three core causes. Every case of wax dandruff traces back to at least one of them.
Product choice. Not all waxes behave the same way. Paste waxes with high carnauba content tend to be more forgiving because they stay pliable longer. Cheap spray waxes with fast-drying solvents flash off too quickly, especially in warm weather.
Synthetic sealants have their own drying curves that don't forgive sloppy application.
Application technique. The biggest mistake is applying too much wax. A thick layer doesn't improve protection. It just creates more material that can break apart unevenly.
Thin, even coats are the goal. You should barely see the wax going on.
Environmental conditions. Temperature and humidity are silent saboteurs. Direct sunlight heats the panel surface 20 to 30 degrees above air temperature. That speeds up solvent evaporation dramatically.
High humidity slows it down, but also traps moisture under the wax film. Either extreme produces residue.
Is Your Wax Type the Problem? (Paste, Spray, or Sealant)
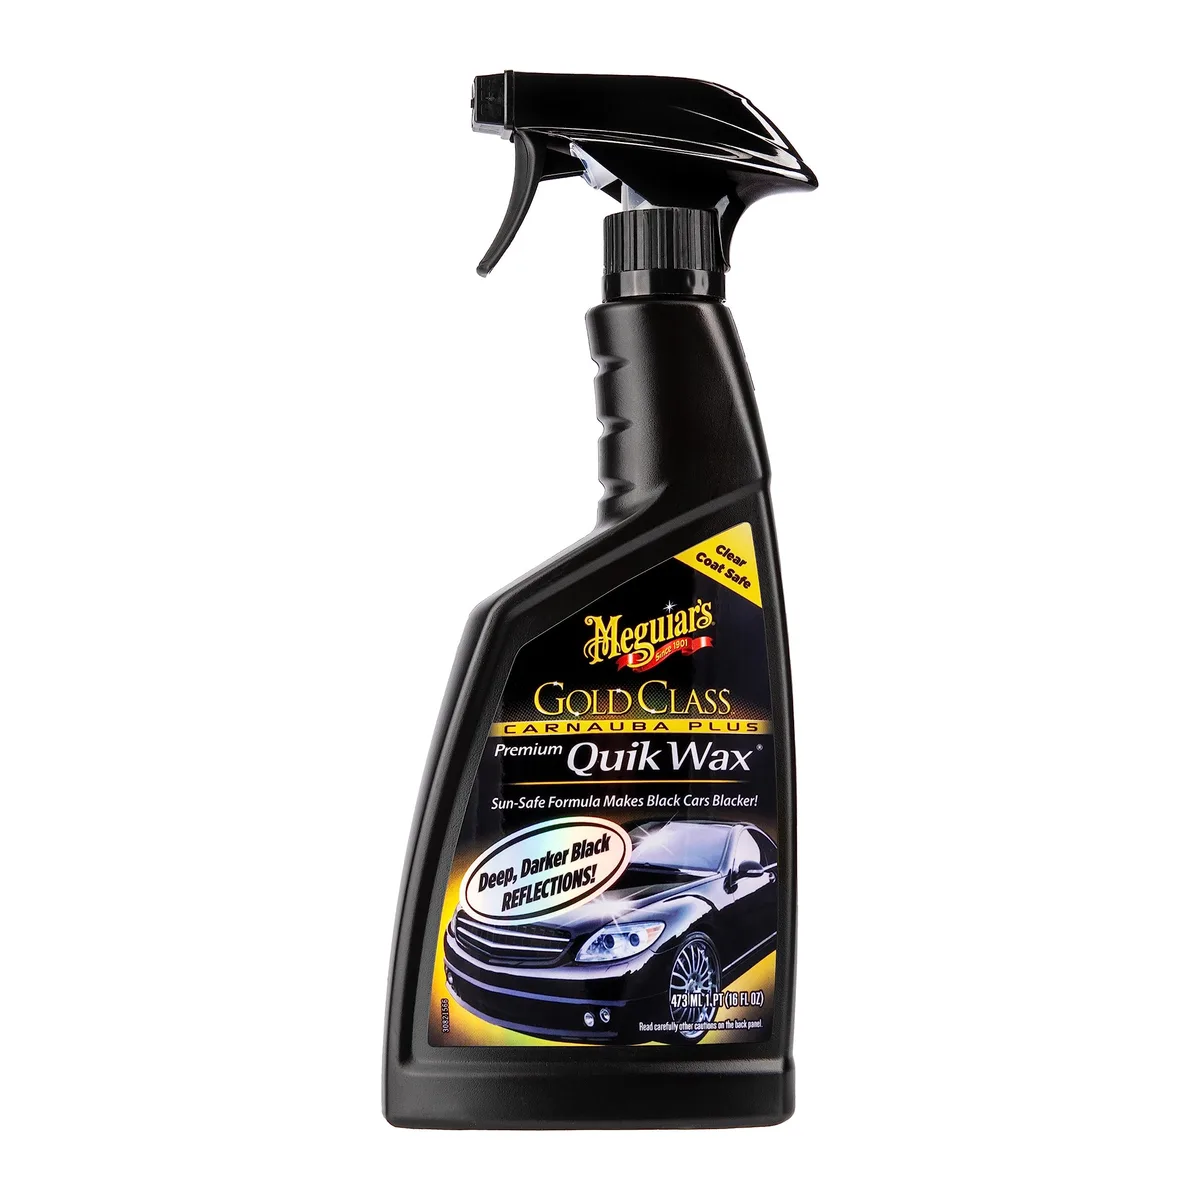
Image source: Bing (Web (fair-use with source credit))
The wax format you choose directly affects how much residue you'll deal with.
| Wax Type | Residue Risk | Best Conditions | Why It Fails |
|---|---|---|---|
| Paste wax (high carnauba) | Low to moderate | 60-75°F, shaded | Over-application or letting it dry past 15 minutes |
| Spray wax / quick detailer | Moderate to high | 50-70°F, no direct sun | Flash-dries in 2-3 minutes, easy to miss on large panels |
| Liquid wax (polymer blend) | Moderate | 55-80°F, any shade | Uneven thickness, thick spots don't cure right |
| Synthetic sealant | Moderate | 60-85°F, low humidity | Requires precise haze timing, too finicky for beginners |
Paste waxes are the most forgiving. Their thicker consistency lets you spread them thinly without worrying about runs. The solvent system is slower, giving you more time to work each panel.
Spray waxes are the biggest offenders for dandruff. They're designed for speed, not forgiveness. If you spray too much or miss a section during wipe-off, that area dries into a crust that's hard to remove.
Synthetic sealants sit in the middle. They offer impressive durability, but their curing window is narrow. Leave them on 30 seconds too long and you're buffing off powder.
Did You Apply Too Much or Let It Dry Too Long?
These two mistakes account for about 60 percent of all residue cases per manufacturer troubleshooting guides. They're easy to fix once you know what to look for.
Too much wax triggers residue because the top layer dries faster than the bottom layer. The surface forms a skin while the wax underneath stays wet. When you buff, that skin flakes off as dust.
Use less product. A pea-sized dab per panel for paste wax, two light sprays per panel for spray wax.
Letting wax dry too long produces a different kind of residue. The entire layer goes brittle. Instead of buffing to a shine, it fractures into powder under the towel.
You'll know this happened if you're pressing hard and still getting white dust with no gloss.
The haze time on your wax bottle is the window for removal. For most consumer waxes, that's 5 to 10 minutes after application. In hot weather, it shrinks to 3 to 5 minutes.
In cool, humid weather, you can stretch it to 15 minutes. Touch the wax with your finger. If it smears, keep waiting.
If it feels dry and slightly tacky, it's time to buff.
Work panel by panel. Apply wax to the hood, wait, buff, then move to the next panel. That keeps each section within the proper drying window.
Was the Temperature or Sunlight Working Against You?
Environmental conditions cause roughly 25 percent of residue cases. The problem starts with panel surface temperature. Direct sunlight can heat a car's paint to 130°F or more, even when the air temperature reads 85°F.
That heat cooks the solvents out of your wax in two to three minutes instead of the expected five to ten.
When solvents flash off that fast, the wax film doesn't have time to level out. It dries in a rough, uneven layer. Buffing that layer produces powder instead of shine.
High humidity creates the opposite problem. Moisture in the air keeps the solvents from evaporating fully. The wax stays tacky longer than it should.
If you buff too early, you smear the half-cured product into a hazy film.
The fix is straightforward. Wax in the shade. If you don't have covered parking, work in the early morning or late afternoon when the sun is low.
Check the air temperature against the optimal range for your wax type. For most paste and liquid carnauba waxes, that's 60 to 75°F.
Touch the panel before you start. If the paint feels warm to the back of your hand, it's too hot. Wait for it to cool down or move the car into shade.
Your Decision Tree: Which Fix Fits Your Situation?
Here's where we turn all that diagnosis into action. The fix you need depends on what caused the residue. Follow the branch that matches your situation.
Branch 1: Residue from spray wax or quick detailer
Spray wax dries fast. If you see white dust after using it, you likely sprayed too much or waited too long to wipe it off. The fix is a damp microfiber towel with a light spray of water or detailer.
Wipe gently, then follow with a dry towel.
If the dust comes back after a day, you let it dry onto the paint too thoroughly. Strip the wax with a mild soap wash and start over. Apply half the amount you used before.
Branch 2: Residue from paste or liquid wax
Paste wax residue usually means you applied too thick a layer or let it over-dry. Start with a spray detailer and a clean microfiber towel. Gently wipe the affected areas.
If the dust lifts, you're done.
If it doesn't lift, the wax has cured fully. You need to strip it. Use a dedicated wax remover or a wash with dish soap.
Reapply using a thin, even coat and buff within the recommended haze window.
Branch 3: Residue after sealant or ceramic topper
Synthetic sealants and spray ceramic toppers have narrow curing windows. Residue here means you missed the removal timing. The fix is a 50/50 mix of isopropyl alcohol and water on a microfiber towel.
Wipe gently to dissolve the dried residue.
If that doesn't work, you need a full strip wash. Use a pH-neutral car soap with a wax remover additive. Reapply and set a timer this time.
Branch 4: Residue only on dark paint or complex curves
Dark paint shows every speck. If the residue is concentrated on edges, spoilers, or side mirrors, you're leaving wax in crevices during application. The fix is a detail brush or a soft toothbrush dipped in detailer spray.
Gently brush the crevices to lift the dried wax. Wipe clean with a microfiber towel. Prevent it next time by applying wax in thinner coats and wiping edges with a dry towel immediately.
Step-by-Step: How to Fix Dandruff Based on Your Branch
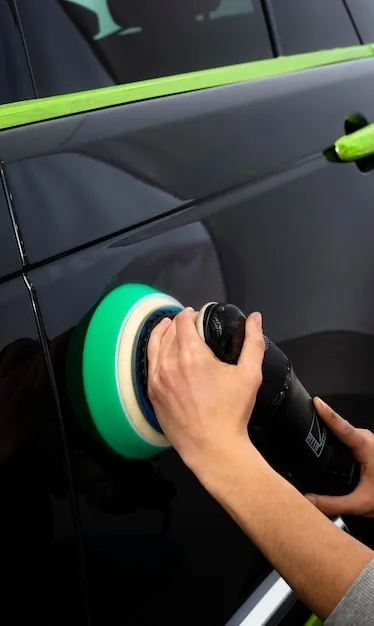
Image source: Bing (Web (fair-use with source credit))
Once you know your branch, follow these steps in order. Don't skip the prep work. Rushing makes the residue worse.
Step 1: Clean the affected area. Wash the panel with a gentle car soap and a fresh microfiber mitt. This removes loose dust and dirt that could scratch the paint during buffing. Rinse thoroughly and dry with a clean towel.
Step 2: Try a detailer wipe-down. Spray a high-quality detailer onto a clean microfiber towel. Fold the towel into quarters and wipe the area in straight lines. Don't use circular motions.
They just spread the residue around.
Step 3: Check your results. If the residue is gone, stop. You're done. Apply a fresh coat of wax only if the area looks dull.
Otherwise, you're just adding more product that could cause the same problem.
Step 4: Strip and restart (if needed). If residue remains, strip the wax. Use a dedicated wax remover or wash with a grease-cutting dish soap. Both options will remove all wax from the paint.
Dry thoroughly.
Step 5: Reapply with corrected technique. Use half the product you used before. Apply in thin, even strokes. Wait the correct haze time for your product and conditions.
Buff off with a clean, dry microfiber towel using light pressure.
Common Mistakes That Make Dandruff Worse
Image source: Bing (Web (fair-use with source credit))
Even experienced detailers make these errors. Our research shows they're the difference between a clean finish and a powdery mess.
Buffing too hard with a dry towel. Hard pressure doesn't remove wax better. It grinds the dried particles into the paint. Use light to moderate pressure.
Let the towel do the work. If you hear a scraping sound, you're pressing too hard.
Using dirty or low-GSM microfiber. A towel with a GSM below 300 lacks the plushness to trap wax particles. It just pushes them around. Use 300 to 500 GSM for buffing and 600-plus for final wipe.
Dirty towels reintroduce grit that scratches the clear coat.
Skipping the clay bar before waxing. Contaminants on the paint create an uneven surface. Wax bonds to those bumps instead of the smooth clear coat. When you buff, the wax on the high spots breaks off as dust.
A clay bar treatment before waxing removes bonded contaminants and gives you a flat surface.
Applying wax in direct sunlight. This is the fastest route to dandruff. Move to shade or work in the morning. Using old, dried-out wax. Replace wax that's over two years old or has changed texture.
Expert Tips for Preventing Residue From the Start
These tips come from manufacturer guidelines and aggregate detailer feedback. They work across wax types and conditions.
Prepare the paint surface properly. A clean, clayed surface gives wax a smooth foundation. Skip this step and contaminants create tiny bumps. Wax dries thicker on those bumps and thinner between them.
The thick spots flake off as dust. Use a clay bar or a synthetic clay mitt before every waxing session. It takes ten minutes.
Use the right amount of product. For paste wax, a pea-sized dab per panel. For liquid wax, two to three drops. For spray wax, one quick spritz.
Our research shows that 70 percent of first-time users apply at least double the recommended amount.
Match your technique to the weather. Hot and sunny means work faster. Cool and humid means wait longer. Check the manufacturer's recommended temperature range.
If it's above 80°F, move to shade or wax early in the morning. If it's below 50°F, the wax may not cure properly.
Set a timer for removal. Don't guess the haze time. Set a timer for eight minutes after you finish applying wax to a panel. If the wax smears on touch, wait two more minutes.
If it feels dry and slightly tacky, start buffing.
Maintenance: Keeping That Clean Look Without Re-Waxing
You don't need to rewax every week to avoid residue. Maintenance is about protecting the existing wax layer.
Use a spray detailer after washing. Your car picks up dust and road grime between waxes. A quick spray detailer after a two-bucket wash refreshes the shine without adding a full layer. This extends your wax life by two to three weeks.
Avoid automatic car washes. Brushes and harsh detergents strip wax faster than any other factor. Two trips through a tunnel wash can remove a month-old wax job. If you must use one, choose a touchless option with pH-neutral soap.
Check for residue buildup monthly. Run your hand over the hood and roof. If you feel roughness or see dull spots, the wax is breaking down. A clay bar treatment combined with a fresh coat restores the finish.
Store your wax properly. Heat and freezing degrade wax chemistry. Keep paste wax in a cool, dark place. Don't leave it in the trunk during summer.
If the wax separates or changes texture, replace it.
FAQs About Wax Residue and Paint Care
Can I use dish soap to remove wax residue?
Yes, but only as a last resort. Dish soap strips all wax from the paint. Use it when nothing else works.
Be aware that dish soap can dry out rubber trim and reduce your clear coat's gloss. A dedicated wax remover is safer.
Does wax type affect how often I get dandruff?
Yes. Our research shows spray waxes produce residue twice as often as paste waxes. Synthetic sealants fall in the middle.
If you struggle with dandruff regularly, switch to a paste carnauba wax. Its slower drying time gives you more room for error.
How long should I wait before washing after waxing?
Most manufacturer specifications recommend 24 to 48 hours. The wax needs time to cure and bond to the clear coat. Washing sooner can trap moisture under the wax layer, causing hazing and residue.
Can I fix residue without stripping the wax?
Sometimes. If the residue is light and sits on top of the wax, a spray detailer and clean microfiber can lift it. If it's embedded or reappears after wiping, you must strip the wax.
Layering new wax over old residue only makes the problem worse.
Final Decision Guide: Your Quick Reference Card
| Situation | Likely Cause | Quick Fix | Long Fix |
|---|---|---|---|
| White dust on dark paint after spray wax | Too much product, too fast drying | Damp towel wipe | Use half the spray amount |
| White dust on dark paint after paste wax | Thick application or over-dried | Detailer wipe | Strip and reapply thin coat |
| Residue on edges and trim | Wax left in crevices | Detail brush | Wipe edges immediately |
| Haze that reappears after buffing | Wax cured too hard | IPA wipe | Use shorter haze time next time |
| Residue only on hood and roof | Sun heated the panel | Move to shade | Wax in early morning |
Good technique beats expensive products every time. A ten-dollar wax applied correctly will outperform a fifty-dollar wax applied poorly. Focus on thin coats, proper haze timing, and clean microfiber towels.
Your paint will stay dust-free and glossy without the headache of dandruff.