ByMax Lee
How to Remove Maxi Cosi Mico 12 from Car Seat Guide
Maxi cosi mico 12 removal from car isn't just about unhooking a seat, it's a precise mechanical process where one missed step can compromise safety. You should know whether you're taking out the carrier only or the entire base system before touching anything. Many parents try to force it free and end up cracking plastic or damaging vehicle upholstery instead.
Per FMVSS 213 standards, every component of the installation system matters for proper restraint during a collision. Removing the base requires specific techniques for different vehicle anchor types. Let's break down the exact steps to handle this safely.
Understanding the Difference: Carrier vs. Base Removal
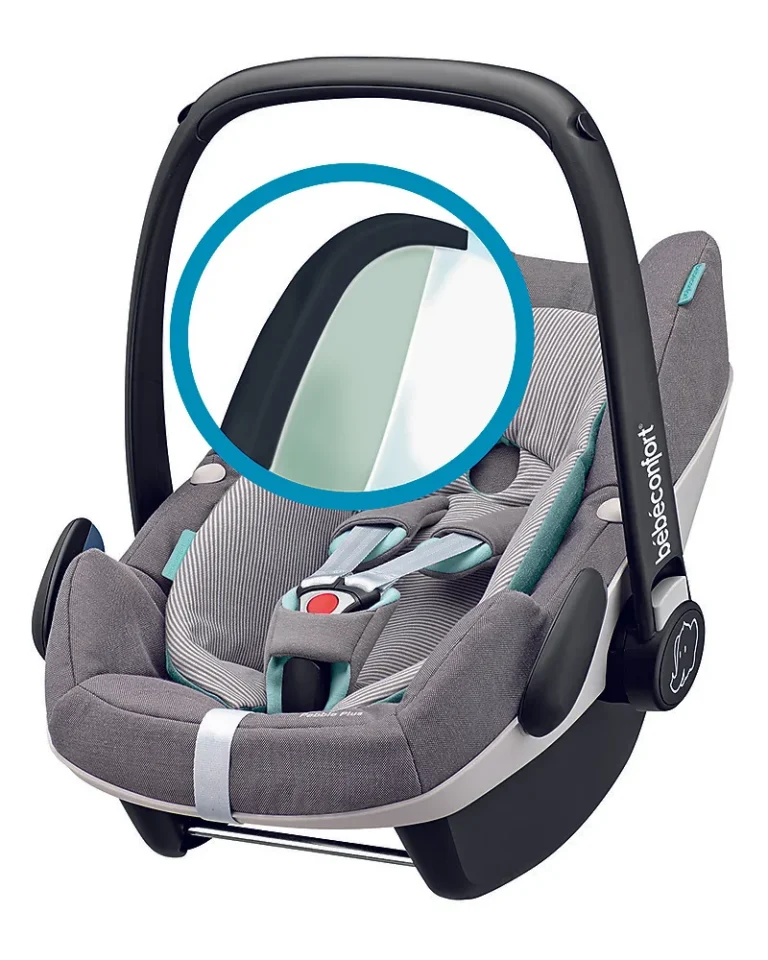
The first thing you need to know is the difference between taking off the baby carrier and removing the base. These tasks share similar safety concerns but require different actions. Removing the Mico carrier (the part holding the baby) is generally simpler and designed to happen frequently.
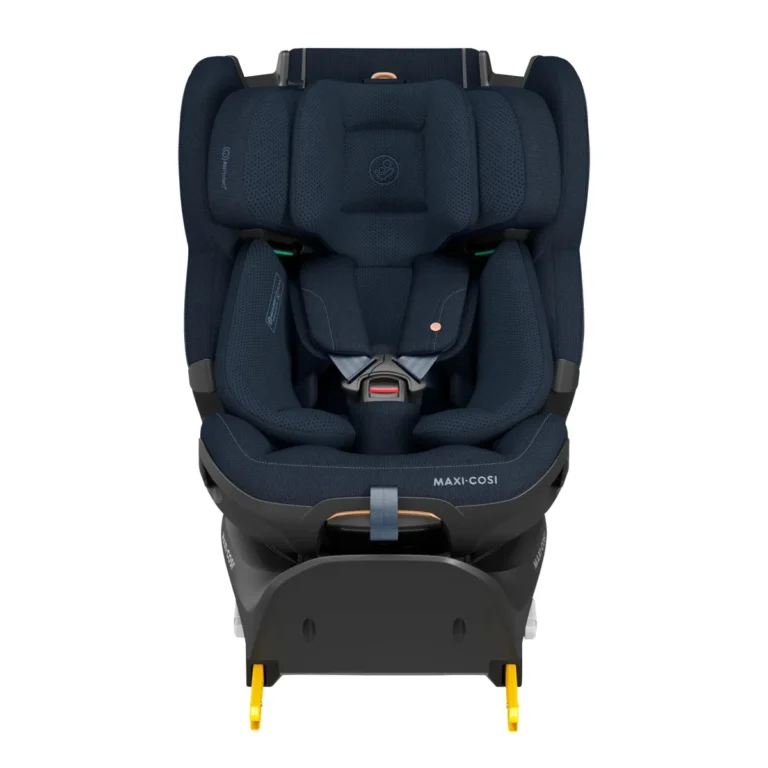
The base stays installed in the car and requires more force to detach because it anchors into vehicle structures.
| Feature | Mico Carrier Removal | Base Removal |
|---|---|---|
| Frequency | Multiple times daily | Infrequently (cleaning, travel, switching cars) |
| Required Tools | None | May need seatbelt leverage or latch release |
| Primary Goal | Transport baby to stroller | Access vehicle seat or perform maintenance |
| Complexity | Low | Moderate |
You'll typically remove the carrier by lifting the handle up or pressing release buttons on the side. The base often requires manipulating LATCH connectors or seatbelts that are routed through slots in the plastic platform. Understanding which component you're working with before you start prevents frustration and potential damage to either the car seat or your vehicle.
Safety First: What to Check Before You Begin
Before you even touch the Maxi-Cosi system, take a moment to check the condition of the components. A worn or damaged part should never be forced during removal. Check for visible cracks in the plastic, frayed straps, or melted-looking edges on any component.
These indicate the item has reached the end of its useful life.
Per manufacturer specifications, you must verify the expiration date on the sticker located on the bottom of the base or carrier. The date is usually molded into the plastic itself. As of 2026, most infant seats have an expiration of six years from manufacture.
Never attempt to repair a cracked harness clip or a deformed base shell. If you find defects, discontinue use immediately.
Pre-Removal Checklist
- Check the manufacturing date for expiration
- Inspect all straps for cuts or abrasions
- Verify the level indicator bubble is intact
- Ensure the carry handle locks properly in position
- Confirm the vehicle seat fabric isn't caught under the base
This checklist prevents you from discovering a problem only after you've started the process and are stuck. If the base is tight or resistant, do not twist or pull excessively. Look for obstructions first, such as a seatbelt buckled into the pathway or a LATCH hook snagged on a seam.
- Check the manufacturing date for expiration
- Inspect all straps for cuts or abrasions
- Verify the level indicator bubble is intact
- Ensure the carry handle locks properly in position
- Confirm the vehicle seat fabric isn't caught under the base
This checklist prevents you from discovering a problem only after you've started the process and are stuck. If the base is tight or resistant, do not twist or pull excessively. Look for obstructions first, such as a seatbelt buckled into the pathway or a LATCH hook snagged on a seam.
Step-by-Step: Removing the Carrier (Bucket Only)
Bing (Web (fair-use with source credit))
If you only need to take the baby out, the process is straightforward. First, unlatch the harness chest clip and pull the harness straps loose. You want them relaxed so the carrier can slide out smoothly.
Then, locate the carry handle on the side of the infant seat.
The handle often has a locking mechanism that needs to be in the "up" or "carry" position to release from the base. If it is down or folded, the carrier cannot lift out. Press the release button on the side of the base while gently lifting the carrier upward.
You should hear or feel a distinct click as it disconnects.
Carrier Release Sequence
- Loosen harness: Pull the adjustment strap to ease tension
- Adjust handle: Lift carry handle to vertical position
- Disconnect: Press side release lever while lifting
- Inspect: Check that harness straps are unbunched
If the carrier feels stuck, check if the harness is tightened too much. Sometimes the straps pinch against the base mechanism. Loosen the harness again and try lifting.
Most parents find this takes only seconds once they know which button to press. Keep the carrier horizontal when holding the baby to avoid tilting their head forward.
The Critical Step: Releasing the Top Tether
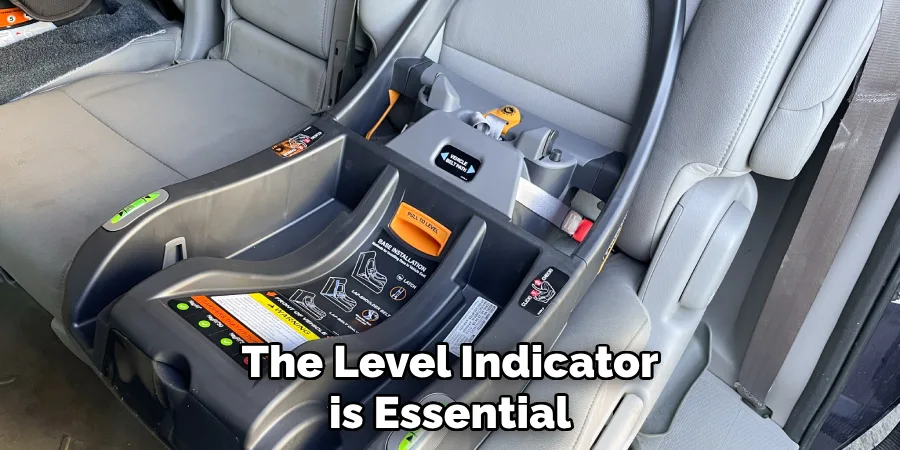
Bing (Web (fair-use with source credit))
When removing the base system, the top tether is the first point that must be disconnected. This strap hooks to a rear anchor point in the vehicle, often behind the seat or on the floor. Leaving this attached while trying to remove the base creates dangerous tension that can rip the anchor or damage the strap mechanism.
Look for the hook on the back of the base or the carrier. Unhook it from the vehicle anchor point. You may need to reach behind the car seat to find the anchor clip.
Once the tether is free, the base loses its upper stabilization and becomes easier to manage. This step is crucial for preventing the base from twisting unexpectedly during removal.
Tether Handling Tips
- Find the anchor: Check vehicle owner's manual if you can't see it
- Unhook carefully: Don't let the tether snap back against you
- Secure the strap: Tuck the loose end so it won't get trapped in the seat
If your vehicle doesn't have a dedicated tether anchor for rear-facing seats, ensure the strap is routed correctly per the user manual. Some older vehicles require tying the strap to a belt loop or a heavy object if no tether exists. Always refer to both the car seat manual and vehicle manual to verify compatibility before starting.
Removing the Base: LATCH vs. Seat Belt Methods
How you remove the base depends entirely on how it was installed. If you used LATCH (Lower Anchors and Tethers for Children), you need to release the lower hooks. If you used the vehicle seatbelt, you need to unfasten the buckle and slide the strap out.
Using the wrong technique for the installed method can cause damage or make removal impossible.
LATCH Method: Locate the red or grey release buttons on the LATCH connectors at the bottom of the base. Press these buttons to disengage the hooks from the vehicle seat anchors. Once both sides are released, you can wiggle the base free.
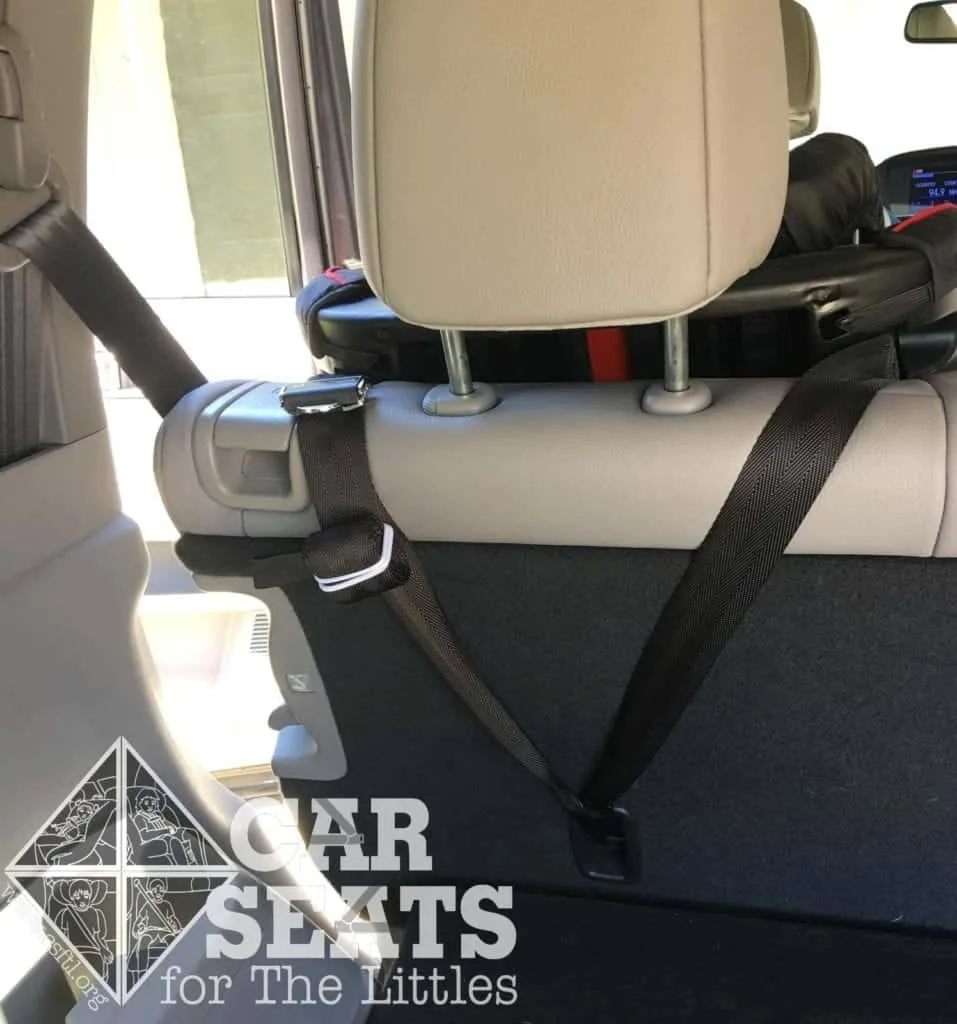
Seat Belt Method: Unbuckle the vehicle seatbelt. Pull the entire belt webbing out from the base's belt path. You might need to twist the base slightly to create slack if the belt is tight.
Base Removal Comparison
| Method | Disengagement Speed | Risk of Damage | Best Scenario |
|---|---|---|---|
| LATCH Release | Fast (30 seconds) | Low if buttons work smoothly | Frequent base transfers |
| Seat Belt Release | Slower (60+ seconds) | Higher (webbing tension risk) | Vehicles with tight seats |
Image source: Bing (Web (fair-use with source credit))
If the base is stuck despite releasing the anchors, check if the vehicle seat bolster is pinching it. Push the seat cushion inward to create space. You can also tilt the base slightly forward to unhook the front anchor point before pulling it out.
Never use sharp tools to pry the base; use your hands or a plastic trim tool if absolutely necessary.
Common Mistakes That Lead to Damage or Stuck Bases
Even experienced parents make errors during removal that result in costly repairs or damaged seats. Forcing the base off without releasing the tension first is the most common cause of broken plastic clips or cracked bases. You should never attempt to pull the base while the top tether or LATCH connectors are still under load.
Another frequent mistake involves leaving the harness straps wound tightly around the base during removal. This traps the straps inside the vehicle seat cushion, making future installation difficult. Always loosen the harness fully and allow straps to retract before attempting base removal.
Also, be careful not to damage the seatbelt buckle webbing by letting the base rest on it while you work.
Mistake Avoidance Guide
- Never pry with metal tools: Use plastic trim removers only
- Don't ignore the handle position: Must be up to release carrier
- Check for seat fabric pinch: Adjust cushion if base won't budge
- Untangle straps early: Prevents webbing from getting crushed
Image source: Bing (Web (fair-use with source credit))
If the base feels completely immovable, double-check that the seatbelt is fully unbuckled and the LATCH connectors are fully disengaged. Sometimes the vehicle seatbelt retracts automatically and locks, creating tension that feels like the base is welded in place. Pulling on the seatbelt release lever with a flat tool can help release this lock without damaging the mechanism.
Expert Tips for Easy Removal Every Time
Proper technique makes all the difference in how smooth your removal process will be. The biggest tip is to keep your work area clear. Remove loose items from the back seat so you have room to maneuver the base.
Also, ensure your hands are dry and clean. Grease or sweat can slip off release buttons, causing you to miss the mechanism.
Another pro tip involves timing. Removing the base when the car is cool helps because plastic expands slightly in heat. Hot plastic can feel stiffer and resist release mechanisms more than cool plastic.
If you must remove the base in hot weather, allow the vehicle to cool down for a few minutes before starting. This minor temperature adjustment can reduce resistance significantly.
Removal Efficiency Checklist
- Clear the work area: Remove bags, toys, and loose items from the back seat
- Check temperature: Cool car seats release easier than hot ones
- Inspect straps: Ensure no harness webbing is caught under the base
- Use both hands: One for pulling, one for stabilizing the base
Keep a cloth handy to wipe down the base after removal. This removes any sweat or oils that could degrade the plastic over time. Store the base in a shaded area when not in use to prevent UV damage.
Regular maintenance of the base ensures it remains safe and functional for future installations and removals.
Frequently Asked Questions
Can I remove the base without unbuckling the seat belt?
Only if the seat belt was never used to install the base. If you installed the base using the seat belt method, the belt is threaded through specific slots and locked. Attempting to remove the base without releasing the belt tension will likely damage the base or the seat belt buckle mechanism.
You must unbuckle and slide the belt out of the base first.
Does removing the base void the warranty?
Regular removal for cleaning or transport does not void the warranty provided you follow the manufacturer's instructions. However, damage caused by forceful removal or using incorrect tools might not be covered. Always refer to the specific warranty terms in your Maxi-Cosi documentation to understand what conditions preserve coverage.
How often should I take the base out for cleaning?
You should remove the base when the car seat gets visibly dirty or after any spills that soak into the fabric. Routine cleaning every few months is also recommended to prevent buildup of dust and allergens. Removing the base allows you to clean both the vehicle seat and the base itself thoroughly.
What if the base is stuck after following all steps?
If the base is still stuck after releasing all straps and checking for fabric pinch, consult a Certified Child Passenger Safety Technician. Forcing it could cause irreversible damage to the vehicle seat or the car seat base. A professional can identify the specific obstruction and remove it safely without compromising safety standards.