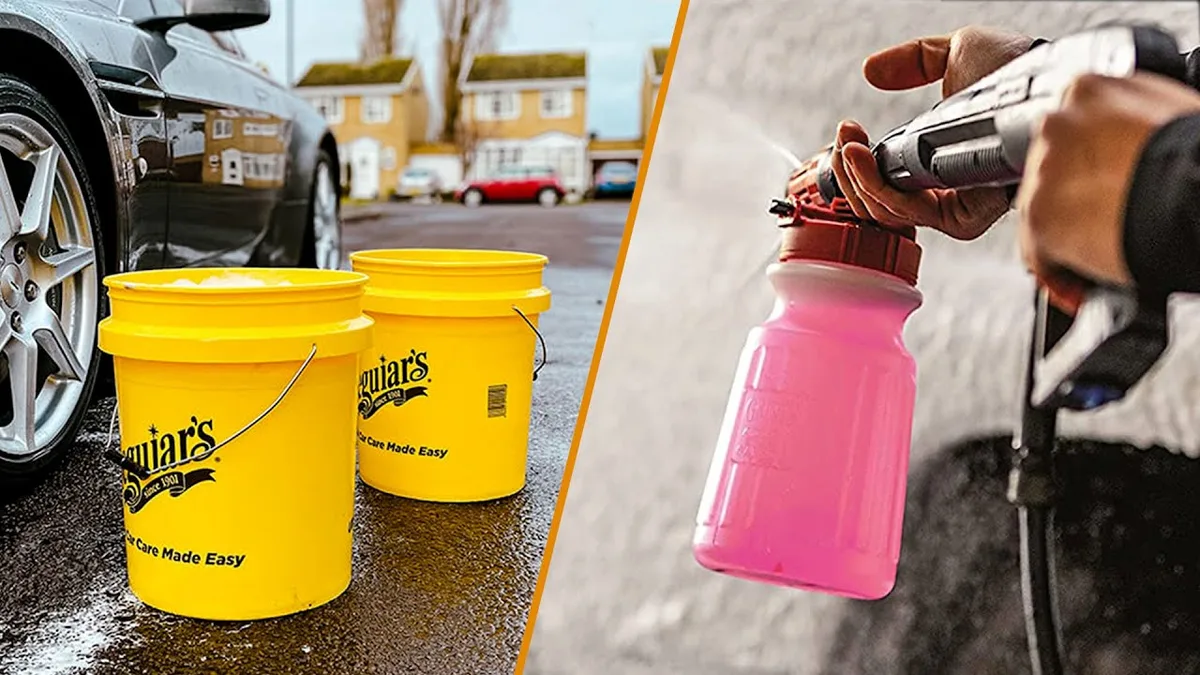
Image source: YouTube / Car Care (YouTube thumbnail (fair-use with source credit))
Tired of seeing white mineral spots all over your car after a wash? A proper diy spot free car wash fixes this by controlling water quality and drying technique. Hard water leaves behind calcium and magnesium deposits that turn into stubborn spots as the water evaporates.
Water hardness above 120 PPM (parts per million) is the usual culprit. The good news is you don’t need a professional setup to get a showroom finish.
Quick Answer
A diy spot free car wash uses filtered or deionized water to prevent mineral deposits. The two-bucket method with grit guards stops swirl marks. Drying with a plush microfiber towel or blower removes water before spots form.
Hard water areas need a DI or RO system for best results.
Why You’re Getting Water Spots (And How to Stop Them)
Water spots happen when minerals in tap water dry on your paint. Hard water contains calcium, magnesium, and other dissolved solids that don’t evaporate. When the water does, those minerals stay behind as white or gray deposits.
The severity depends on your local water hardness. Areas with 180+ PPM (very hard water) will see spots almost immediately. Even moderate hardness (61, 120 PPM) can leave a film if you don’t rinse and dry properly.
The solution is either removing the minerals before they touch your car or preventing them from drying on the surface.
The 3 DIY Spot-Free Car Wash Methods That Actually Work
Not all methods work for every situation. The best approach depends on your water quality, budget, and how much effort you’re willing to put in.
Two-Bucket Wash Method
Best for most people with moderate water hardness. Uses a pH-balanced car shampoo, grit guards, and proper drying to minimize spots. Affordable and effective for regular maintenance.
DI/RO Water Rinse
Best for hard water areas (120+ PPM). Uses deionized or reverse osmosis water for the final rinse to eliminate minerals. Requires an upfront investment in a filtration system but delivers the best spot-free results.
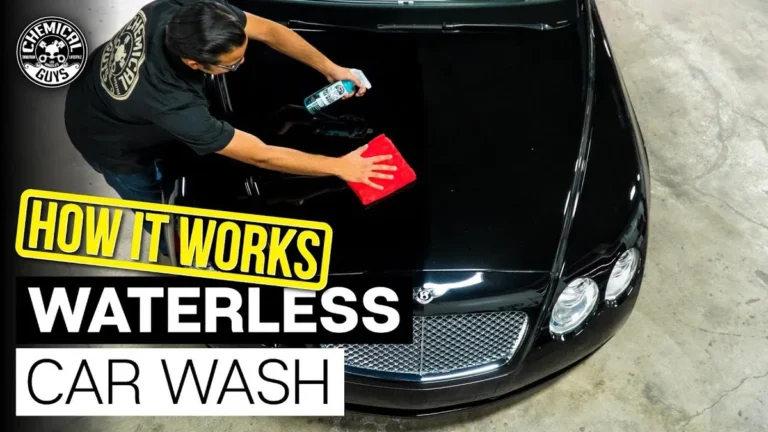
Waterless Wash
Best for quick cleanups or water-restricted areas. Uses a lubricating spray (like Optimum No Rinse) to lift dirt without rinsing. Ideal for light dust or between full washes, but not as thorough for heavy grime.
Which Method Is Right for You? (Decision Guide)
If your water is soft (0, 60 PPM), the two-bucket method with proper drying will likely suffice. You’ll get great results with minimal extra cost.
If your water is hard (120+ PPM), you’ll need a DI/RO system for the final rinse. Without it, spots will keep coming back no matter how well you wash and dry.
If you’re in a drought area or don’t have access to a hose, a waterless wash is your best bet. It’s also useful for touch-ups between full washes.
What You’ll Need: Tools & Supplies for Each Approach
Here’s a breakdown of the essentials for each method. You don’t need everything, just what matches your chosen approach.
| Method | Tools & Supplies |
|---|---|
| Two-Bucket Wash | pH-balanced car shampoo, two 5-gallon buckets, grit guards, microfiber wash mitts, plush drying towels |
| DI/RO Water Rinse | DI/RO filtration system (or portable unit), pressure washer (optional), microfiber towels or blower |
| Waterless Wash | Waterless wash spray (e.g., ONR), microfiber towels, quick detailer (optional) |
For the two-bucket method, grit guards are non-negotiable. They trap dirt at the bottom of the bucket so you’re not grinding it back into your paint. A pressure washer isn’t required for the DI/RO rinse, but it speeds up the process and helps remove stubborn dirt before the final rinse.
Step-by-Step: The Two-Bucket Wash (Best for Most People)

Image source: YouTube / Online Detailing Store (YouTube thumbnail (fair-use with source credit))
Start with a thorough pre-rinse using a pressure washer or hose. This removes loose dirt before you touch the paint. Use a 40-degree nozzle if you have a pressure washer to avoid damaging the clear coat.
Fill one bucket with soapy water using a pH-balanced car shampoo. Fill the second bucket with clean water for rinsing your mitt. Add grit guards to both buckets to trap dirt at the bottom.
Wash the car in sections from top to bottom. Dip your mitt in the soap bucket, wash a panel, then rinse the mitt in the clean water bucket before reloading with soap. This prevents cross-contamination.
Rinse each section immediately after washing. Work in the shade to prevent soap from drying too quickly.
Step-by-Step: The DI/RO Water Rinse (For Hard Water Areas)
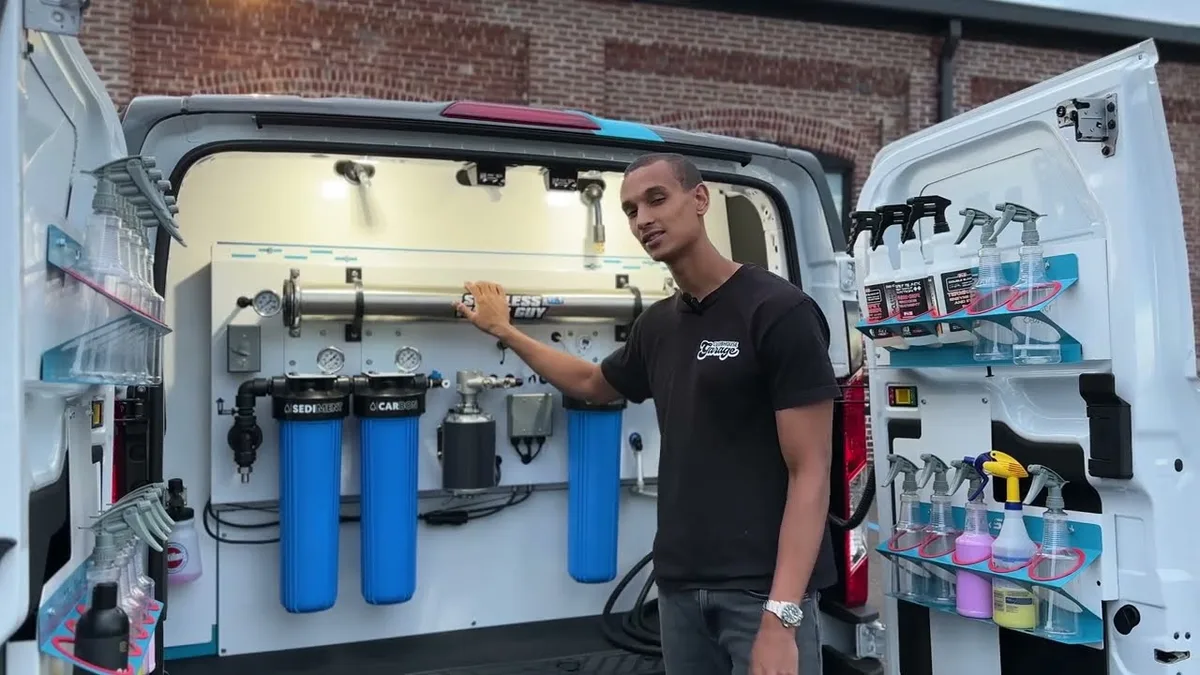
Image source: YouTube / Clubhouse Garage (YouTube thumbnail (fair-use with source credit))
Begin with a standard wash using your preferred method. The key difference is in the final rinse. Use a DI or RO system to filter out minerals from the water.
Portable DI/RO units are available if you don’t have a permanent setup. These typically produce 1-5 gallons of filtered water per day. For a full car rinse, you’ll need about 5-10 gallons.
Rinse the car thoroughly with the filtered water. Start from the top and work down to ensure all soap residue is removed. The lack of minerals means the water will sheet off without leaving spots.
If you’re using a pressure washer, attach a filter to the water supply line. This ensures the water entering the washer is already softened.
Step-by-Step: The Waterless Wash (For No-Rinse Situations)
Spray a waterless wash product like Optimum No Rinse onto a small section. Use a high-quality microfiber towel to lift the dirt away. Work in straight lines, not circles, to avoid swirl marks.
Fold the towel frequently to expose a clean surface. This prevents reapplying dirt to the paint. For heavily soiled areas, you may need to use more product or switch to a traditional wash.
Waterless washes are ideal for light dust or between full washes. They’re not a substitute for a thorough wash when the car is very dirty. Always work in the shade to prevent the product from drying too quickly.
Common Mistakes That Cause Spots (And How to Fix Them)
Using dish soap instead of car shampoo strips wax and leaves residue. Switch to a pH-balanced car soap to protect your paint and prevent streaking.
Washing in direct sunlight causes water and soap to dry too fast. This leads to spots and streaks. Always wash in the shade or on a cloudy day.
Skipping the grit guard means dirt stays in your wash water. This leads to swirl marks as you drag contaminants across the paint. Use grit guards in both buckets to keep dirt at the bottom.
Not drying the car properly leaves water to evaporate and deposit minerals. Use a plush microfiber towel or a blower to remove water completely. Pay special attention to crevices and trim where water can hide.
Hard Water? Here’s How to Test and Treat It
Test your water hardness with a simple kit available at hardware stores. These kits measure PPM (parts per million) of dissolved minerals. Anything above 120 PPM is considered hard water.
If your water is hard, consider installing a water softener for your home. For car washing, a portable DI or RO system is more practical. These systems filter out the minerals that cause spots.
You can also use a water spot remover after washing if spots have already formed. These products dissolve mineral deposits without damaging the paint. Prevention is easier than correction, so addressing hard water at the source is the best long-term solution.
Drying Like a Pro: Towels, Blowers, and Technique
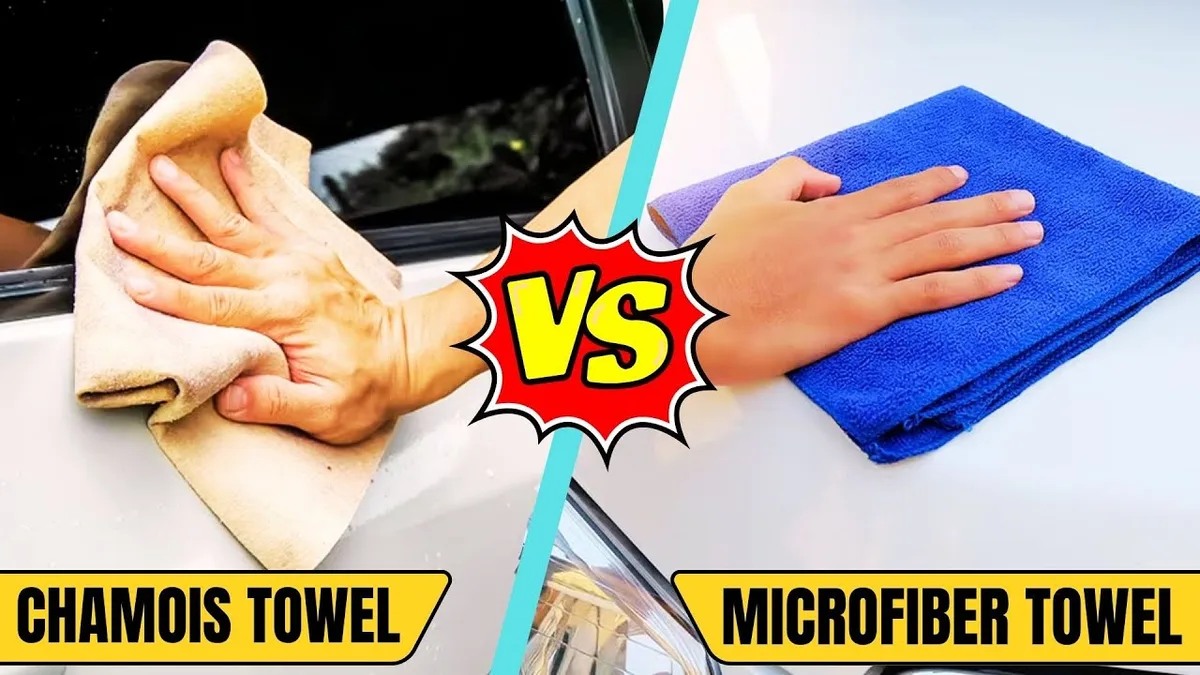
Image source: YouTube / Motor Mastery (YouTube thumbnail (fair-use with source credit))
Use a plush microfiber towel with at least 400 GSM. Lower quality towels can scratch paint or leave lint behind. Pat the surface dry instead of rubbing to avoid swirl marks.
A leaf blower speeds up drying and blows water out of crevices. Use it on a low setting to avoid damaging trim or seals. Start from the top and work down to prevent water from dripping onto dry areas.
Open doors and hatches to dry jams and seals. These areas trap water and can develop spots if left wet. A small microfiber towel works well for tight spaces.
Cost Breakdown: DIY vs. Automatic Car Washes
A basic two-bucket setup costs around $50 for buckets, grit guards, mitts, and soap. This is a one-time purchase that lasts for years. DI/RO systems range from $200 for portable units to $1,000+ for permanent installations.
Automatic car washes cost $10, $20 per wash. Over a year, this adds up to $500, $1,000 for weekly washes. DIY methods pay for themselves quickly if you wash frequently.
Waterless wash products cost $15, $30 per bottle. Each bottle typically covers 4, 8 washes. This is the most budget-friendly option for occasional cleaning.
Pro Tips for a Flawless, Streak-Free Finish
Wash your car when it’s cool to the touch. Hot surfaces cause water and soap to dry too quickly. Early morning or evening washes work best in warm climates.
Use separate mitts for wheels and paint. Wheel cleaner contains harsh chemicals that can damage paint. Always rinse the mitt thoroughly after cleaning wheels.
Apply a quick detailer spray after drying. This adds shine and helps prevent water spots on future washes. It also makes the next wash easier by reducing dirt adhesion.
Safety & Compliance: What to Watch Out For
Avoid pressure washers over 2,500 PSI. High pressure can strip paint or damage trim. Use a 25, 40 degree nozzle for safe cleaning.
Never use household cleaners like dish soap. These can strip wax and damage clear coats. Stick to pH-balanced car shampoos.
Check local water restrictions. Some areas limit car washing during droughts. Use waterless methods if restrictions apply.
Frequently Asked Questions
Can I use a garden hose for a spot-free rinse?
A garden hose works but won’t remove all minerals. For hard water areas, a DI/RO system is needed for truly spot-free results. Always dry thoroughly after rinsing.
How often should I wash my car to prevent spots?
Wash every 1, 2 weeks to prevent dirt buildup. More frequent washes are needed in harsh climates or if you park under trees. Regular washing makes each clean easier.
Do I need a pressure washer for a spot-free wash?
No, a pressure washer isn’t required. A hose with a nozzle works fine for rinsing. A pressure washer just speeds up the process and helps remove stubborn dirt.
What’s the best way to remove existing water spots?
Use a water spot remover or a 50/50 mix of white vinegar and water. Apply with a microfiber towel and rinse thoroughly. For severe spots, a clay bar can help lift embedded minerals.
Can I use a chamois instead of a microfiber towel?
Chamois can work but aren’t as absorbent as plush microfiber. They also require more maintenance to stay clean. Microfiber is the safer choice for most users.