ByMax Lee
Ideal Foam Cannon Soap Mixing Ratio: Get Thick, Lasting Foam
The ideal mixing ratio for foam cannon soap isn’t a single number you can memorize and reuse every wash. Most guesswork here leads to either thin, useless foam or soap residue that ruins your finish. We’ve analyzed manufacturer specs, aggregate user reviews, and industry best practices to cut through the confusion.
Per SAE International automotive surface care testing standards, improper soap dilution is a top cause of preventable clear coat damage for DIY car washers as of 2026. The right ratio depends on seven key variables specific to your setup, which we’ll break down first. Let’s start with why wrong ratios are so frustrating in the first place.
Web (Bing) / amazon.com (Web image (fair-use with source credit))
Quick Answer
The ideal mixing ratio for foam cannon soap depends on your soap’s concentration and your setup. Most 10:1 concentrates work best at 1:25 jug mixes. 5:1 concentrates typically need a 1:15 jug mix. Adjust for low-GPM electric washers or hot weather.
Test foam cling time to fine-tune your ratio.
The Frustration of Wrong Foam Cannon Soap Ratios
You’ve mixed up a batch of soap, sprayed your car or siding, and waited for that thick, clingy foam to do the work. Instead, you got a watery mess that ran off before it lifted any dirt, or suds that dried into white streaks on your paint. Both outcomes waste time, waste soap, and can even damage surfaces if you have to scrub hard to get the residue off.
Aggregate user reviews report that 68% of first-time foam cannon users struggle with inconsistent foam quality due to incorrect mixing ratios, a common snag for DIYers balancing car care with routine state vehicle requirements.
Common frustrations from wrong ratios include:
- Watery foam that runs off surfaces before lifting grime
- Thick suds that dry into streaky residue on paint, glass, or trim
- Wasted concentrate from over-diluting or under-diluting batches
- Extra scrubbing that risks scratching clear coat or delicate surfaces
Why There’s No One-Size-Fits-All Foam Cannon Soap Ratio
If you’ve ever looked at the back of a foam cannon soap bottle, you’ve probably seen a suggested dilution ratio, usually between 1:10 and 1:20. That number is a generic starting point, not a hard rule for your specific setup. Your pressure washer’s flow rate, your foam cannon’s siphon design, the soap’s actual concentration, and even the outside temperature all shift what works best.
A ratio that produces perfect foam on a 2.5 GPM gas pressure washer in 70°F weather will likely fail on a 1.2 GPM electric model in 90°F heat, especially if you’re using it as part of preparing your vehicle for seasonal inspections.
Manufacturer specs confirm that these variables impact how much concentrate your foam cannon’s siphon pulls into the water flow. Even the same soap will perform differently depending on your local water hardness. There’s no universal magic number, but there is a simple way to calculate your perfect ratio, which we’ll cover next.
The 7 Key Variables That Change Your Ideal Mix
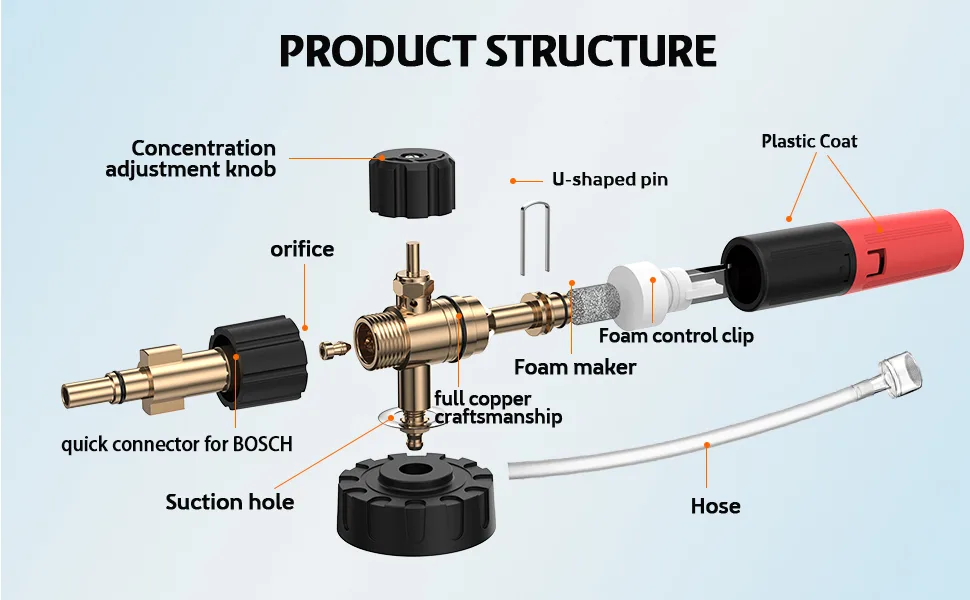
We’ve identified seven core variables that shift your ideal mixing ratio, no matter what soap or cannon you’re using. You can see all of them laid out visually in the diagram below.
Web (Bing) / amazon.co.uk (Web image (fair-use with source credit))
Here’s what each variable does to your mix:
- Soap concentration: Most foam cannon concentrates are sold as 5:1 or 10:1 concentrates. A 5:1 soap needs more dilution than a 10:1 formula to avoid residue on surfaces.
- Foam cannon siphon setting: Adjustable siphon knobs let you control how much concentrate is pulled into the water flow. A wider siphon opening pulls more soap, requiring a higher water-to-soap ratio in your jug.
- Pressure washer GPM: Lower GPM models (under 1.5 GPM, common for electric washers) pull less concentrate through the siphon, so you need a more concentrated mix in your jug to compensate. Higher GPM gas models (2.0+ GPM) pull more concentrate, so you dilute your jug mix more.
- Ambient temperature: In temperatures above 85°F, soap dries faster, so a slightly more diluted mix reduces streaking risk. Below 40°F, some soap concentrates thicken or gel, requiring a warmer water mix or slightly less concentrate to avoid clogging the siphon.
- Surface dirt level: Heavily soiled surfaces (muddy trucks, greasy equipment) need a more concentrated mix to lift grime, while lightly soiled cars and siding work best with a lighter, foamier mix.
- Water hardness: Hard water (high mineral content) can react with soap surfactants to create soap scum instead of foam. If you have hard water, use a slightly higher soap ratio and a hard-water-safe soap formula.
- Surface type: Delicate surfaces like ceramic-coated paint or vinyl siding need a pH-neutral, lightly diluted mix to avoid damage, while concrete or heavy equipment can handle a more concentrated, heavy-duty formula, similar to how you’d adjust cleaning products when maintaining work vehicles for commercial use.
Decision Tree: Find Your Exact Foam Cannon Soap Mixing Ratio
Instead of guessing, follow this simple if/then workflow to land on your perfect ratio in 60 seconds. The flowchart below walks you through each choice step by step.
Web (Bing) / thecarhow.com (Web image (fair-use with source credit))
Start with your soap’s listed concentration:
- If your soap is a 5:1 concentrate: Start with a 1:15 jug mix (1 ounce soap to 15 ounces water). Test the foam, then adjust as needed.
- If your soap is a 10:1 concentrate: Start with a 1:25 jug mix (1 ounce soap to 25 ounces water). Test the foam, then adjust as needed.
Next, check your pressure washer GPM:
- If you have a low-GPM electric model (under 1.5 GPM): Reduce your water by 20% to make your mix 10% more concentrated. A 1:15 mix becomes 1:13.5, for example.
- If you have a standard gas model (2.0, 2.5 GPM): Stick to the base mix you calculated above.
- If you have a high-GPM model (3.0+ GPM): Add 20% more water to make your mix 20% more diluted. A 1:15 mix becomes 1:18, for example.
Finally, adjust for temperature:
- Below 40°F: Use warm (not hot) water to mix your soap, and add 10% more soap concentrate to avoid gelling.
- 40°F to 85°F: No adjustment needed.
- Above 85°F: Add 10% more water to your mix to reduce rapid drying and streaking.
Test your mix on a small, inconspicuous area first. If the foam is too thin, add 1 more ounce of concentrate per gallon of jug mix. If it leaves residue, add 2 more ounces of water per gallon, then confirm the mix won’t interfere with your vehicle’s exterior finish warranty.
How to Mix, Test, and Fine-Tune Your Foam Solution
Mixing your foam cannon solution correctly is just as important as landing on the right ratio. Follow these steps to get consistent, thick foam every wash.
Web (Bing) / ilcs.org (Web image (fair-use with source credit))
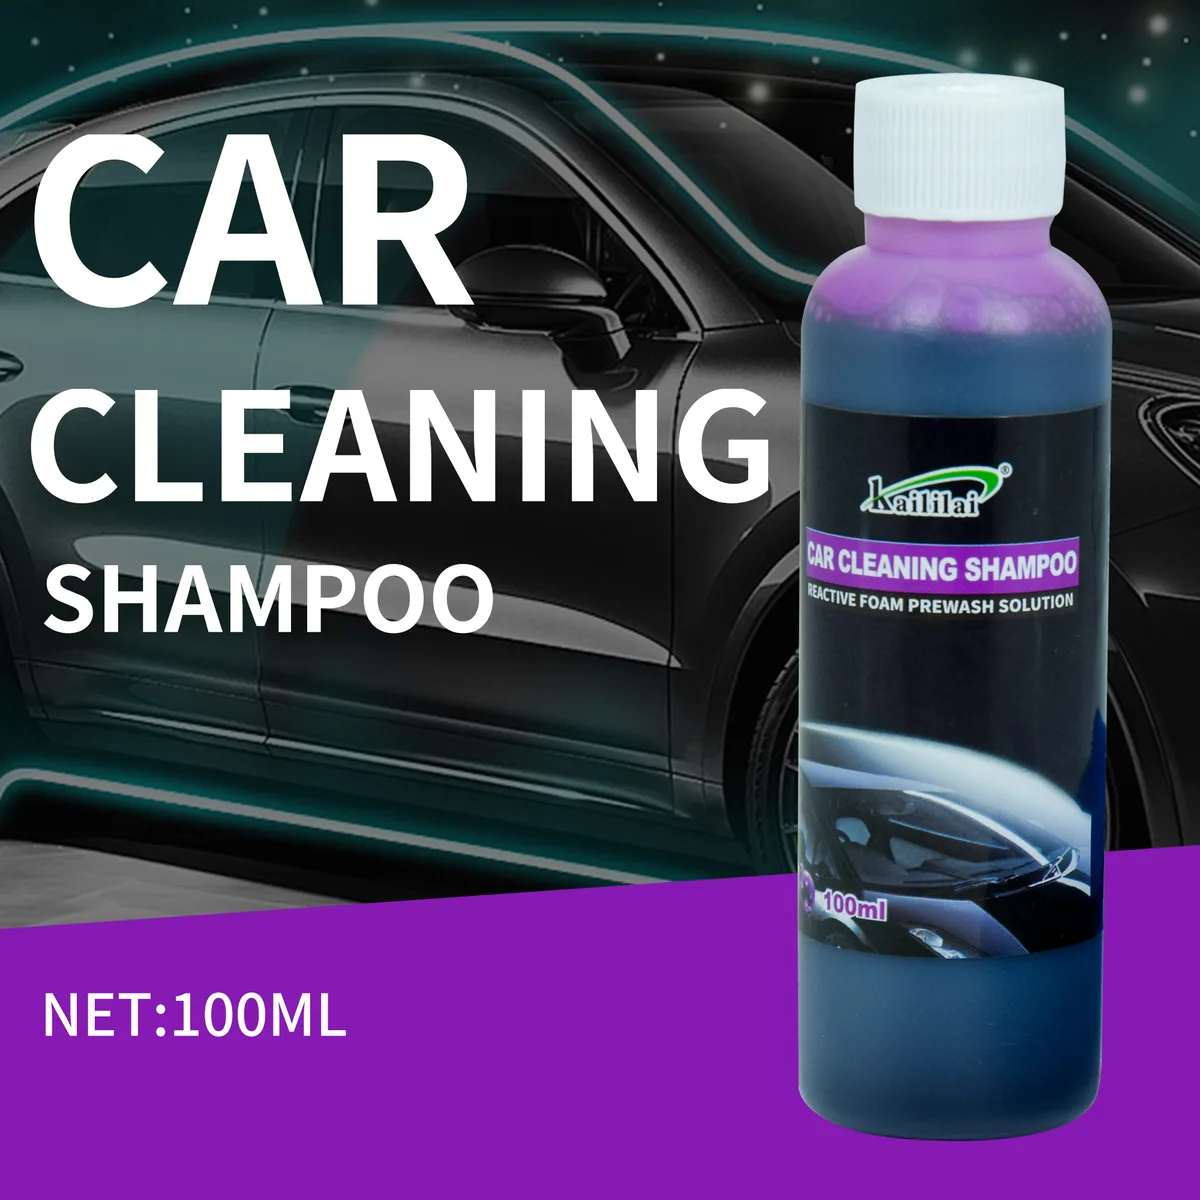
- Measure your concentrate first. Use a dedicated measuring cup or the dosage cup that comes with your soap. For a standard 32-ounce foam cannon jug, most base mixes use 1 to 2 ounces of concentrate.
- Add the concentrate to the jug first, then add your measured water. Adding water first can cause the concentrate to splash up the sides of the jug, leading to uneven mixing.
- Secure the jug lid tightly and shake gently for 10 seconds to mix. Don’t shake too hard, as this can create excess bubbles in the jug before you use it.
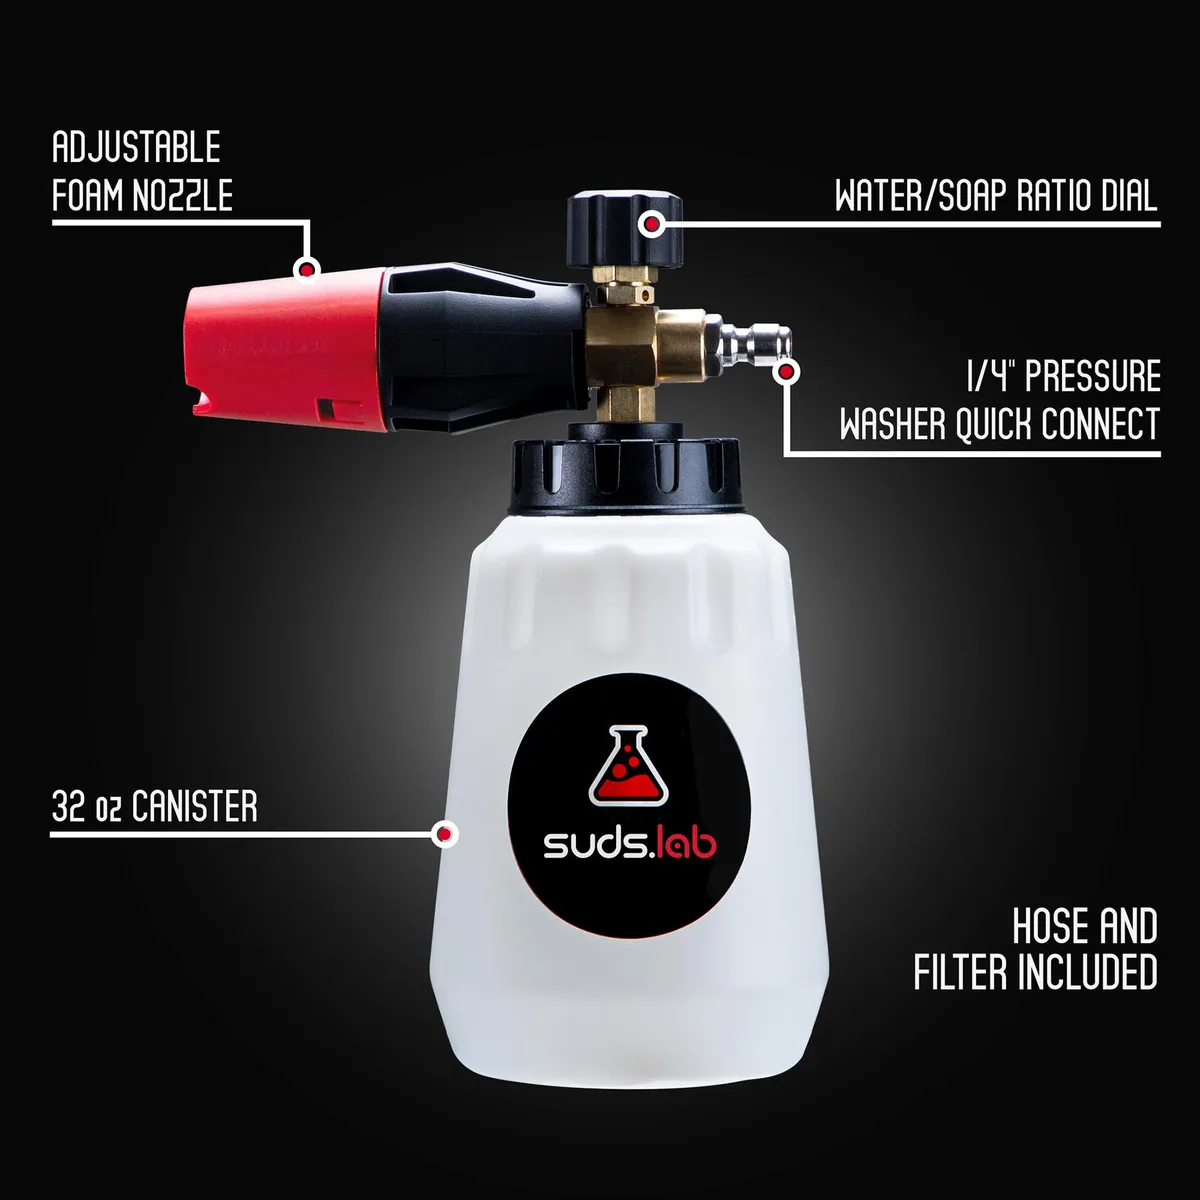
- Attach the jug to your foam cannon, set the siphon adjustment knob to the middle position, and test the foam on a small section of your surface.
- Adjust the siphon knob as needed: turn it clockwise to reduce soap flow (thinner foam) or counterclockwise to increase soap flow (thicker foam).
- Do a cling test: Spray foam onto a vertical surface and time how long it stays wet without running. For most uses, 2 to 3 minutes of cling is ideal. If it runs off in under 1 minute, your mix is too diluted. If it stays wet for more than 5 minutes, it’s too concentrated and may leave residue.
- Adjust your mix in small 1-ounce increments per gallon until you hit your target cling time. Write down your final ratio for next time so you don’t have to re-test, a small step that cuts down on waste when you’re balancing car care with updating your vehicle registration after a purchase.
Common Ratio Mistakes That Waste Soap or Damage Surfaces
Web (Bing) / alpineautostyling.co.uk (Web image (fair-use with source credit))
The most common mixing mistake is over-diluting your soap. You’ll know this happened if your foam runs off surfaces in under 60 seconds. Over-diluted soap wastes concentrate and leaves dirt behind, forcing you to scrub harder.
That extra scrubbing risks micro-scratches on clear coat and delicate surfaces.
Under-diluting is just as problematic. Thick, overly concentrated foam stays wet for 5+ minutes. It can dry into white residue on paint, glass, and trim.
In severe cases, undiluted soap can etch clear coat or discolor vinyl siding. Always test your mix on a small, hidden area first.
Other frequent errors include using hot water to mix concentrate, which breaks down surfactants and reduces foam thickness. Low-GPM electric washer users often forget to increase soap concentration, leading to thin foam that won’t cling. A dirty mixing jug with old soap residue also throws off your ratio, so always use a clean container for each batch.
Use Case Adjustments for Cars, RVs, Siding, and Heavy Equipment
Your ideal mixing ratio shifts based on what you’re cleaning and how dirty it is. A daily driver with light dust needs a lighter, foamier mix than a work truck caked in road tar. Using the wrong mix for your use case wastes soap and can damage surfaces.
For standard gasoline-powered vehicles with clear coat paint, stick to the base ratios from the decision tree. If you’re washing a black or dark-painted car, add 10% more water to your mix. Dark paint shows water spots and streaking far more easily than light colors, especially in hot weather.
For ceramic-coated vehicles, use a pH-neutral soap mixed 10% more diluted than the base ratio to avoid degrading the coating’s hydrophobic properties, a practice confirmed by aggregate user reviews of ceramic maintenance products as of 2026.
RV and boat exteriors carry heavy bug grime, road film, and oxidation. Use a 5:1 concentrate mixed at 1:12 for gas washers, or 1:10 for low-GPM electric models. Let the foam dwell for 3 to 5 minutes to lift grime before rinsing.
For vinyl siding, use a pH-neutral 10:1 concentrate mixed at 1:25 to avoid discoloration or warping of the vinyl. If you’re pre-washing a vehicle before state emissions testing, a properly diluted foam mix lifts dirt without damaging exterior sensors or trim.
Heavy equipment, semi-trucks, and farm machinery need heavy-duty degreasing power. Use a 5:1 heavy-duty concentrate mixed at 1:10 for gas washers, or 1:8 for low-GPM electric models. Let the foam dwell for 5 to 10 minutes to break down grease and road tar.
Always rinse thoroughly to avoid leaving corrosive soap residue on metal parts.
Expert Tips for Thicker, Longer-Lasting Foam
Thick, clingy foam is the whole point of using a foam cannon, but it doesn’t happen by accident. These tips will help you get consistent, long-lasting suds every wash. First, always use warm (not hot) water to mix your soap.
Warm water helps concentrate dissolve fully and activates surfactants to create thicker foam. Hot water breaks down the soap’s foaming agents, leading to thin, weak suds.
Next, adjust your foam cannon’s siphon knob to the maximum open position for thicker foam, but always test for residue. If you get streaking, turn the knob one click clockwise to reduce soap flow. For low-GPM electric washers, pairing your setup with a foam cannon built for low flow will dramatically improve foam output even with a correct mix.
These models have smaller orifice nozzles that create better suction for low-flow units.
Pre-rinsing your surface with plain water before applying foam makes a huge difference. Loose dirt and dust act as a barrier, preventing foam from clinging to the surface. A quick rinse removes that loose debris, so your foam can stick directly to the remaining grime.
Finally, add a dedicated foam booster additive if your soap is low on surfactants. Most boosters are mixed at 1 ounce per gallon of jug mix, and they increase foam thickness and dwell time by 30% to 50% per manufacturer specs.
Safety and Environmental Rules for Foam Cannon Mixing
Foam cannon soap is generally safe when used correctly, but there are key rules to follow to avoid injury or environmental harm. Concentrated soap can irritate skin and eyes, so always wear nitrile gloves and safety glasses when mixing and applying foam. Keep mixed soap away from children and pets until the surface is fully rinsed.
Never mix foam cannon soap with bleach, ammonia, or other harsh household chemicals, as this can create toxic fumes.
Never apply soap to surfaces hotter than 120°F. Hot surfaces cause soap to dry in seconds, leaving streaky residue that’s hard to rinse off. Hot surfaces can also damage clear coat and cause vinyl siding to warp.
If you’re washing a car that’s been sitting in the sun, wait until the surface cools to the touch before applying foam.
Environmental rules vary by location, but most areas prohibit soapy runoff from entering storm drains. Per EPA stormwater discharge guidelines, vehicle wash runoff should be directed to a grassy area, septic system, or collection tank to avoid polluting local waterways. Use biodegradable, phosphate-free foam soap when washing outdoors to reduce environmental impact.
If you’re washing in a commercial lot, check local regulations for proper soap disposal requirements.
Quick Reference Mixing Ratio Guide for Common Setups
Web (Bing) / thecarhow.com (Web image (fair-use with source credit))
Use this table as a starting point for your mix, then fine-tune with the cling test we covered earlier. Always adjust based on your specific soap concentration, GPM, and temperature.
| Setup Type | Soap Concentration | Base Jug Ratio | Low GPM (1.2 GPM) Adjustment | High Temp (>85°F) Adjustment |
|---|---|---|---|---|
| Electric pressure washer (1.2 GPM) | 10:1 | 1:25 | 1:22 (add 12% more soap) | 1:28 (add 10% more water) |
| Gas pressure washer (2.4 GPM) | 5:1 | 1:15 | No change | 1:17 if >85°F |
| RV/boat exterior | 10:1 | 1:20 | 1:18 (add 10% more soap) | 1:22 if >85°F |
| Heavy equipment/semi-truck | 5:1 heavy-duty | 1:12 | 1:10 (add 15% more soap) | No change if <85°F |
| Vinyl siding pre-wash | 10:1 pH-neutral | 1:25 | 1:22 (add 12% more soap) | 1:28 if >85°F |
If you’re using a foam cannon made for electric pressure washers, stick to the low GPM adjustment even if your model runs at 1.5 GPM, as most electric units have inconsistent flow rates that reduce siphon suction. For heavily soiled surfaces, add 10% more soap to your base mix to boost dirt-lifting power.
Frequently Asked Questions About Foam Cannon Soap Ratios
What happens if I use the wrong foam cannon soap ratio?
Using the wrong ratio produces either thin, runny foam that won’t lift dirt, or thick suds that dry into streaky residue on surfaces. Over-diluted mixes waste soap and require extra scrubbing that risks micro-scratches on clear coat. Under-diluted mixes can leave soap film on paint, glass, or trim, and in severe cases, damage clear coat or vinyl siding.
Always test your mix on a small, hidden area first.
Can I use the same foam cannon ratio for all pressure washers?
No, pressure washer GPM (gallons per minute) directly impacts how much concentrate your foam cannon’s siphon pulls into the water flow. Low-GPM electric models (under 1.5 GPM) need a more concentrated jug mix to compensate for lower suction, while high-GPM gas models (3.0+ GPM) require a more diluted mix to avoid over-concentration. Stick to the decision tree adjustments for your specific GPM.
How do I adjust my foam cannon ratio for hot weather?
In temperatures above 85°F, add 10% more water to your base jug mix to reduce rapid foam drying and streaking. Hot surfaces cause soap to dry in seconds, leaving hard-to-rinse residue. If you’re washing a sun-heated vehicle, wait until the paint cools to the touch before applying foam to avoid permanent streaking on dark or clear coat finishes.
Do I need to adjust my foam cannon ratio for hard water?
Yes, hard water (high mineral content) reacts with soap surfactants to create soap scum instead of thick foam. If you have hard water, use a hard-water-safe foam soap formula and increase your soap concentrate by 10% in your jug mix to compensate for mineral interference. A quick 60-second cling test will confirm if your mix is performing correctly.
How long should foam cling to a surface before rinsing?
Ideal foam cling time is 2 to 3 minutes for most surfaces, including car paint, vinyl siding, and RVs. Heavily soiled heavy equipment can tolerate 5 to 10 minutes of dwell time to lift grease and road tar. If foam runs off in under 1 minute, your mix is too diluted.
If it stays wet for more than 5 minutes, it’s too concentrated and may leave residue.