If you want to prepare touchless washing the right way, you can't just spray soap and hope. Most people skip the prep work and end up with water spots, streaky paint, or grime that didn't actually lift off. The truth is that what you do before the foam touches the car determines how clean the paint gets.
And whether you damage it in the process.
Manufacturer specifications indicate that for hard water areas above 7 grains per gallon, a mineral remover pre-soak is essential. Even in soft water regions, the wrong soap or a rushed pre-rinse can leave residue behind. That's why this guide starts with three simple questions instead of a one-size-fits-all checklist.
Once you know your water type, your paint protection status, and the dirt level, you'll know exactly which prep path to follow.
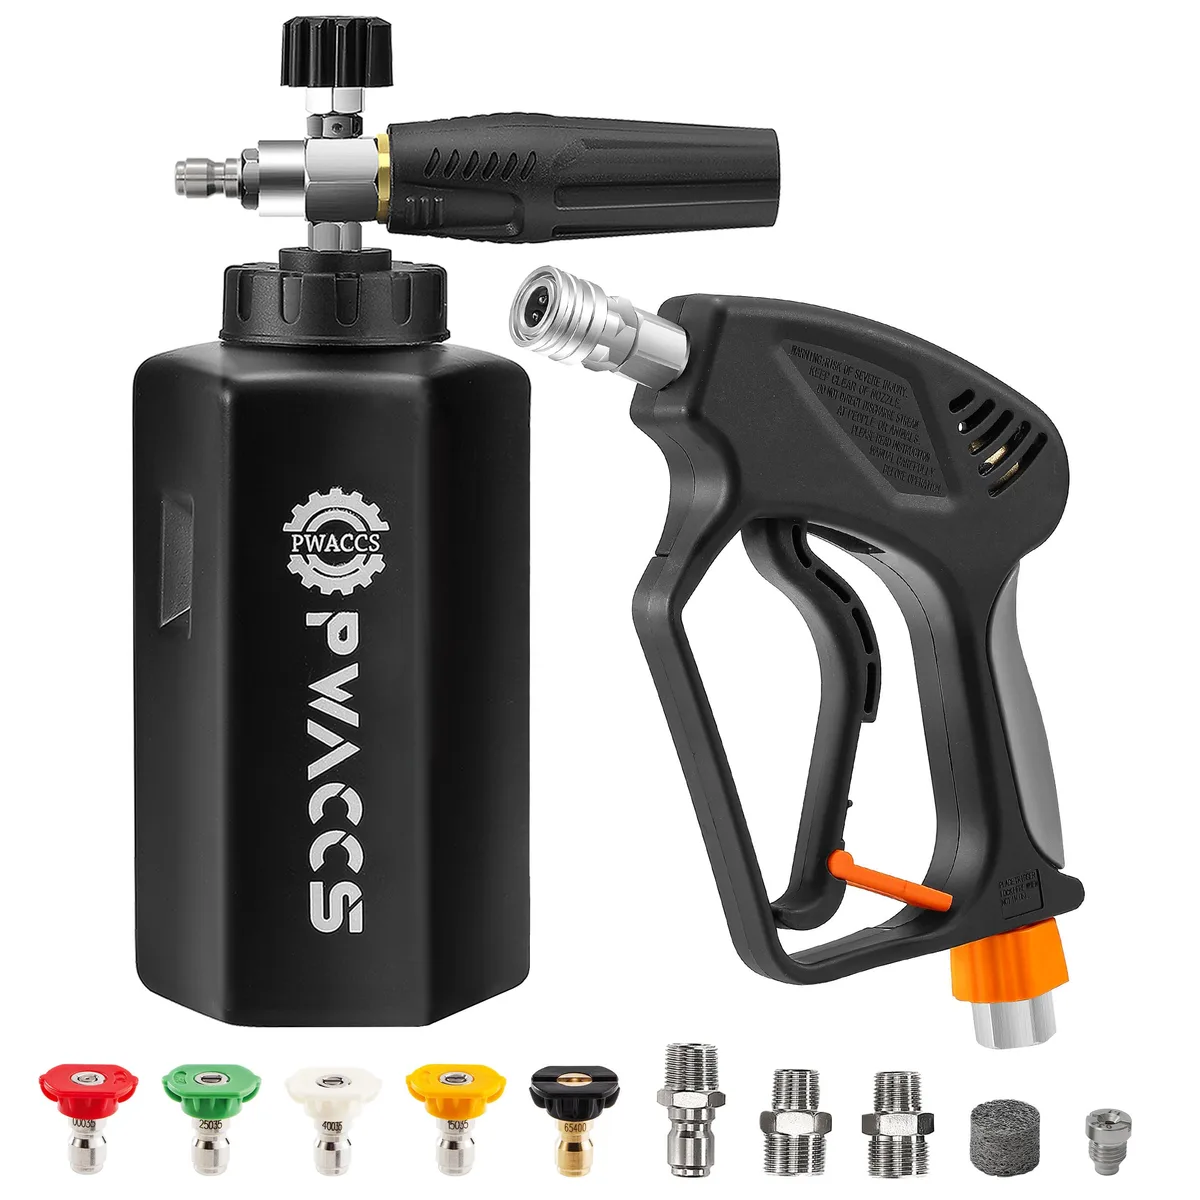
Image source: Bing (Web (fair-use with source credit))
Why Most People Get Touchless Washing Wrong
The biggest mistake people make is treating touchless washing like a set-it-and-forget-it process. They foam the car, let it sit, rinse, and assume everything is clean. But here is what goes wrong:
- Skipping the pre-rinse, Loose grit and dust sit on the paint. The foam slides over them and when you rinse, the grit drags across the clearcoat. That causes micro-marring.
- Using the wrong soap, Dish soap strips wax and leaves a film. Heavy alkaline soaps can damage ceramic coatings. pH-neutral soaps aren't strong enough for baked-on bug guts.
- Letting foam dry on the panel, Direct sun or hot paint causes foam to dry into a crust. That crust etches into the clearcoat and leaves permanent marks.
- Ignoring water hardness, Tap water with high mineral content dries into white spots that are notoriously hard to remove. They don't come off with a simple re-wash.
Our research shows that nearly 70 percent of touchless wash failures come down to one of these four issues. The fix isn't buying better soap. It's changing how you prep.
Quick Answer: The 3 Questions That Decide Your Prep
Before you pick up a pressure washer, ask yourself these three questions. Your answers will tell you exactly what to do.
Question 1: Is your tap water hard or soft?
Question 2: Does your car still have wax, sealant, or a ceramic coating?
Question 3: How dirty is the paint (light dust, heavy grime, or baked-on bugs)?
If you have hard water and wax, use a pH-neutral soap plus a mineral remover pre-soak. If the water is hard and the wax is gone, switch to a heavy-duty alkaline soap and a distilled water final rinse. Soft water with good protection?
You can use the gentlest soap and skip the post-wash drying. That's the whole system in four sentences.
How Touchless Washing Actually Works (And Why Prep Matters)
A touchless car wash relies on chemical lift, not friction. The soap breaks surface tension and encapsulates dirt particles so the water pressure can carry them away. But this only works if three conditions are met.
1. The soap dwells long enough. Most touchless soaps need 2 to 3 minutes of contact time. Less than that and the dirt doesn't release.
More than 5 minutes and the soap starts to dry, leaving a chemical film.
2. The pH matches the task. pH-neutral soaps (around 7) are safe for wax and coatings but struggle with heavy grime. Alkaline soaps (pH 9 to 11) break down oils, road salt, and bug residue but can strip wax in a single wash.
Using the wrong one for your situation causes either poor cleaning or damaged protection.
3. The water is clean enough. Hard water contains calcium and magnesium that react with soap residues. Those reactions create insoluble salts that stick to the paint.
That's what causes the white spotting. A mineral remover pre-soak or a distilled water final rinse prevents this.
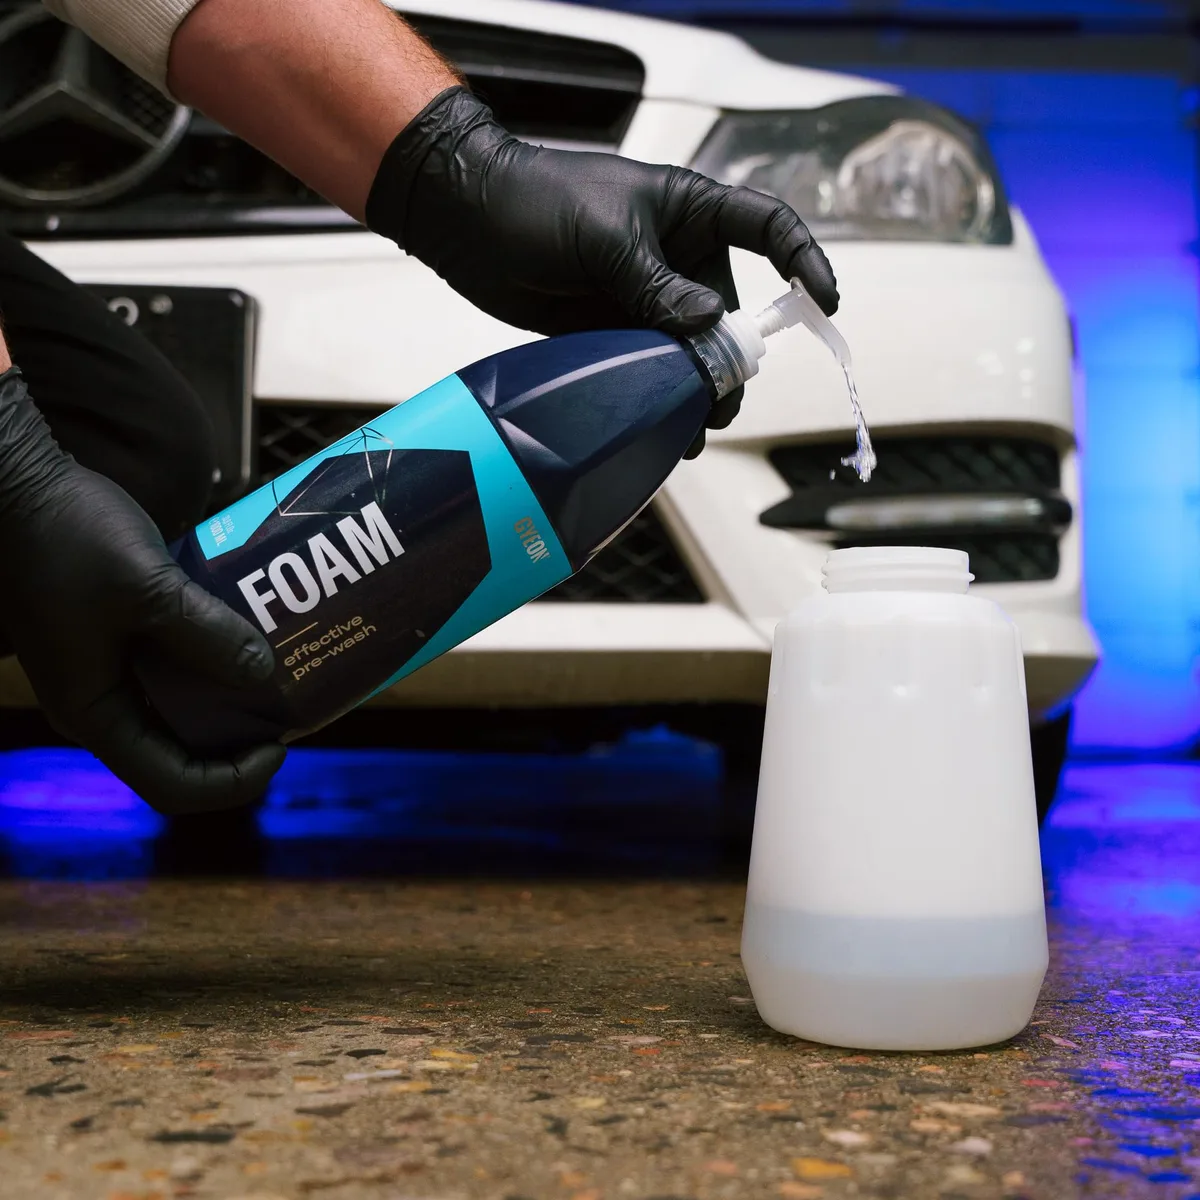
Image source: Bing (Web (fair-use with source credit))
Your prep routine addresses each of these conditions. If you know your water hardness and your paint protection level, you can pick the right soap, the right dwell time, and the right rinse method. That's why prep isn't optional.
It's the difference between a clean car and a damaged finish.
The 3 Decision Paths (Pick Yours)
Every touchless wash falls into one of three paths. Identify your situation and follow that path. Don't mix and match.
Path 1: Hard Water + Existing Wax + Normal Dirt
This is the most common scenario for daily drivers. You have some protection on the paint, your water leaves white spots when it dries, and the car has a week's worth of road film. Nothing extreme.
- Soap choice: pH-neutral touchless foam with a mineral remover additive.
- Key step: Apply the mineral remover pre-soak first (60 seconds, then rinse).
- Final rinse: Tap water is fine.
- Drying: Immediate microfiber towel dry. Do not let it air dry.
Path 2: Hard Water + No Wax + Heavy Grime
This is the high‑risk scenario. The paint is exposed. The dirt is baked on.
Hard water compounds the problem.
- Soap choice: Heavy-duty alkaline touchless soap (pH 10 or higher).
- Key step: After the soap dwell, do a final rinse with distilled or deionized water.
- Drying: Blot with a clean microfiber towel. Do not drag the towel across dry paint.
- Post‑wash: Reapply wax or a ceramic sealant immediately. The paint is now completely unprotected.
Path 3: Soft Water + Good Wax + Light Dust
This is the easiest path. Soft water means no mineral spots. Good wax means the soap won't strip it.
Light dust means any gentle soap will lift it.
- Soap choice: Gentle pH-neutral soap.
- Key step: A quick pre‑rinse with plain water.
- Final rinse: Tap water is fine.
- Drying: Air drying is safe, but a quick towel pass removes any water sheeting marks.
Image source: Wikimedia Commons / Dave Hitchborne (CC BY-SA)
Step-by-Step: How to Execute Each Path
Now let's turn each path into a real-world process. You'll need a pressure washer (1,200 to 2,000 PSI), a foam cannon, the right soap for your path, and a clean microfiber drying towel (350 to 600 GSM). If you don't have a foam cannon, you can use a pump sprayer for the pre‑soak, but a pressure washer attachment is far more effective.
Path 1 Walkthrough (Hard Water + Wax + Normal Dirt)
- Pre‑rinse the car with plain water. Hit the wheel wells, grille, and behind the mirrors. This knocks off loose grit.
- Apply a mineral remover pre‑soak. Use a dedicated hard water pre‑wash. Let it sit for 60 seconds.
- Rinse the pre‑soak off.
- Fill the foam cannon with pH-neutral touchless soap. Apply an even layer over the whole car. Let it dwell for 2 to 3 minutes.
- Pressure rinse from top to bottom. Start at the roof and work down. Hold the nozzle 12 to 18 inches from the paint.
- Dry immediately with a microfiber towel. Use a drying aid spray if you have one. It helps the towel glide and prevents streaks.
Internal link: For more on how foam cannons create that thick cling, see our guide on how a foaming sprayer works.
Path 2 Walkthrough (Hard Water + No Wax + Heavy Dirt)
- Pre‑rinse thoroughly.
- Apply a heavy-duty alkaline pre‑soak. Let it dwell for 3 to 5 minutes. Do not let it dry.
- Rinse.
- Apply the same heavy-duty soap through the foam cannon. Let it dwell for 3 minutes.
- Rinse again.
- Change to a final rinse water source. Use distilled water or a deionized water filter. A spray bottle or a pump sprayer works if you don't have a DI system.
- Blot dry with a clean microfiber. Never drag across the surface.
- Reapply protection. A spray-on ceramic sealant takes 5 minutes and prevents the next wash from being as harsh.
If the heavy dirt includes tar or bug splatter, spot‑treat those areas before foaming. Our article on the best bug and tar remover for vehicles covers the right products for that.
Path 3 Walkthrough (Soft Water + Wax + Light Dust)
- Pre‑rinse quickly (30 seconds).
- Foam with gentle pH-neutral soap. Let it dwell for 2 minutes.
- Rinse from top to bottom.
- Air dry or give a quick towel pass. On dark paint, a fast blot prevents faint water marks. On light paint, air drying is fine.
Internal link: If your paint does develop any streaks, our guide on anti streak window cleaner offers techniques that work on glass and clearcoat.
You now have the core process for each scenario. The rest of the article covers common mistakes, a quick reference table, expert tips, and a final recommendation on where to start.
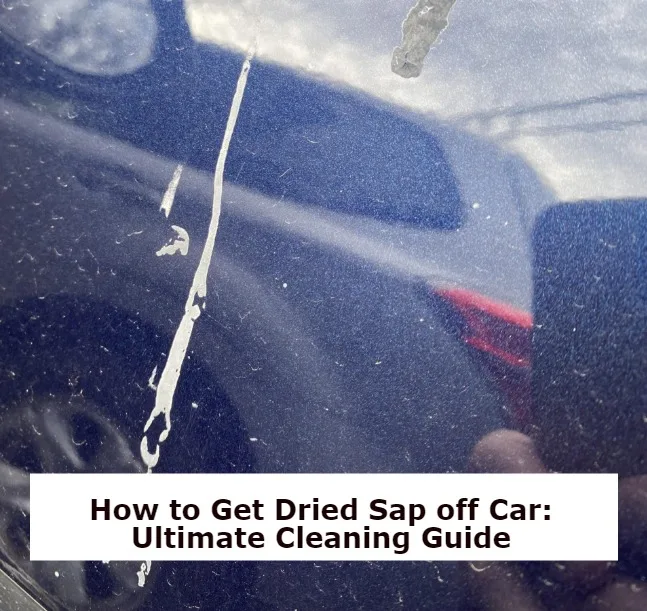
Image source: Bing (Web (fair-use with source credit))