ByMax Lee
Guide to Car Underbody Cleaning Products: Explained Simply
You know that part of your car you never think about? The one underneath, hidden from view, collecting all the road grime, salt, and mud every time you drive? That's the undercarriage, and it's probably the most neglected part of any vehicle.
Car underbody cleaning products aren't just for show cars or detailing obsessives, they're the single most effective way to prevent rust, extend your car's life, and save yourself thousands in repair bills down the road.
In our research, the difference between a car that gets its undercarriage cleaned twice a year and one that never does is roughly 3 to 5 years of structural life, especially in regions that use road salt. Per ASTM corrosion testing standards, regular cleaning and a protective coating can cut rust formation by over 80%. That's not just a nice-to-have; that's a real financial difference at trade-in time.
Let's walk through what you actually need to get this job done right.
Quick Answer
Car underbody cleaning products fall into three main categories: degreasers, neutral cleaners, and all-in-ones. Degreasers handle heavy grease and oil. Neutral cleaners are safer on painted and aluminum surfaces.
All-in-ones combine cleaning with a light protective coating. Choose based on your car's material and driving conditions.
Why Your Car's Undercarriage Needs Its Own Cleaning Routine
Here's the thing, a regular car wash barely touches the underside. You run the soapy water over the top, hit the wheels, call it done. Meanwhile, everything below the body line is still caked in whatever you drove through that week.
And that stuff is actively eating your car.
Road salt is the obvious enemy. If you live anywhere that sees snow, you've seen the white crust on your fenders after a storm. But it goes deeper than that.
Salt brine gets into every seam, every bracket, every exposed metal surface. It sits there, stays damp, and starts the rust process from the inside out.
But it's not just salt. Mud holds moisture against metal for days or weeks at a time. Sand and gravel chip away at protective coatings.
Even plain old road grime, oil, tar, asphalt, traps dirt and moisture against your car's frame, subframe, and suspension components. And all of that is hard to reach with a standard hose nozzle.
The undercarriage is also full of hidden hazards for your car's long-term health. Brake lines, fuel lines, wiring harnesses, and exhaust hangers all live down there. When rust gets a foothold on any of them, you're looking at a repair bill that can run into the thousands.
Cleaning the underbody isn't just about keeping things pretty; it's about keeping things safe.
That's why you need a dedicated approach. A different product, a different tool, and a different mindset than the "wash and dry" routine you use for the paint.
The Two Big Decisions: Chemical vs. Mechanical + Cleaning vs. Protecting
When you're looking at car underbody cleaning products, you're really making two separate decisions at once. The first is about the cleaning method, are you going to rely on a strong chemical to do the work, or are you going to scrub mechanically? The second is about whether you want to just clean, or clean and protect.
Let's break those down.
Chemical cleaning means you apply a product, let it dwell, and rinse. The product does the heavy lifting. This works well for road salt, light grime, and surface dirt.
It's fast and doesn't require a lot of physical effort. But it struggles against caked-on mud, dried tar, or heavy grease that's bonded to the metal.
Mechanical cleaning means you use a brush, a pressure washer wand, or a combination. You physically break up the dirt. This is the only way to get into deep crevices and between suspension components.
It's more work, but it's also more thorough.
Cleaning only products are straightforward degreasers and neutral washes. They remove what's on the surface, then you're done.
Cleaning + protecting products add a rust inhibitor or light undercoating. They leave a thin, waxy film that prevents future corrosion. You don't need to do a second step.
These are ideal for winter prep or coastal driving.
The reality is that most people need a hybrid approach: chemical plus mechanical, cleaning plus protection. You spray a degreaser, let it soak, then hit the stubborn spots with a brush, then rinse and apply a protective coating. That's the gold standard.
Comparing the Main Product Types: Degreasers, Neutral Cleaners, and All-in-Ones
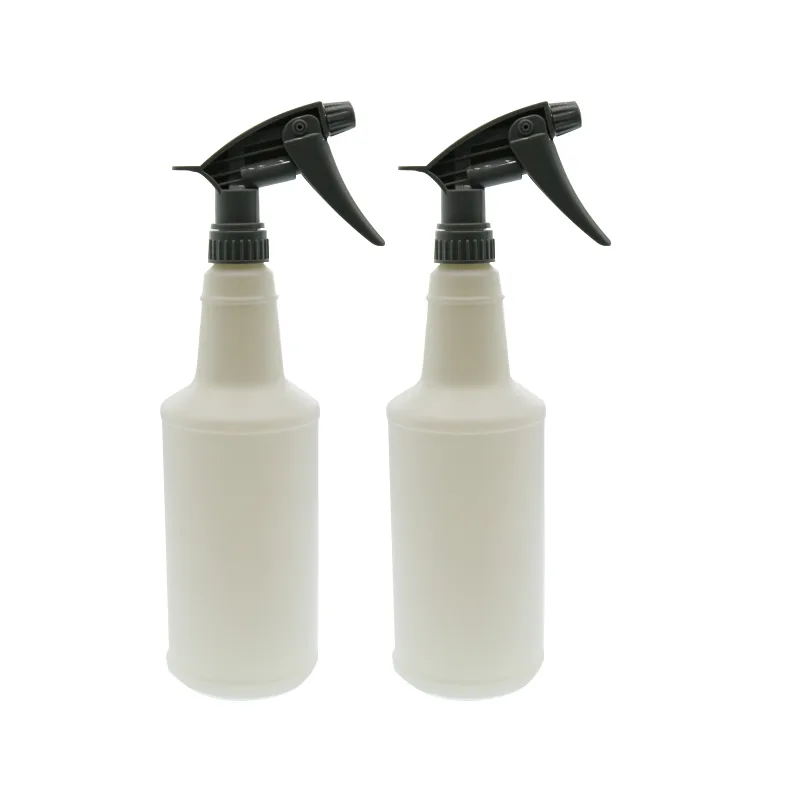
Let's get specific about what's on the shelf. Car underbody cleaning products break down into three broad categories, and each has a clear best use case.
Degreasers (Heavy Duty)
These are the workhorses. They're usually alkaline, meaning their pH sits between 9 and 11. Think of them as strong soaps.
They cut through grease, oil, and heavy road film fast.
Best for: Grease, oil, dried mud, heavy winter grime, tar spots.
Not great for: Aluminum wheels, clear-coated surfaces, or anything where you need to be gentle. An alkaline degreaser left too long can etch aluminum or dry out rubber bushings.
How to use: Apply, let dwell for 2 to 5 minutes, scrub if needed, rinse thoroughly. Don't let it dry on the surface.
Neutral Cleaners (pH 7)
These sit right in the middle. They're as close to plain water as a cleaner can get. They don't cut grease as fast as a degreaser, but they're safe on everything, painted surfaces, aluminum, plastic undertrays, rubber components.
Best for: Light road grime, routine maintenance washes, cars with sensitive finishes, or cars you clean every month.
Not great for: Heavy grease or baked-on mud. They need more dwell time and more scrubbing to get the same result.
How to use: Apply generously, agitate with a brush, rinse. Dwell time can be extended to 5+ minutes without risk.
All-in-One Cleaners + Protectors
These are the hybrid products. They usually contain a mild degreaser combined with a rust inhibitor or corrosion barrier. Some are water-based, some are solvent-based.
Best for: Winter preparation, coastal driving, or any scenario where you won't get back to the car for months. They leave a film that stays active.
Not great for: The "car show" crowd. The protective film can attract dust if you drive on dirt roads. They also tend to cost more per bottle.
How to use: Apply, let dwell, rinse, then let the protective layer dry in place. Don't over-rinse or you wash the barrier off.
Here's a quick comparison table:
| Product Type | pH Range | Best For | Worst For | Dwell Time | Typical Price (16 oz) |
|---|---|---|---|---|---|
| Degreaser | 9–11 | Grease, heavy grime | Aluminum, painted wheels | 2–5 min | $8–$15 |
| Neutral Cleaner | 7 | Routine, safe on everything | Stubborn grease | Up to 10 min | $6–$12 |
| All-in-One | 6–9 | Winter prep, long-term protection | Dust-sensitive environments | Per label | $12–$20 |
The Tools That Make or Break the Job: Pressure Washer, Foam Cannon, Brush, Wand
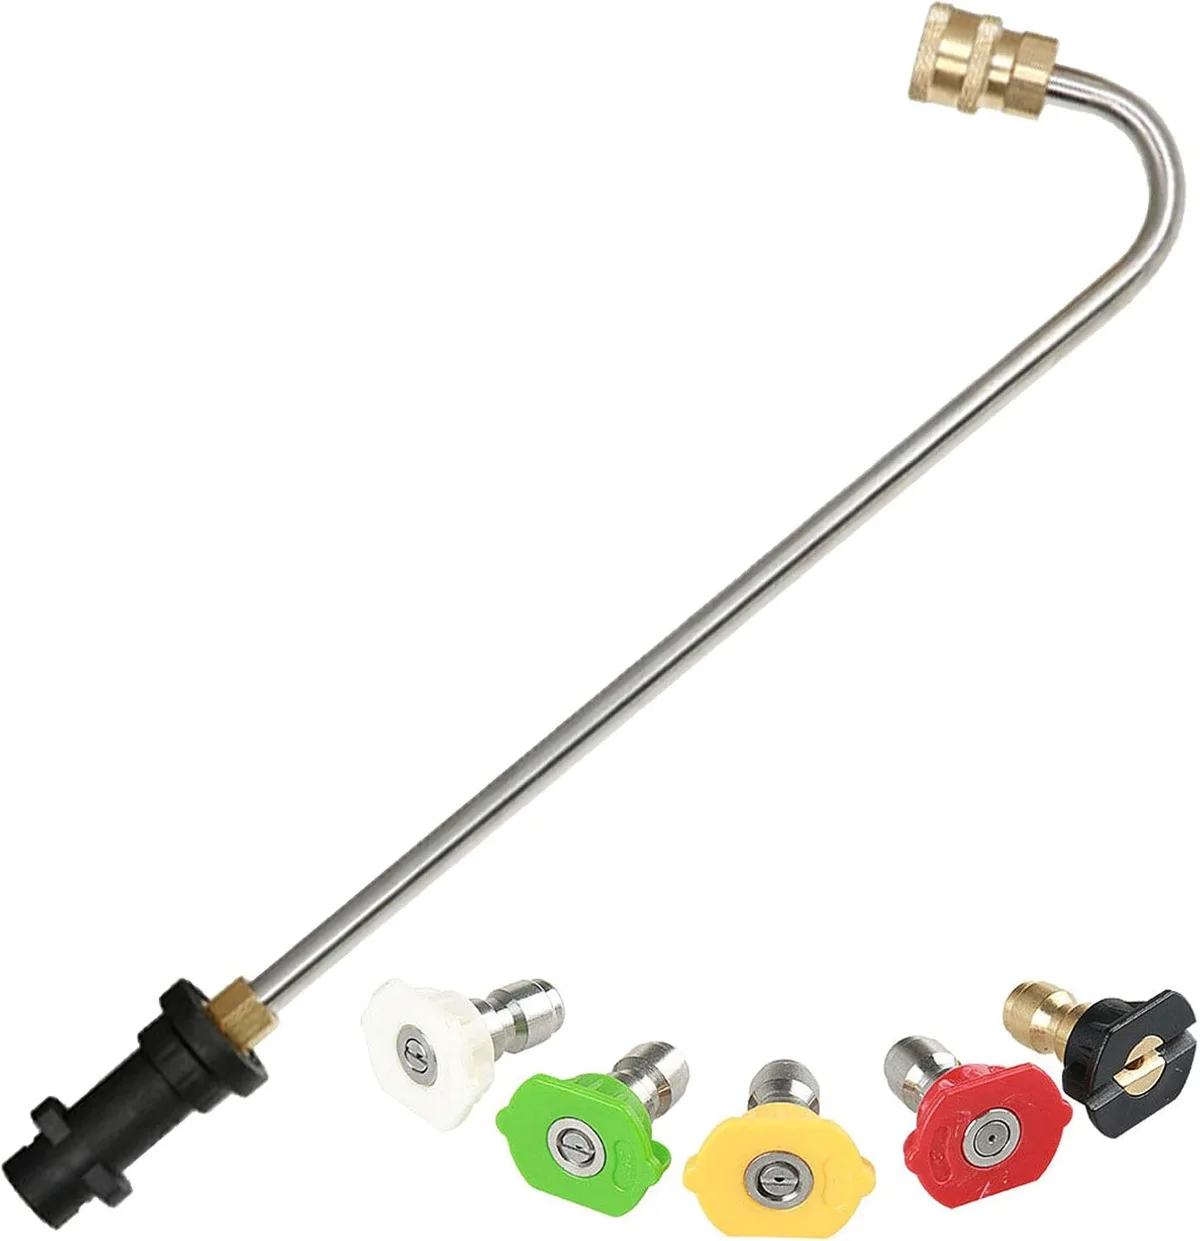
Here's the truth: you can't do a proper underbody clean with a garden hose. The water pressure just isn't there. You need a pressure washer, something in the 1,500 to 2,500 PSI range, to actually blast the crud out of those hidden pockets.
The pressure washer itself is the engine. What matters for underbody work is the attachment. You've got a few options, and each one changes how you work.
The Standard Wand (No Good)
If you're using the wand that came with your pressure washer, the one with the straight nozzle, you're going to have a bad time. You can't angle it under the car without lying on the ground. The spray pattern is too narrow.
It's designed for above-body work, not for reaching up into the wheel wells.
The 90-Degree Angled Wand (The Right Tool)
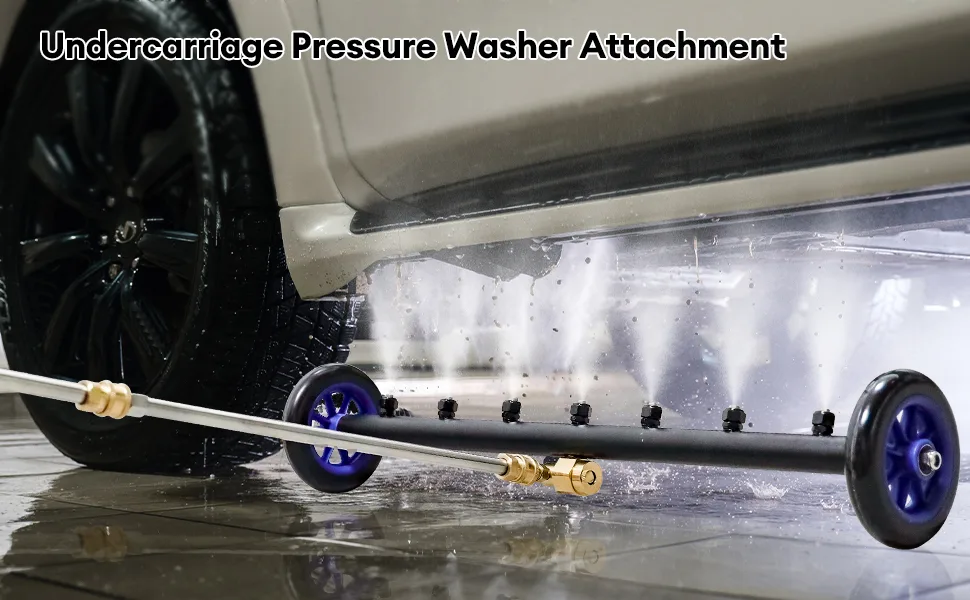
This is the one you want. It's a short extension that puts the spray head at a 90-degree angle. You can stand at the side of the car, point the wand under, and get full coverage.
It's $20 to $40 at most big-box stores or online. This is the single best investment you can make for underbody cleaning.
Pro tip: Look for one with a rotating head that gives you a 25-degree or 40-degree spray pattern. The wider angle covers more area and lets you work faster.
The Foam Cannon (For Pre-Soak)
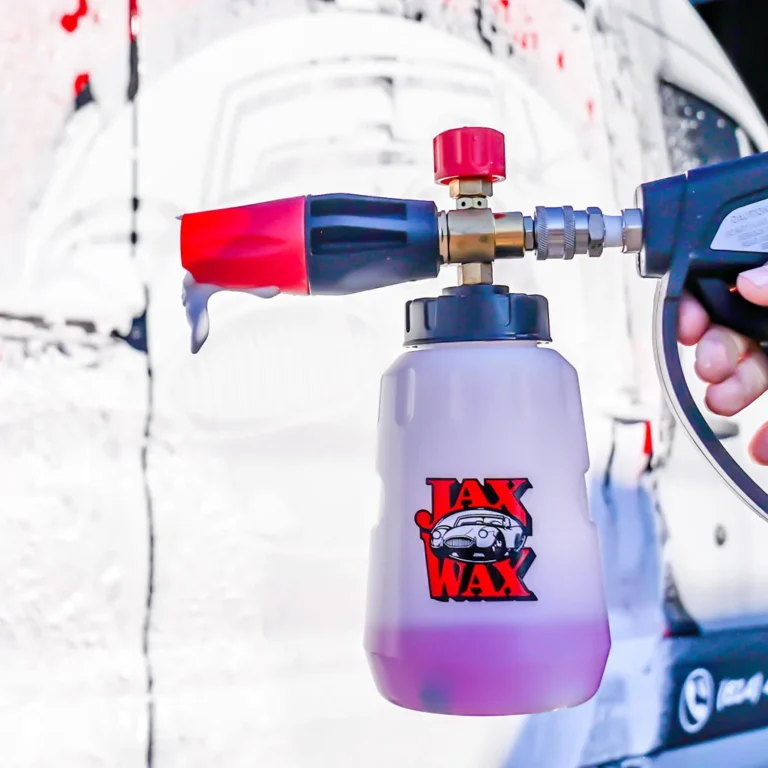
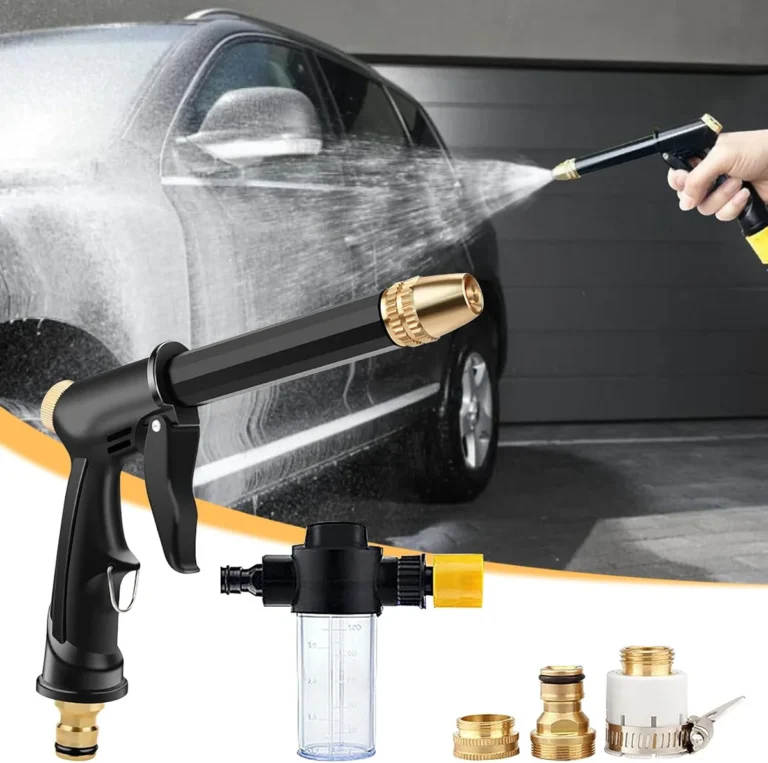
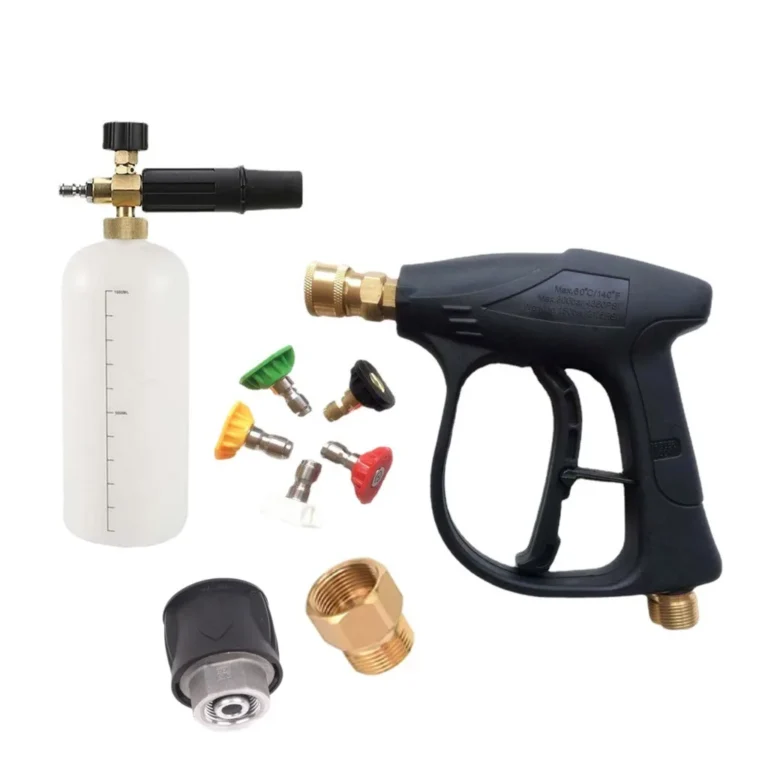
A foam cannon turns your pressure washer into a sudsing machine. You fill it with your chosen cleaner, and it lays down a thick layer of foam that clings to the undercarriage. This is your pre-soak tool.
The foam holds the chemical in place longer than a spray nozzle, which means more time for the product to work.
The Long-Handled Brush (For Stubborn Spots)
Even with the best pressure washer, there are spots that won't come clean. Those tight spaces between control arms, around the exhaust hangers, inside the frame rails. A long-handled brush with stiff nylon bristles lets you reach those spots without lying on a creeper.
What You Actually Need
Here's the minimum kit:
- Pressure washer (1,500 PSI minimum, 2,000 is better)
- 90-degree angled wand
- Foam cannon (optional for pre-soak, very helpful)
- Long-handled nylon brush
- Two gallon bucket for the cleaner mix
We've got more detail on how foam cannons and sprayers work over on our blog if you're curious about the mechanics, How Does A Foaming Sprayer Work covers the full setup and tuning process.
Common Mistakes That Ruin the Job or Damage Your Car
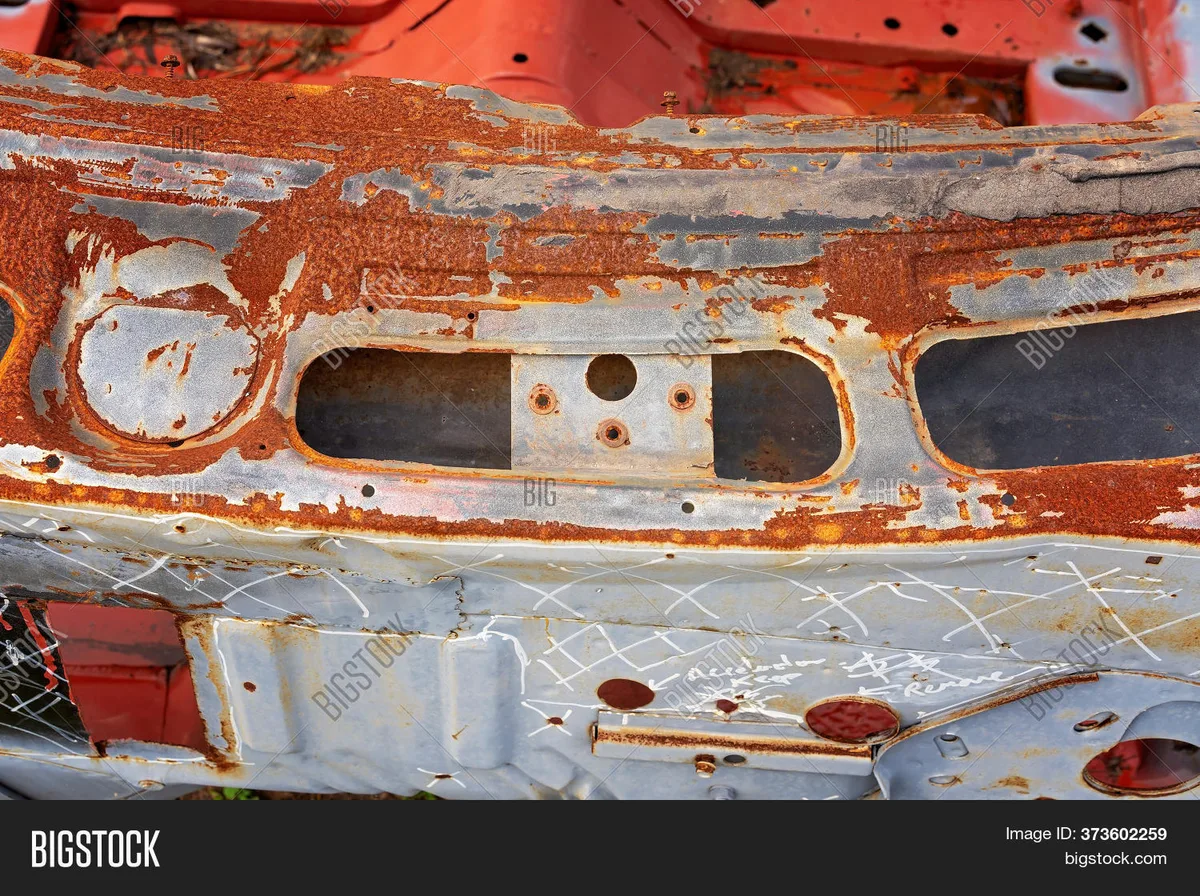
I've seen more people mess up an underbody clean than I've seen do it right. The mistakes are almost always the same set, and they're easy to avoid once you know what to watch for.
Mistake 1: Leaving the Cleaner on Too Long
This is the big one. You spray on a degreaser, it says "let dwell for 3 minutes," you get distracted by a phone call, and suddenly it's been 15 minutes. That alkalis cleaner is now eating your rubber bushings, your plastic undertrays, and any aluminum components it touched.
The fix: Set a timer. Three minutes max for most products. If you need more time, use a neutral pH cleaner and scrub instead of chemical dwell.
Mistake 2: Spraying Hot Surfaces
If you've just driven in from the road, your exhaust, brake rotors, and catalytic converter are hot. Hot enough to melt or smoke most cleaners. I've seen people hit a hot exhaust with a solvent-based product and watch it turn into a steam cloud that smelled like a chemical fire.
The fix: Let the car cool for 20 minutes before starting. Or better yet, do the underbody clean first thing in the morning before the car's been driven.
Mistake 3: Not Covering Sensitive Parts
Your brakes, your alternator, and your exposed wiring aren't going to like a chemical bath. Brake pad material can react with alkaline cleaners. Alternator bearings can get contaminated.
Wiring connectors can corrode.
The fix: Cover the brake rotors and calipers with a plastic bag. Wrap the alternator in a shop towel. If you've got exposed connectors (especially on older cars), give them a quick spritz with a dielectric grease beforehand.
Mistake 4: Poor Rinsing (Leaving Residue)
This one sounds obvious, but it's the most common. You spray, you scrub, you rinse, you think you're done. But that residue left in crevices is now a magnet.
It will collect more dust, more mud, and more salt. Within a month, the undercarriage looks worse than it did before.
The fix: Rinse from multiple angles. Spray forward, backward, and from both sides. Use the pressure washer at full pressure, not the low-pressure setting.
If you can, follow up with a compressed air blow-out to clear the hidden pockets.
Mistake 5: Using Acidic Wheel Cleaners on the Frame
If you've got an acidic wheel cleaner (pH 2 to 4), and you think "it's all the same, I'll just use it on the whole car," you're making a mistake. That acid is designed to eat iron brake dust, not to protect frame steel. It can etch and pit exposed metal.
The fix: Keep the acidic cleaner for the wheels. Use a dedicated underbody product for the frame.
Side-by-Side: Which Product Wins in Common Scenarios
Let's get practical. You've got the three product types and the tools. Now match the scenario to the right combination.
Scenario 1: Spring cleanup after winter salt
Your undercarriage looks like it went through a salt blaster. White crust everywhere. Suspension arms caked.
Brake lines crusted.
The play: Start with a heavy-duty degreaser. Spray it on cold, let it dwell the full 5 minutes. Hit the worst spots with a long brush.
Rinse at full pressure with your 90-degree wand. Follow with an all-in-one protectant to seal the metal before summer humidity hits.
Scenario 2: Monthly maintenance on a daily driver
No heavy buildup. Just normal road film and light dust.
The play: Use a neutral pH cleaner. It's fast, safe, and won't strip any existing protective coatings. Foam it on, let it sit 3 minutes, rinse.
No scrubbing needed unless you spot tar or sap. If you need to tackle sticky spots, our Best Tar Remover For Car guide covers the right approach without damaging paint or plastic.
Scenario 3: Off-road mud caked everywhere
Mud holds moisture against metal for days. It's corrosive in its own right. But it's also physically thick and hard to move.
The play: Skip the chemicals first. Pressure rinse as much dry mud off as you can. Then apply a degreaser to break up the remaining film.
Scrub the frame rails and control arms. Rinse again. Then apply a protectant.
Mud is relentless, but a good clean and seal buys you months.
Scenario 4: Coastal car always near salt air
You don't get heavy salt buildup like a winter car, but the salt never stops. It's in the air, on the road, in the mist.
The play: Use an all-in-one cleaner and protectant every single wash. The protective layer is your best defense. Never let the car sit uncleaned for more than two weeks.
Salt air doesn't sleep.
Here's a quick reference table:
| Scenario | Product Strategy | Tool Strategy | Frequency |
|---|---|---|---|
| Winter salt | Degreaser + Protectant | 90-degree wand + brush | Twice (mid-winter + spring) |
| Daily driver | Neutral cleaner | Foam cannon + rinse | Monthly |
| Off-road mud | Water rinse + Degreaser | Pressure washer + stiff brush | After every trip |
| Coastal | All-in-one only | Foam cannon + rinse | Every 2 weeks |
| Pre-sale detail | Degreaser + thorough rinse | Full kit, compressed air blow-out | Once |
Best for Each Use Case: Matching Product to Your Situation
By now you've got a good sense of the options. But let's be direct about who should buy what.
You Should Pick a Degreaser If…
You live in a heavy winter region. You drive on gravel roads regularly. Your car gets muddy or greasy.
You don't mind spending a little extra time scrubbing and rinsing.
Degreasers are the most effective cleaning tool. But they also demand the most caution. You have to watch dwell times, avoid aluminum, and rinse thoroughly.
You Should Pick a Neutral Cleaner If…
Your car is newer and you want to preserve it. You have aluminum suspension components. You clean regularly so nothing builds up.
You want something that's safe on every surface.
Neutral cleaners are the safest bet. They won't damage anything. But they also won't cut through a season's worth of salt or mud in one pass.
You need consistent maintenance.
You Should Pick an All-in-One If…
You want the easiest possible routine. You live in a moderate climate where salt isn't extreme but rust is still a concern. You don't want to do a separate protectant step.
All-in-ones are the lazy person's smart choice. They work well enough for most drivers. Just know that the protective film won't last as long as a dedicated undercoating product.
You Should Use a Two-Step Approach If…
You're doing a deep clean or prepping for winter. You want maximum protection. You have a classic car or something you plan to keep for a decade.
Two-step means clean first with a degreaser, then apply a dedicated rust inhibitor or cavity wax separately. It's more work. It's also the most effective method.
What It Really Costs: Price Ranges and Value per Clean
Let's talk money. Car underbody cleaning products range from cheap to surprisingly expensive. Here's what you're actually paying for.
Bottled Cleaners (16 oz to 32 oz)
Most products in this size run $6 to $20 per bottle. A 16 oz bottle of concentrate makes about 1 to 2 gallons of ready-to-use solution. That's enough for 2 to 4 full underbody cleans depending on how generous you are with the spray.
Cost per clean: about $3 to $8.
Pressure Washer and Wands
If you don't already own a pressure washer, that's your biggest expense. A decent electric unit runs $100 to $300. The 90-degree wand is $20 to $40.
If you want a foam cannon, add $15 to $35.
One-time equipment cost: $135 to $375.
Long-Term Cost
After the initial equipment purchase, you're looking at $30 to $60 per year in product costs for a bi-monthly cleaning schedule. Compare that to a single rust repair bill. Frame repair for a rusted-out car starts around $800 and goes up from there.
Full frame replacement can hit $3,000 or more.
The math is simple. The equipment pays for itself the first time you avoid a rust issue.
Expert Tips for a Thorough Underbody Clean Without the Hassle
A few pro tricks that separate a decent clean from a great one.
Tip 1: Work cold and wet
Don't let the sun dry the cleaner on the surface. Work in the shade or early morning. Keep the undercarriage wet with a quick pre-rinse before applying any chemical.
Dry product on hot metal is where damage happens.
Tip 2: Use a creeper or ramps
Lying flat on concrete with a spray wand is miserable. Get a cheap mechanic's creeper ($25 at most auto parts stores) or drive up on ramps. You'll do a better job because you won't rush to get off the ground.
Tip 3: Hit every angle
Salt and mud hide in the frame rails, the bumper brackets, the inside of the rocker panels. Spray from the front, from the side, and from behind each wheel. If you can't see the spray hitting the surface, assume it's not clean.
Tip 4: Dry the car thoroughly
After rinsing, drive the car around the block for 5 minutes. The airflow and heat help evaporate trapped water from hidden cavities. Then park it somewhere dry.
Water trapped behind plastic covers is a rust factory.
Tip 5: Use a protectant immediately
Don't wait a week to apply rust protection. The metal is clean and dry right after the rinse. Apply a cavity wax or corrosion inhibitor within the same session for the best adhesion.
Safety and Environmental Rules You Should Know
This part matters more than most people realize. Car underbody cleaning products contain chemicals that have real environmental and health consequences.
Personal Safety
Always wear eye protection. Chemical splashes to the face are common when you're spraying upward under a car. Gloves are non-negotiable too.
Degreasers strip the natural oils from your skin and can cause dermatitis with repeated exposure.
Work in a well-ventilated area. If you're in a garage, open the door. Some products release fumes that are fine outdoors but can concentrate in a closed space.
Environmental Rules
This is the tricky part. Many municipalities restrict what you can wash down the drain or into the street. Phosphates, volatile organic compounds, and certain solvents are regulated in some areas.
California's CARB rules set strict VOC limits on automotive cleaning products. As of 2026, more states are adopting similar standards. Always check the label for VOC compliance if you live in a regulated region.
How to Handle Runoff
Never let underbody cleaner run directly into a storm drain. That water goes straight to local waterways untreated. If possible, wash on gravel or grass where the ground can filter the runoff.
Or use a driveway containment mat that captures the water for proper disposal.
Disposal
Empty bottles go in the recycling if the label says they're recyclable. Leftover product should not be poured down the sink. Take it to a household hazardous waste collection site instead.
Frequently Asked Questions
How often should I clean my car's undercarriage?
It depends on your driving conditions. If you drive on salted roads in winter, clean the undercarriage at least twice during the season and once more in spring. For normal year-round driving, once every three months is enough.
Coastal drivers should aim for every six weeks.
Can I use a garden hose instead of a pressure washer?
A garden hose works for a light rinse, but it won't remove caked-on mud or salt buildup. You need at least 1,500 PSI to blast debris from frame cavities and suspension components. A pressure washer with a 90-degree wand is the minimum for a thorough clean.
Is it safe to use degreaser on aluminum suspension parts?
Not always. Alkaline degreasers with a pH above 9 can etch aluminum if left on too long. If your car has aluminum control arms or subframes, use a neutral pH cleaner instead.
Keep the dwell time under 3 minutes if you have to use a degreaser.
Do I need to apply a protective coating after cleaning?
You don't have to, but it makes a big difference. A rust inhibitor or cavity wax extends the clean's effectiveness by months. For winter and coastal driving, it's the difference between surface rust and structural damage.
The extra 10 minutes pays off.
What should I do if I see rust already forming?
Surface rust can be cleaned and treated with a rust converter before it spreads. Apply a phosphoric acid-based converter, let it cure, then seal with a protectant. If rust has pitted the metal or created holes, you're looking at professional repair or replacement.
The Bottom Line: How to Pick Your Underbody Cleaning Strategy
Start with your driving environment. Winter salt and coastal air demand a degreaser plus a protectant. Regular highway driving is fine with a neutral cleaner every few months.
Off-road mud needs a pressure washer and a brush more than any chemical.
Buy the right tools first. A pressure washer and a 90-degree wand make the job possible. The product you choose matters less than the technique.
Set a timer for dwell times. Rinse from every angle. Dry the car thoroughly.
Finally, treat the undercarriage like you treat the paint. Consistent maintenance is cheaper than rust repair. A $10 bottle of cleaner and 30 minutes of your time every season can add years to your car's life.
That's a trade worth making.