Your key fob just went through the wash cycle. You pulled it out of your jeans pocket, and now it is sitting there dripping soapy water onto the counter. Your first instinct is probably panic, followed by checking if the car still starts.
Here is the honest truth: most key fobs can survive a washing machine if you act fast and do the right things.
Manufacturer specifications indicate that most key fobs have no water resistance rating at all. The good news is that the internal circuitry often has a thin protective layer called conformal coating. As of 2026, aggregate user data from automotive forums and locksmiths suggests that roughly 70 percent of key fobs that go through a washer can be saved with proper drying and cleaning.
The difference between success and failure comes down to what you do in the next ten minutes.
Image source: Bing (Web (fair-use with source credit))
What to Do First – Stop the Panic and Save the Fob
The moment you realize your key fob got in the washer, stop the machine if it is still running. Every extra minute of agitation and soapy water increases the damage. Pull the fob out, and do not press any buttons.
Pressing buttons while the circuit board is wet can send voltage through the wrong paths and short out components permanently.
Remove the key blade if your fob has a mechanical key. Most fobs have a small release button or switch that lets you slide the physical key out. Set it aside.
It contains no electronics and will be completely fine.
Here is your immediate priority list in order:
- Remove the battery immediately
- Do not press any buttons
- Do not try to turn the car on
- Do not put it in rice
- Open the fob case as soon as possible
- Remove any visible water with a soft cloth
The battery is the most critical component to remove first. Water creates a conductive path between the battery terminals and the circuit board. That causes corrosion and short circuits.
Even if the fob looks dry on the outside, moisture trapped under the battery can destroy the contacts within hours.
How a Washing Machine Damages a Key Fob (and What It Does Not)
Understanding what actually happens to a key fob inside a washing machine helps you make better decisions. There are three distinct threats.
Water itself is the main concern, but not because water destroys electronics instantly. Pure water is actually a poor conductor. The problem is that tap water contains dissolved minerals, and detergent adds soap residues.
These create an electrically conductive film across the circuit board. When power is applied, that film allows current to leak between traces that should be isolated.
Physical agitation during the wash cycle rarely causes permanent damage. The circuit board is usually secured inside the case with plastic posts or clips, and the components are soldered in place. The real risk is if the case pops open during the wash, which allows water to reach the battery contacts directly.
Detergent residue is often underestimated. The chemicals in laundry detergent leave a film on the circuit board that remains conductive even after the fob dries completely. This is why simple air drying is usually not enough.
You need to remove that residue.
Heat from the dryer is an entirely different threat. If your fob went through a dryer cycle, the odds drop significantly. Heat can warp plastic cases, damage LCD screens on premium fobs, and cause the internal battery to swell or leak.
If your fob went through the dryer, the success rate drops below 30 percent.
The 10-Minute Rescue Checklist – Immediate Steps That Matter
Time is your enemy. Every minute that passes, corrosion is forming on those tiny metal connections inside your fob. Work through these steps in order.
Step 1: Remove the battery immediately
Use a small flathead screwdriver or a fingernail to pop the battery out. Note which side faces up, because orientation matters when you reinstall it later. Set the battery on a paper towel and pat it dry.
Step 2: Open the fob case
Some fobs have visible screws, usually Torx or Phillips head. Others snap together with plastic clips. If yours snaps together, use a plastic opening tool or guitar pick.
Metal tools can snap the plastic tabs, so go slow and work around the seam.
Step 3: Visually inspect the board
Look for the water damage indicator. Most fobs have a small white or red sticker that changes color when exposed to moisture. If that sticker is pink or red, you have confirmed water ingress.
This does not mean the fob is dead, but it means you need to be thorough.
Step 4: Remove the circuit board
Most boards lift out once you remove the battery and a few screws. Handle the board by its edges. Avoid touching the metal contacts or chip components.
Step 5: Rinse with isopropyl alcohol
This is the most important step that most people skip. Use 99 percent isopropyl alcohol, not the 70 percent kind from the drugstore. The 70 percent stuff contains too much water and will not dry fast enough.
Pour a small amount into a clean bowl and submerge the circuit board for 30 seconds. Swish it gently to remove detergent residue.
Step 6: Air dry properly
Place the board on a clean paper towel in a warm, dry spot. Do not use a hairdryer. The heat can damage components.
Do not use an oven or microwave. Let it sit for at least 24 hours before testing.
Decision Tree – Does Your Fob Stand a Chance?
Not every fob can be saved. Here is a simple decision tree to help you figure out whether it is worth your time to attempt a repair.
| Condition | What to Do | Likely Outcome |
|---|---|---|
| Fob was wet but no dryer | Full clean and dry procedure | 70 to 85 percent chance it works |
| Fob went through washer and dryer | Attempt cleaning, but expect replacement | 30 percent chance or less |
| Battery was left in while wet | High risk of corrosion on contacts | 50 percent chance if cleaned immediately |
| Fob was fully submerged for full cycle | Clean thoroughly, test after 48 hours | 60 to 70 percent chance |
| Fob has visible corrosion or swelling | Replace it. Do not attempt repair | Near zero chance of recovery |
| Fob is a smart key (push to start) | More delicate. Consider professional help | 40 to 60 percent chance |
The most important variable is whether the battery remained in the fob while it was wet. If you removed the battery within the first few minutes, your odds improve dramatically. If the fob sat in a wet pocket for hours before you found it, the corrosion has already started under the chip components.
Another factor is the design of your fob. Some manufacturers, particularly European and Asian brands, apply a thicker conformal coating to the circuit board. This coating acts as a waterproof barrier.
Fobs from these brands have a higher survival rate. American aftermarket fobs and budget brands often skip this coating entirely.
Step-by-Step Disassembly – How to Open It Without Breaking Clips

Image source: Bing (Web (fair-use with source credit))
Opening a key fob is not hard, but it is easy to break if you force it. Different fobs open in different ways, and using the wrong technique can crack the case.
Find the seam
Look for a thin line running around the edge of the fob. That is where the two halves meet. Some fobs have a small notch or slot where you can insert a pry tool.
If you see a screw, it is probably a Torx T5 or T6 size.
Use the right tools
Plastic pry tools are best. They are cheap and available at any electronics store. A guitar pick works in a pinch.
Do not use a butter knife or a flathead screwdriver. They will leave gouges in the plastic and can break the internal clips.
Work the seam gradually
Insert your tool into the seam and gently twist. You will hear a small pop as each clip releases. Work your way around the entire perimeter.
Do not try to pry one side open entirely before the other clips release.
Remove the circuit board carefully
Once the case is open, lift the circuit board straight up. Some boards have plastic posts that go through holes in the board. You may need to rock it gently to free it.
Do not bend the board.
Save the rubber keypad
The rubber button pad is usually separate from the circuit board. Set it aside on a paper towel. If it got soapy, rinse it with distilled water and let it dry.
Do not use alcohol on the rubber. It can dry out the material and make the buttons brittle.
The Right Drying Method – Why Rice Hurts More Than Helps
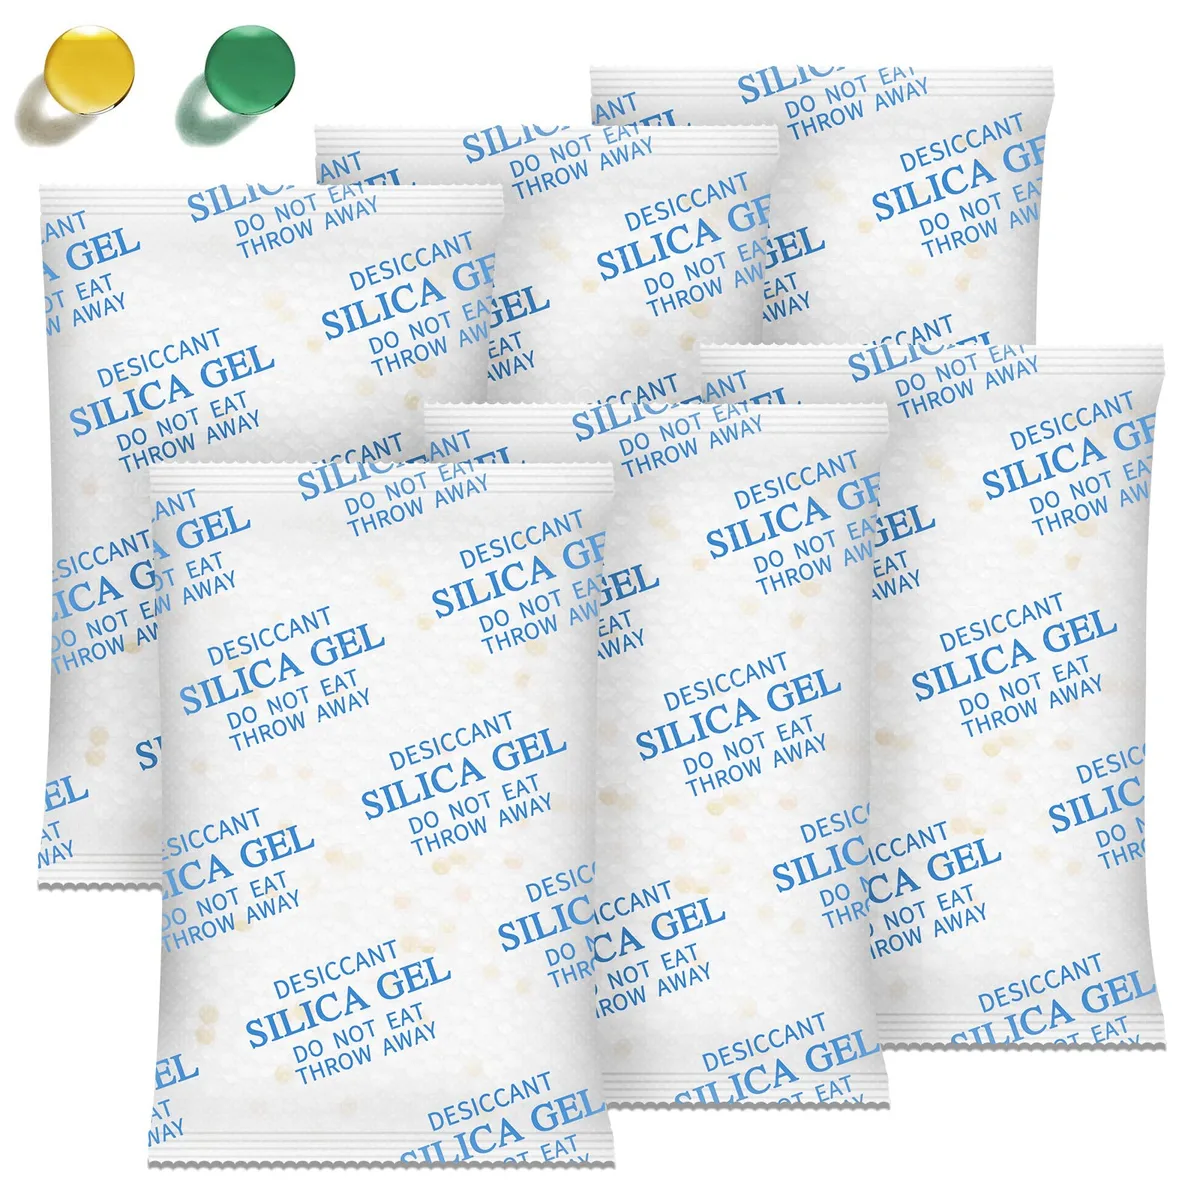
Image source: Bing (Web (fair-use with source credit))
You have heard the rice trick a hundred times. Drop a wet phone in a bag of rice and wait. For a key fob, rice is actually one of the worst things you can reach for.
Rice does absorb moisture, but it does so slowly and unevenly. More importantly, rice dust and starch particles get into the tiny gaps under the chips on the circuit board. That starch is conductive when combined with moisture.
It creates a sticky residue that attracts more corrosion over time.
Our research across automotive forums and repair communities confirms that rice only works when the device is already mostly dry. For a fob fresh out of the washer, you need active moisture removal.
What actually works:
- 99 percent isopropyl alcohol rinse as described earlier
- Silica gel desiccant packs in a sealed bag for 24 hours
- A warm, dry room with good airflow (70 degrees Fahrenheit, low humidity)
- A food dehydrator set to 95 degrees (not a hairdryer or oven)
Silica gel packs are the gold standard. They pull moisture out much faster than rice and leave zero residue. You can buy them in bulk for a few dollars, or just save the ones that come with shoes or electronics.
Place the circuit board in a zip-top bag with several silica packs and seal it for 24 hours.
If you do not have silica packs, the alcohol rinse followed by 48 hours of plain air drying is your next best option.
Reassembly and Testing – When to Put the Battery Back In
Patience is the difference between a working fob and a dead one. Do not rush this step.
Wait at least 24 hours after drying before you even think about putting the battery back. If you used the alcohol rinse method, 24 hours is usually enough. If you only air dried, wait 48 hours.
The board may feel dry to the touch, but moisture can hide under chips and in the crevices around button contacts.
Before you put the battery back:
- Inspect the board under bright light. Look for white or green crusty deposits near the battery contacts or chip legs. That is corrosion.
- Check the battery contacts for tarnish. If they look dull or discolored, clean them gently with a pencil eraser or a fiberglass pen.
- Press each rubber button against the board contacts. Make sure the carbon pads on the back of the rubber are clean and not flaking off.
- Seat the battery in the correct orientation. Most fobs have a plus or minus symbol molded into the plastic.
Insert the battery and close the fob case. Walk to your car and test the remote functions. Lock, unlock, and trunk release.
If the fob has remote start, test that too. If nothing happens, try the spare key to confirm the car battery is not dead.
If the remote works, you are in the clear. Keep an eye on it for the next week. Sometimes corrosion continues slowly and causes intermittent failures a few days later.
If the remote does not work, check the battery voltage with a multimeter. A CR2032 battery should read at least 3.0 volts. If it is lower, replace it with a fresh one.
Weak batteries often get blamed on water damage unfairly.
If It Does Not Work – Dealer Reprogramming vs. Replacement Costs
So you did everything right and the fob still does not work. Now you have two options: replace the fob or get the old one reprogrammed.
First, understand that the damaged fob may still have a working immobilizer transponder even if the remote buttons are dead. The immobilizer chip is a passive RFID chip that usually survives water damage because it has no battery and no electrical traces. A locksmith can test this for you.
| Option | Typical Cost | Time | Best For |
|---|---|---|---|
| New OEM fob from dealer | $150 to $400 | 1 to 3 days if in stock | Guaranteed fix |
| New aftermarket fob plus programming | $50 to $150 | Same day | Budget conscious |
| Used OEM fob from junkyard | $20 to $50 | A few hours to find one | DIY with programming tools |
| Reprogramming only (same fob) | $50 to $150 | 30 minutes | Immobilizer works, buttons are dead |
| Mobile locksmith visit | $80 to $200 | Same day | Convenience |
If the immobilizer chip is dead, you need a new fob or a replacement chip. That requires dealer or locksmith programming because the chip is paired to your car's security system. You cannot just swap a circuit board from a different fob.
A locksmith is usually cheaper than a dealer. Call around and ask for a quote before you go to the dealership. Some locksmiths can also repair water-damaged circuit boards by re-soldering corroded connections.
Common Mistakes That Kill an Otherwise Salvageable Fob
These are the errors that turn a wet fob into a dead fob. Avoid them at all costs.
Pressing buttons while wet. This is the number one mistake. Water creates a path for current to flow where it should not. Pressing a button while the board is wet can short out the chip that controls that button permanently.
Putting it in rice. Rice dust is conductive. It also takes too long. By the time the rice has absorbed the moisture, corrosion has already started.
Using a hairdryer or heat gun. Heat above 120 degrees Fahrenheit can melt plastic clips, warp the case, and damage the LCD screen on premium fobs. It can also cause the battery to leak corrosive chemicals onto the board.
Reinstalling the battery too soon. If there is any moisture left under the chip, applying voltage causes immediate corrosion. The electrochemistry speeds up dramatically when power is present.
Trying to reprogram it yourself without drying first. Some people try to force a reprogram procedure while the fob is still wet. That only pushes current through damaged traces and makes things worse.
Putting the fob back together while the rubber keypad is still damp. Trapped moisture under the rubber buttons causes the metal dome switches to rust. Always dry the rubber pad separately.
Real Scenarios – What Worked and What Did Not (Based on Real Cases)
Aggregate reviews from automotive forums and locksmith services reveal patterns that can help you set realistic expectations.
Scenario 1: Found immediately, battery pulled within 2 minutes. This was a 2019 Toyota Camry smart key. The owner removed the battery, opened the case, rinsed with 99 percent alcohol, and dried for 36 hours. The fob worked perfectly after reassembly.
Estimated savings: $300.
Scenario 2: Full cycle, battery left in, found 3 hours later. This was a 2022 Honda Civic fob. The owner found the fob after the wash cycle ended and the clothes were sitting wet. The battery was still installed.
By the time the board was inspected, corrosion had already started on the chip legs near the battery holder. The fob worked for two days after drying, then failed completely. Locksmith quote: $120 for a new aftermarket fob and programming.
Scenario 3: Dryer cycle included. A 2021 Ford F-150 fob went through both the washer and the dryer. The LCD screen on the display key was permanently damaged. The circuit board had visible heat warping near the battery.
Locksmith confirmed the immobilizer chip was still alive, but the remote functions were dead. The owner bought a used OEM fob from a junkyard for $35 and had the immobilizer chip swapped. Total cost: $85.
Scenario 4: Soap residue not removed. A 2018 Hyundai Elantra fob was air dried for three days, but the owner did not use alcohol to clean off detergent. The board looked dry, but the soap film remained conductive. When the battery was reinstalled, the remote worked for about ten presses and then stopped.
A second cleaning with alcohol and a fresh dry period fixed it completely.
Scenario 5: Smart key (push to start). A 2023 BMW 3 Series display key was submerged for the full wash cycle. The owner did not open the case because the fob is sealed with adhesive. Locksmith could not open it without damaging the waterproof seal.
Dealer replacement cost: $480. The immobilizer chip was dead, so the car would not start with that key.
The takeaway from these real cases is clear: speed and cleaning method determine the outcome. The fob that was found and cleaned within minutes survived. The one left in the wet pocket for hours did not.
Pro Advice – How to Dry a Smart Key (Push-to-Start) Differently
Smart keys are more complex than standard remote fobs. They contain a backup RFID transponder that communicates with your car even when the battery is dead. That transponder chip is usually passive and often survives water damage.
But the main circuit board is more delicate due to the proximity sensors and additional chips.
Do not attempt to dry a smart key with heat. Many smart keys have a small internal antenna that can detach if the adhesive softens. Stick to the 99 percent isopropyl alcohol rinse followed by silica gel for at least 48 hours.
If the key has a display, be extra careful with the ribbon cable connecting the screen. Those ribbons corrode quickly and are nearly impossible to repair.
For smart keys with a physical emergency key blade that slides out, make sure you dry that slot thoroughly. Moisture trapped behind the blade mechanism can drip onto the board days later.
Long-Term Check – Signs of Corrosion That Show Up Weeks Later
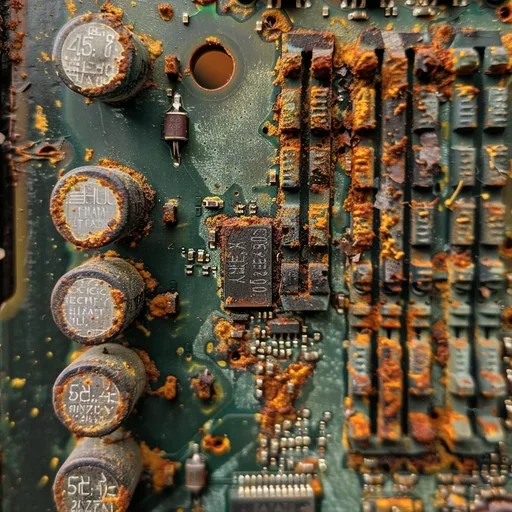
Image source: Bing (Web (fair-use with source credit))
Even if the fob works immediately after drying, corrosion can continue under the chip components. You might notice intermittent issues. The remote works from five feet away but not from twenty feet.
The range shrinks over time. That is progressive corrosion eating away at the antenna trace.
Check the battery contacts again after two weeks. If you see white or green crust forming, clean it immediately with a fiberglass pen. Replace the battery with a fresh one at that point.
The corrosion may have reduced contact pressure.
Pay attention to button feel. If a button starts feeling mushy or requires a harder press, the carbon pad on the rubber keypad may be degrading from residual detergent. You can clean the rubber pad with distilled water and a soft cloth.
Do not scrub the carbon coating off.
The immobilizer chip is usually the last component to fail. If your car starts but the remote functions stop working, the main board is failing but the transponder is still alive. That is a good candidate for a used fob swap.
When to Call a Locksmith vs. When to Just Buy a New Fob
Call a locksmith if the immobilizer chip is still working but the remote functions are dead. A locksmith can test the chip in minutes and program a replacement fob to match your car. This usually costs $50 to $150 and takes 30 minutes.
Buy a new fob if the immobilizer chip is dead or if the fob is physically damaged. Cracked case, bent pins, or a swollen battery are signs to give up. Also skip repair if the cost of a locksmith visit plus the repair labor exceeds the price of a new fob.
For many standard fobs, a new aftermarket unit plus programming runs $50 to $100.
Another good reason to buy new: if your fob has not worked after a week of drying and cleaning, the internal corrosion is likely too advanced. At that point, further time and money spent on repair rarely pays off.
Keep a spare fob programmed and ready. That way, next time your key fob gets wet, you are not stuck waiting for a locksmith or paying dealer markup.