So, can you wash you car engine? The short answer is yes, you absolutely can. But it is not the same as running the car through a tunnel wash or hosing off the body panels.
One wrong squirt in the right spot can leave you stranded with a dashboard full of warning lights and a very expensive repair bill.
In our research, we combed through manufacturer service bulletins and talked to ASE-certified technicians about what actually goes wrong. The consensus is clear: low-pressure rinsing with careful preparation is safe and genuinely beneficial. But blasting a modern engine bay with a pressure washer is a gamble.
As of 2026, the average cost to replace a water-damaged engine control unit runs about $1,200. Let us walk through how to do this the right way so you get the benefit without the headache.
Quick Answer: Yes, But Here's Where It Gets Risky
Yes, you can wash your car engine. The safe method requires preparation and low-pressure water. You must cover sensitive components like the alternator and fuse box.
Use a dedicated degreaser and soft brushes, not a jet nozzle. The real risk is water intrusion into electrical connectors. Dry the engine bay thoroughly before starting the car.
Skip the pressure washer entirely on modern vehicles.
Why Washing Your Engine Is Different From Washing the Body
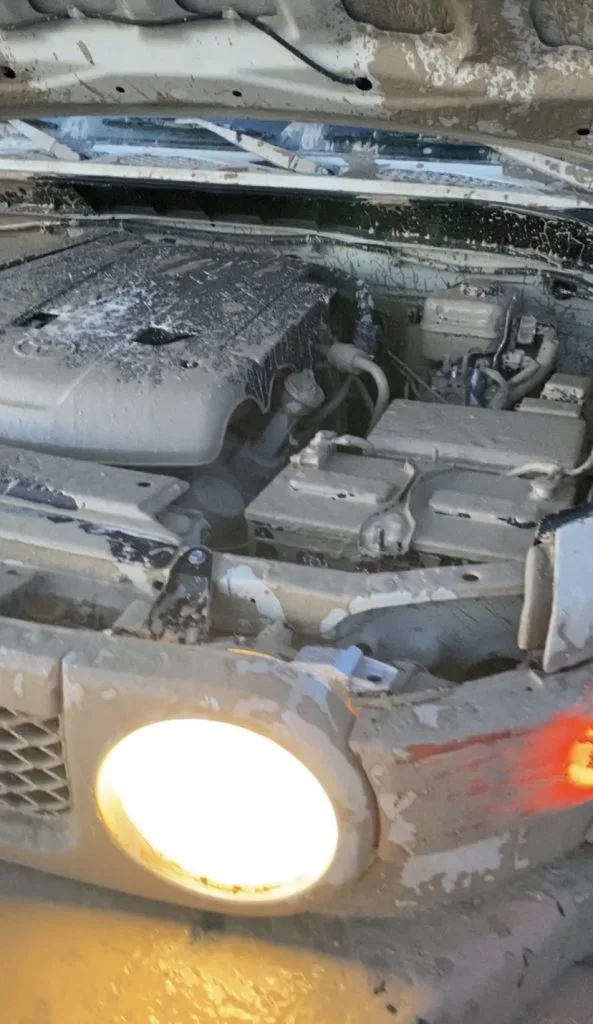
The body is painted metal sealed against the elements. The engine bay is an open ecosystem of sensitive electronics, exposed connectors, unfiltered air intakes, and heat-cycled rubber hoses. A pressure washer can force water past weather seals on electrical connectors in milliseconds.
It can also knock brittle vacuum lines loose or dent an aluminum radiator core. The engine bay demands a lighter touch and a lot more preparation.
Think of it as cleaning a computer more than washing a dish. Modern engines rely on sensors for everything from air intake to timing. A mist of water in the wrong place can trigger a check engine light or a no-start condition.
This is why careful preparation is key, similar to how you would prepare for other delicate cleaning jobs around the car.
The Real Risks: What Actually Goes Wrong (And What It Costs)
Let us get specific about the dangers. Aggregate owner reports and mechanic forums tell the same stories over and over. Knowing these risks makes you more likely to avoid them.
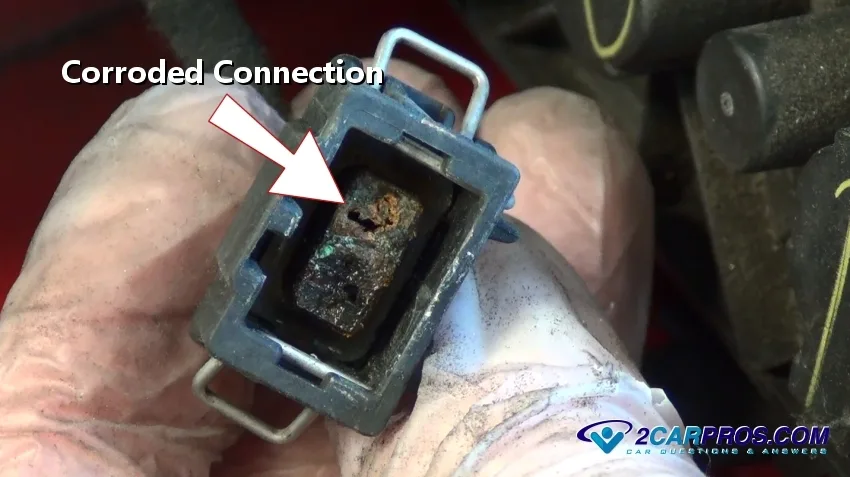
Here is a breakdown of what can happen, why, and what it typically costs to fix.
| Risk | Root Cause | Typical Repair Cost |
|---|---|---|
| Engine misfire | Water trapped in spark plug wells | $100 – $200 for diagnostic & drying |
| Alternator failure | Water ingress into bearings or voltage regulator | $200 – $600 for replacement |
| MAF sensor damage | Moisture coating the hot wire element | $150 – $400 for sensor replacement |
| Corroded ground strap | Degreaser residue trapping moisture against metal | $50 – $150 for labor & parts |
| ECU / ECM failure | Water forced into control module connectors | $800 – $1,500 for module & programming |
A water-damaged engine control unit is the worst-case scenario. The ECU sits in a vulnerable spot on many modern cars, often low in the engine bay. A direct blast from a pressure washer can push water past the connector seals.
Once moisture gets inside, the unit may fail immediately or develop intermittent issues weeks later. We have seen this happen on cars that were "professionally detailed" without proper care.
When It's Worth It: Who Actually Needs a Clean Engine Bay?
A clean engine bay is not just for car shows. It serves practical purposes that make the effort worthwhile. Diagnosing an oil leak is much easier on a clean engine.
Fresh fluid stands out against clean metal, showing you the exact source path immediately.
If you are selling a car, a clean engine bay signals meticulous maintenance to potential buyers. It suggests the car was cared for overall, which can add hundreds to the resale value. For some modern vehicles, built-up oily grime on the block can actually trap heat.
Over time, that trapped heat accelerates the aging of plastic components and rubber hoses.
There is also a safety angle. A thick layer of grease and oil on the exhaust manifold is a fire risk. Loose debris like leaves or animal nesting materials can also ignite on hot surfaces.
Cleaning the bay removes that fuel source entirely. It is about maintaining the car properly rather than just making it look pretty.
Before You Start: Tools, Materials, and Safety Gear
You do not need a huge arsenal for this job. But the right tools make the difference between success and a tow truck. Gather everything before you pop the hood so you are not running around with wet hands.
- Degreaser. Use a dedicated engine degreaser or an all-purpose cleaner safe for automotive use. Avoid harsh oven cleaners or industrial solvents.
- Soft detailing brushes. You need a few sizes to reach into crevices without scratching components. An old toothbrush works well for tight spots.
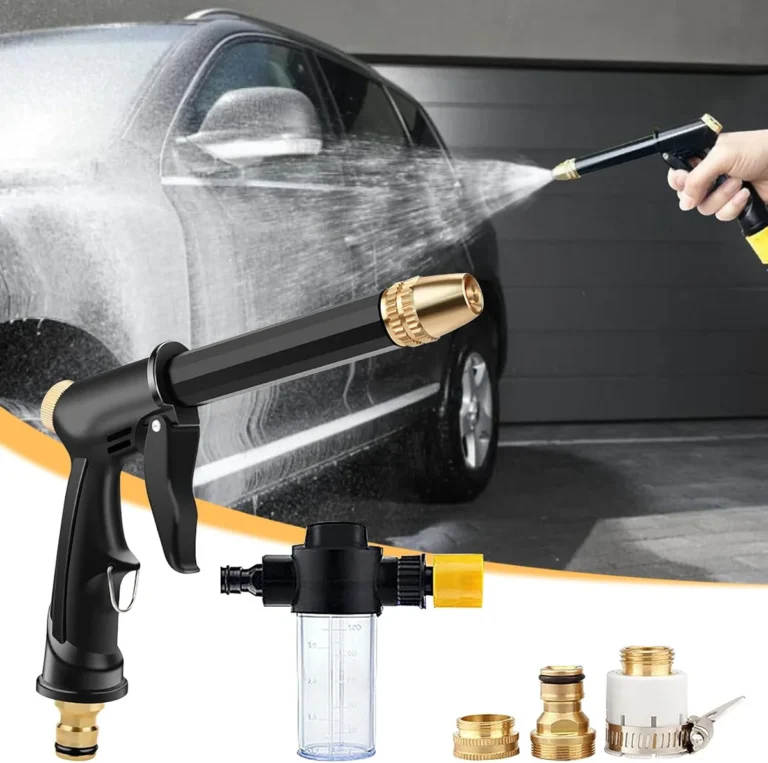
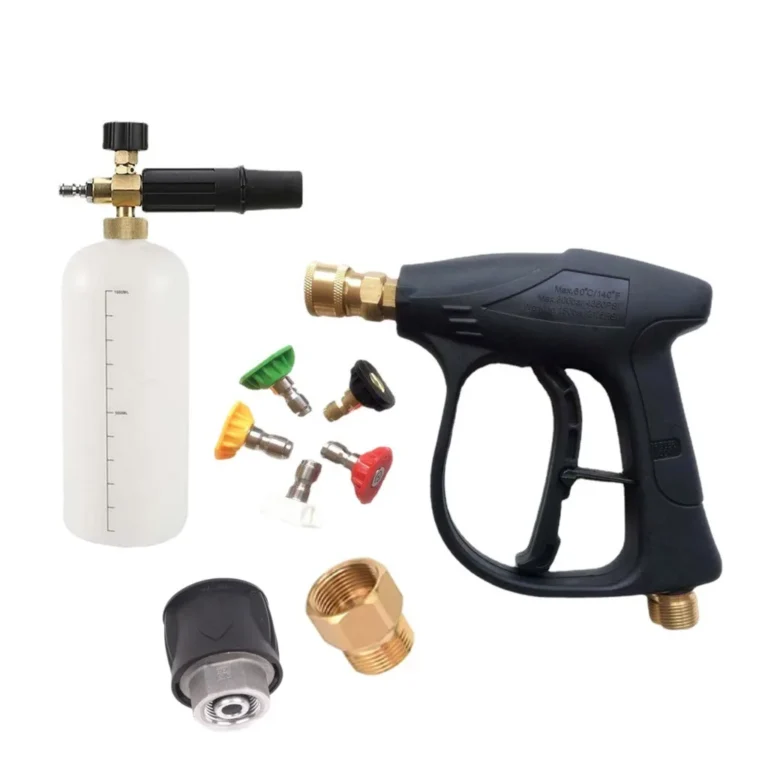
- Garden hose with adjustable spray nozzle. A low-pressure fan spray is what you want. Leave the pressure washer in the garage for this job.
- Plastic bags and rubber bands. These cover sensitive electronics like the alternator, fuse box, and air intake opening.
- Microfiber towels. Use these for drying surfaces and absorbing standing water. Do not use old cotton rags that leave lint behind.
- Leaf blower or compressed air. Blowing out water from crevices and connectors is the most effective drying method.
- Safety glasses and gloves. Degreasers can irritate skin and eyes. Protect yourself while you work.
Having the right tools on hand makes the process smooth and reduces the temptation to take shortcuts that lead to damage. A little preparation goes a long way toward protecting your car's electronics.
You do not need a huge arsenal for this job. But the right tools make the difference between success and a tow truck. Gather everything before you pop the hood so you are not running around with wet hands.
- Degreaser. Use a dedicated engine degreaser or an all-purpose cleaner safe for automotive use. Avoid harsh oven cleaners or industrial solvents.
- Soft detailing brushes. You need a few sizes to reach into crevices without scratching components. An old toothbrush works well for tight spots.
- Garden hose with adjustable spray nozzle. A low-pressure fan spray is what you want. Leave the pressure washer in the garage for this job.
- Plastic bags and rubber bands. These cover sensitive electronics like the alternator, fuse box, and air intake opening.
- Microfiber towels. Use these for drying surfaces and absorbing standing water. Do not use old cotton rags that leave lint behind.
- Leaf blower or compressed air. Blowing out water from crevices and connectors is the most effective drying method.
- Safety glasses and gloves. Degreasers can irritate skin and eyes. Protect yourself while you work.
Having the right tools on hand makes the process smooth and reduces the temptation to take shortcuts that lead to damage. A little preparation goes a long way toward protecting your car's electronics.
Covering the Weak Spots: Alternator, Fuse Box, Intake, and Electronics
This is the most critical step of the entire job. Skip it, and you are gambling with expensive components. The goal is simple: keep water out of every electrical connection and every air path.
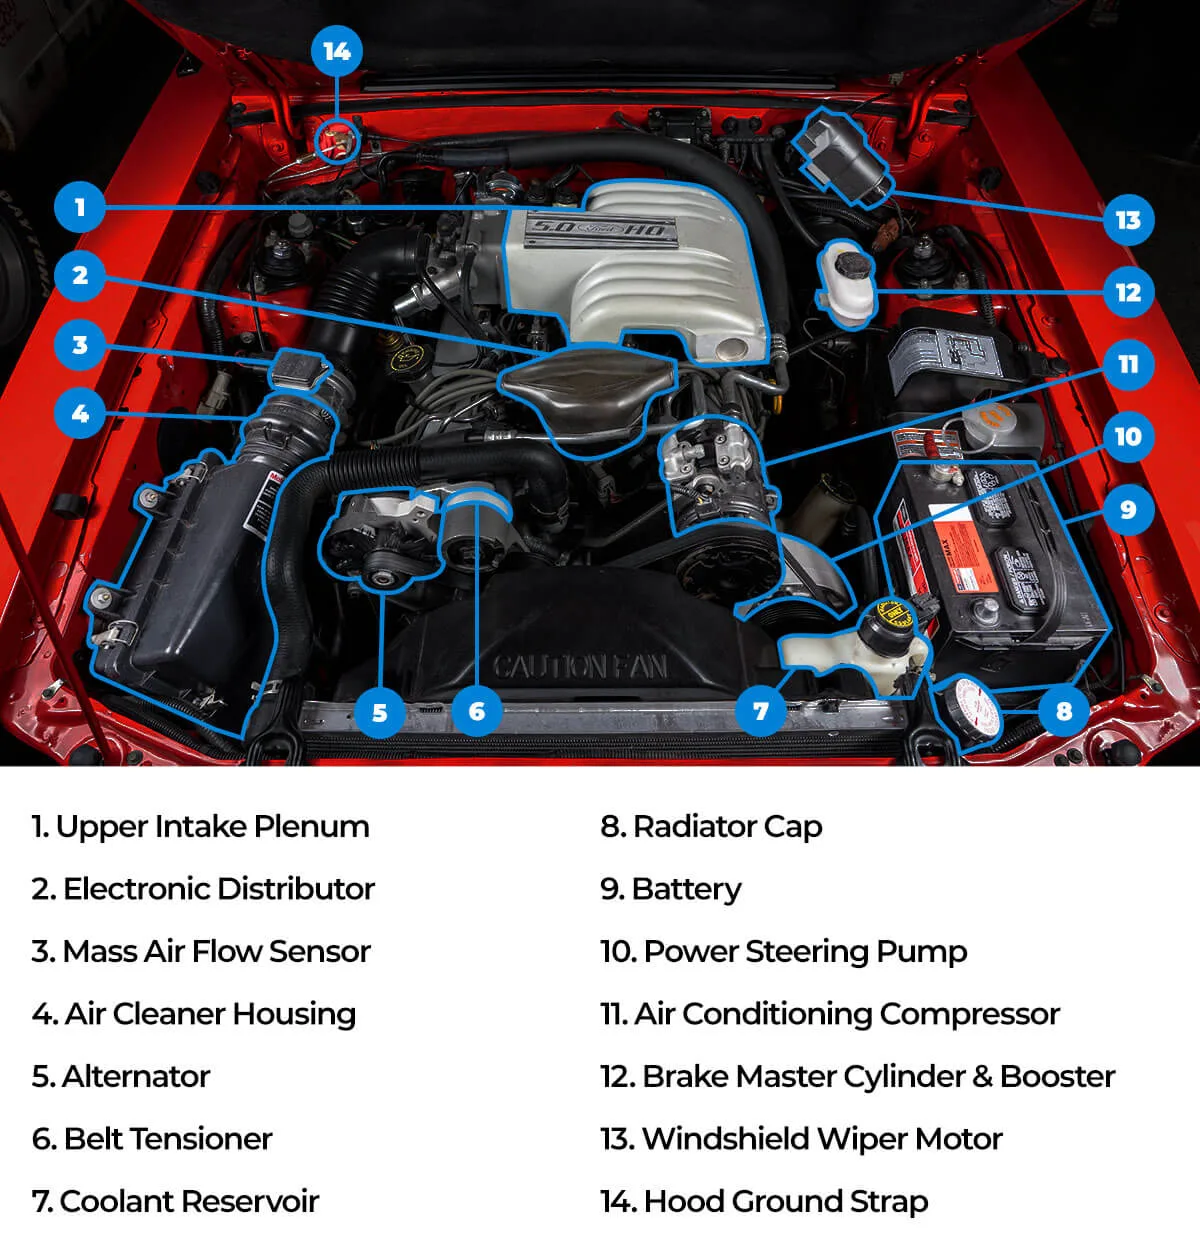
You need three things: plastic grocery bags, rubber bands or zip ties, and aluminum foil. Foil is useful because it molds around irregular shapes like the MAF sensor housing and throttle body opening.
Where to focus your coverage:
- Alternator. This is the number one casualty of engine bay washing. Water forced into the rear bearing or voltage regulator kills it quickly. Wrap the entire alternator in a plastic bag and secure it tightly with a rubber band around the wiring harness.
- Fuse box. Many under-hood fuse boxes have a gasket but it is not waterproof against a direct spray. Bag the whole box. Do not rely on the lid alone.
- Air intake opening. This is the most obvious risk, but people still miss it. The intake trumpet or air box snorkel leads directly into the engine. If water gets in, you risk hydro-lock which bends connecting rods. Stuff a plastic bag inside the opening and seal it around the outside.
- MAF sensor housing. The hot wire element inside is incredibly fragile. Even a few drops of water on it while running can cause a false reading. Cover the entire sensor housing with foil or a small bag.
- Spark plug wells. These are recessed holes in the valve cover that hold the coils or plug wires. Water pools in them and causes misfires. If your engine has individual coil packs, avoid spraying directly at them. Blow them dry immediately after rinsing.
- Battery terminals and ground straps. Degreaser residue sitting on these connections accelerates corrosion. Give them a quick cover or just hit them with a targeted spray of water after cleaning.
Do not cover the exhaust manifold or the radiator. Water on the manifold will steam off harmlessly. The radiator is designed to have air and water pass through it.
Focus your effort on electrical and air intake components only.
Step-by-Step: The Safe Way to Wash a Modern Engine
Follow this order exactly. It is the sequence that minimizes risk and maximizes results. Do not skip steps or rush the drying phase.
Step 1: Let the engine cool completely. A hot engine evaporates water too fast, which leaves mineral deposits on surfaces. It also risks cracking a hot exhaust manifold if hit with cold water. Wait until the hood feels cool to the touch.
Step 2: Disconnect the battery negative terminal. This cuts power to the ECU and all sensors. It eliminates the chance of a short circuit if any moisture does make contact. Use a 10mm wrench to loosen the terminal.
Wrap the disconnected cable in a rag.
Step 3: Cover all sensitive components. Use the approach described in the section above. Double check that the intake opening is sealed. This step takes ten minutes but saves you a thousand dollars.
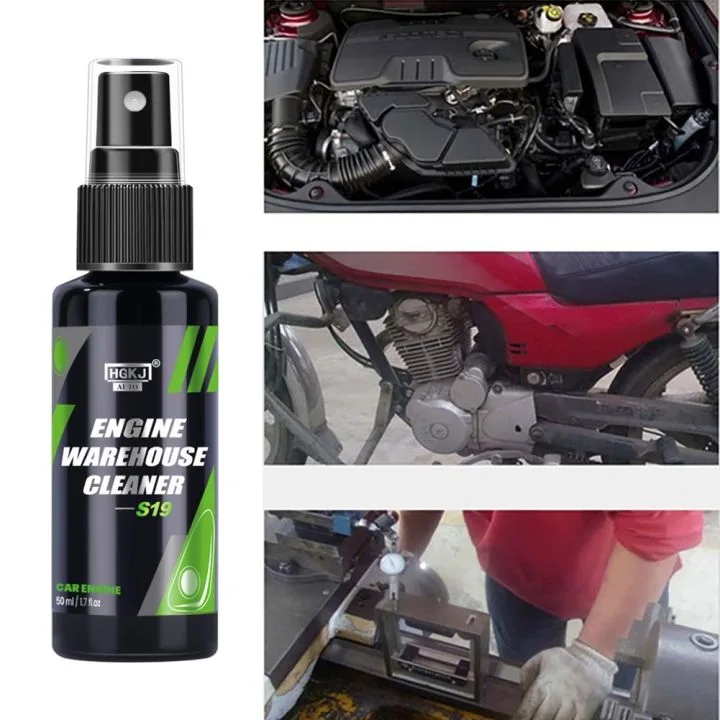
Step 4: Apply degreaser. Start with the greasiest areas around the valve cover, oil filler cap, and power steering pump. Spray the degreaser evenly. Do not saturate electrical components even with the covers on.
Let it dwell for three to five minutes. Do not let it dry on the surface.
Step 5: Agitate with brushes. Use a soft bristle brush for large areas like the valve cover. Use a smaller brush for crevices near hose clamps and wiring looms. Scrub gently.
You are not trying to remove paint. You are just loosening the grime.
Step 6: Rinse with low pressure. Switch your hose nozzle to a wide fan spray. Rinse from the top down. Let the water cascade over the engine.
Do not direct a jet at any single component. Move the spray continuously. Keep the pressure low enough that you can comfortably hold the spray with one hand.
Step 7: Remove the covers. Take off the plastic bags and foil. Rinse any residual degreaser off the covered areas lightly. Be quick with this step.
You do not want water sitting in the crevices you just uncovered.
Step 8: Dry the bay thoroughly. This is where most people fail. You need to remove standing water from every pocket, well, and connector. Use compressed air or a leaf blower.
Focus on the spark plug wells, the alternator area, and around the fuse box. Use a microfiber towel to soak up any puddles on flat surfaces.
Step 9: Let it air dry. Leave the hood open for 30 to 60 minutes. If you have a garage, park inside with a fan blowing into the bay. This step ensures any hidden moisture evaporates.
Step 10: Reconnect the battery and start the engine. Listen for any unusual sounds. Let it idle for five minutes. The heat will evaporate any remaining trace moisture.
Watch the dashboard for warning lights. If everything looks normal, you are done.
Common Mistakes That Lead to Misfires, Dash Lights, and Repairs
Experienced mechanics see the same patterns over and over. These mistakes are predictable and completely avoidable.
Using a pressure washer. This is mistake number one. A pressure washer at 1500 PSI or higher forces water past seals that a garden hose cannot touch. If you must use one, keep the nozzle at least two feet away and use a 40-degree tip.
Even then, the risk remains higher than necessary.
Spraying while the engine is hot. Thermal shock is real. Rapid cooling can crack aluminum components and exhaust manifolds. It also bakes degreaser onto surfaces, leaving a hazy residue that attracts more dirt.
Forgetting the alternator. It is tucked away on many engines and easy to miss. A soaked alternator may work fine for a day or two. Then the bearings corrode, and you get a whining noise followed by a dead battery.
Not drying the spark plug wells. This is the most common cause of post-wash misfires. Water pools in the recessed wells around each spark plug. When you start the engine, the water causes a short circuit through the coil boot.
The result is a rough idle and a flashing check engine light.
Leaving degreaser residue behind. Degreasers are alkaline. If they dry on rubber hoses and plastic connectors, they can accelerate cracking and brittleness over time. Rinse thoroughly until the surfaces feel slick and soap-free.
Skipping the air intake seal. A small amount of water entering the intake at idle might not cause immediate damage. But enough water at startup can bend a connecting rod. It is an easy cover to apply, so there is no reason to risk it.
Drying Is Half the Battle: How to Evacuate Trapped Water
Water behaves differently in an engine bay than on a painted hood. It runs into crevices, pockets behind components, and the narrow gaps around wiring connectors. Gravity pulls it downward, but capillary action holds it in place.
You have to actively remove it.
The most effective drying tools:
- Leaf blower. This is the best option for most DIYers. It moves a high volume of air without the risk of moisture from compressed air. Start at the back of the bay and work forward. Blow into every crevice you can see.
- Compressed air with a blow gun. This gives you more focused pressure for tight spots. Use it carefully around plastic connectors. High pressure can damage delicate seals.
- Microfiber towels. Use these for flat surfaces where water pools. Lay the towel on the surface and press gently. Do not wipe aggressively as this can push water into connectors.
- A heat gun on low. Use this only as a last resort. Keep it moving and stay at least six inches away from plastic and rubber. Focus on the spark plug wells and alternator area.
Critical drying zones:
- Spark plug wells. Blow compressed air into each well at an angle. Listen for the sound of water being ejected. Repeat until you hear only air.
- Alternator rear housing. Blow air into the vents and around the wiring harness connection. Any water trapped here can cause premature bearing failure.
- Fuse box underside. Water often runs down the wiring into the fuse box from above. Blow air up into the wiring entry points if accessible.
- Battery tray corners. This area collects water and degreaser runoff. Blast it dry to prevent corrosion on the tray and nearby ground connections.
After blowing everything dry, let the engine bay sit open for 30 minutes. A fan directed into the engine bay speeds this up significantly. Patience here prevents problems later.
When to Walk Away: Signs Your Engine Bay Should Stay Dirty
Not every engine bay benefits from a wash. Some conditions make the risk of damage higher than the reward of cleanliness. Recognize these situations and save yourself the trouble.
Pre-existing oil leaks. If your valve cover gasket is leaking or the timing cover is wet with oil, washing introduces water into the leak path. The water mixes with oil and creates a milky emulsion that looks like a head gasket failure. It also makes it harder to find the actual leak source.
Fix the leak first, then clean.
Barely visible cracked vacuum hoses. Old rubber vacuum lines become brittle over time. A spray of water or a brush can knock them loose. If your engine has many original hoses from the 1990s or early 2000s, the cleaning process itself may cause a vacuum leak.
Recently replaced components. If you just installed a new alternator, starter, or ECU, the connectors are fresh and fully sealed. But the surrounding areas may have exposed wiring that is not yet fully protected. Wait a few weeks for everything to settle.
Then consider cleaning.
Severe corrosion on battery terminals. If the terminals are crusty with white or blue corrosion, washing can send corrosive residue into nearby connectors and ground straps. Clean the terminals separately with a dedicated battery terminal cleaner first.
High-mileage engines with original gaskets. Engines with over 150,000 miles often have intake manifold gaskets and valve cover gaskets that are sealing just barely. The detergents in degreasers can seep into these aged gaskets and trigger new leaks. If the engine is dry and the gaskets are holding, leave it alone.
You are selling the car tomorrow. A dirty engine bay looks neglected, but a suspiciously clean engine bay on an older car raises questions. Many buyers wonder what you are hiding. A moderate level of dust and light oil residue suggests honest miles and no recent major repairs.
Quick Reference: Decision Guide for Washing Your Engine
Use this quick check to decide whether to proceed or skip the wash.
| If your engine has this | Do this |
|---|---|
| Active oil leak | Fix the leak first. Do not wash yet. |
| Original gaskets over 150k miles | Leave it dirty. The degreaser may trigger new leaks. |
| Recently replaced alternator or ECU | Wait a few weeks. Then wash with extra care. |
| Heavy mud or grease buildup | Safe to wash. Follow the step-by-step process. |
| You plan to sell the car in 48 hours | Leave moderate dust. A spotless old bay looks suspicious. |
| Check engine light is already on | Diagnose and fix the code first. Water can make it worse. |
If your situation fits the green light conditions, gather your tools and proceed. If any red flags apply, close the hood and move on.
Frequently Asked Questions
Can I use a pressure washer on my car engine?
You can, but we recommend against it on modern cars. If you must, use a 40 degree tip, keep the nozzle two feet away, and never spray directly at electrical components. A garden hose is much safer.
How long should I let the engine dry before starting it?
Wait at least 30 minutes with the hood open. Blow out the spark plug wells and connectors first. If you have compressed air or a leaf blower, use it.
Starting the engine too early risks misfires.
What happens if water gets in my spark plug wells?
The engine will misfire. You will feel a rough idle and see a flashing check engine light. Remove the coil packs or plug wires.
Blow out the water with compressed air. Let everything dry before reinstalling.
Do I need to disconnect the battery?
Yes. Disconnect the negative terminal before you start. This removes power from the ECU and all sensors.
It prevents shorts if any moisture reaches a connector.
How often should I wash my engine bay?
Once every 12 to 24 months is enough for most drivers. Wash it when you need to inspect for leaks or before selling the car. Overwashing increases the risk of moisture damage over time.