ByMax Lee
How to Clean Your Car Engine Safely & Effectively
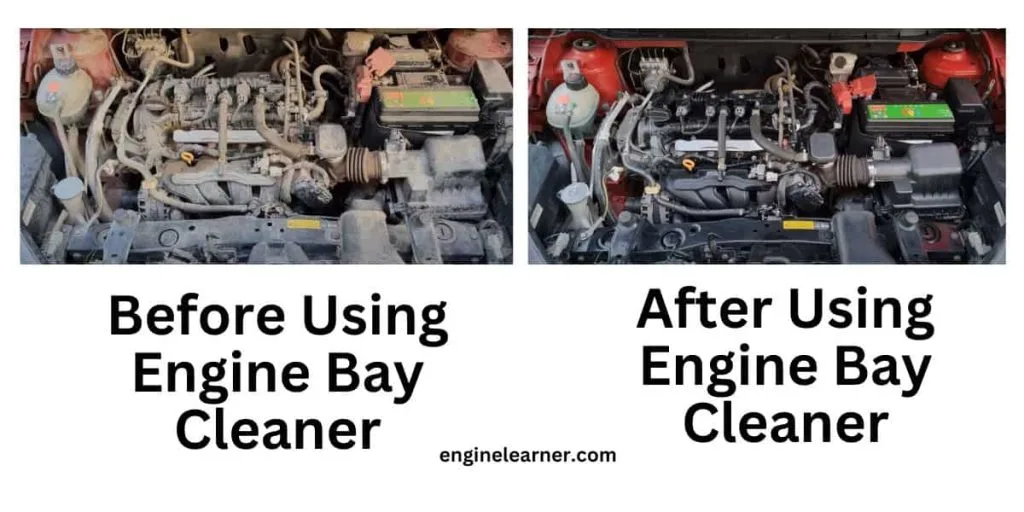
Cleaning your car engine isn’t just about looks, it’s about performance and safety. If you’ve ever wondered how to clean my car engine without frying the electronics or voiding your warranty, you’re in the right place. A dirty engine runs hotter, hides leaks, and can even fail inspections, but the wrong cleaning method can cause costly damage.
Manufacturer specifications confirm that water pressure above 1,500 PSI can force moisture into sensitive components. That’s why the process starts with the right prep and tools.
Quick Answer
Let the engine cool completely. Disconnect the battery and cover electrical parts. Apply degreaser, scrub gently, then rinse with low pressure.
Dry thoroughly before reconnecting anything.
Bing (Web (fair-use with source credit))
Why Cleaning Your Car Engine Requires Care (And How to Do It Safely)
A clean engine bay improves cooling and helps spot leaks early. Dirt and grime trap heat, which can reduce efficiency and shorten the life of hoses and belts. Oil and grease buildup near hot surfaces can also become a fire hazard.
But cleaning incorrectly carries risks. High-pressure water can damage sensors, and harsh chemicals may corrode plastic or rubber parts. Per OSHA guidelines, improper handling of degreasers can pose health risks from fumes or skin contact.
What You’re Actually Cleaning (And What You Must Avoid)
Your engine bay contains sensitive components. The alternator, fuse box, wiring harness, and spark plug wells need protection from water and chemicals. The air intake system and battery terminals are also vulnerable.
Avoid spraying directly at:
- Distributor caps
- Spark plug wires
- Fuse boxes
- Alternator
- Exposed wiring
These parts can short out or corrode if they get wet. Even small amounts of moisture in the wrong place can cause misfires or electrical failures.
The Right Tools and Cleaners for the Job
You don’t need a full garage, but the right tools make the job safer and easier.
| Tool | Purpose | Notes |
|---|---|---|
| Engine degreaser | Breaks down grease and grime | Use water-based for most engines |
| Plastic bags | Covers electrical components | Secure with rubber bands or tape |
| Soft-bristle brushes | Scrubs without scratching surfaces | Toothbrushes work for tight spots |
| Microfiber cloths | Wipes and dries surfaces | Lint-free to avoid residue |
| Garden hose | Rinses degreaser | Low pressure only |
| Safety gear | Protects you from chemicals | Gloves, goggles, mask essential |
Bing (Web (fair-use with source credit))
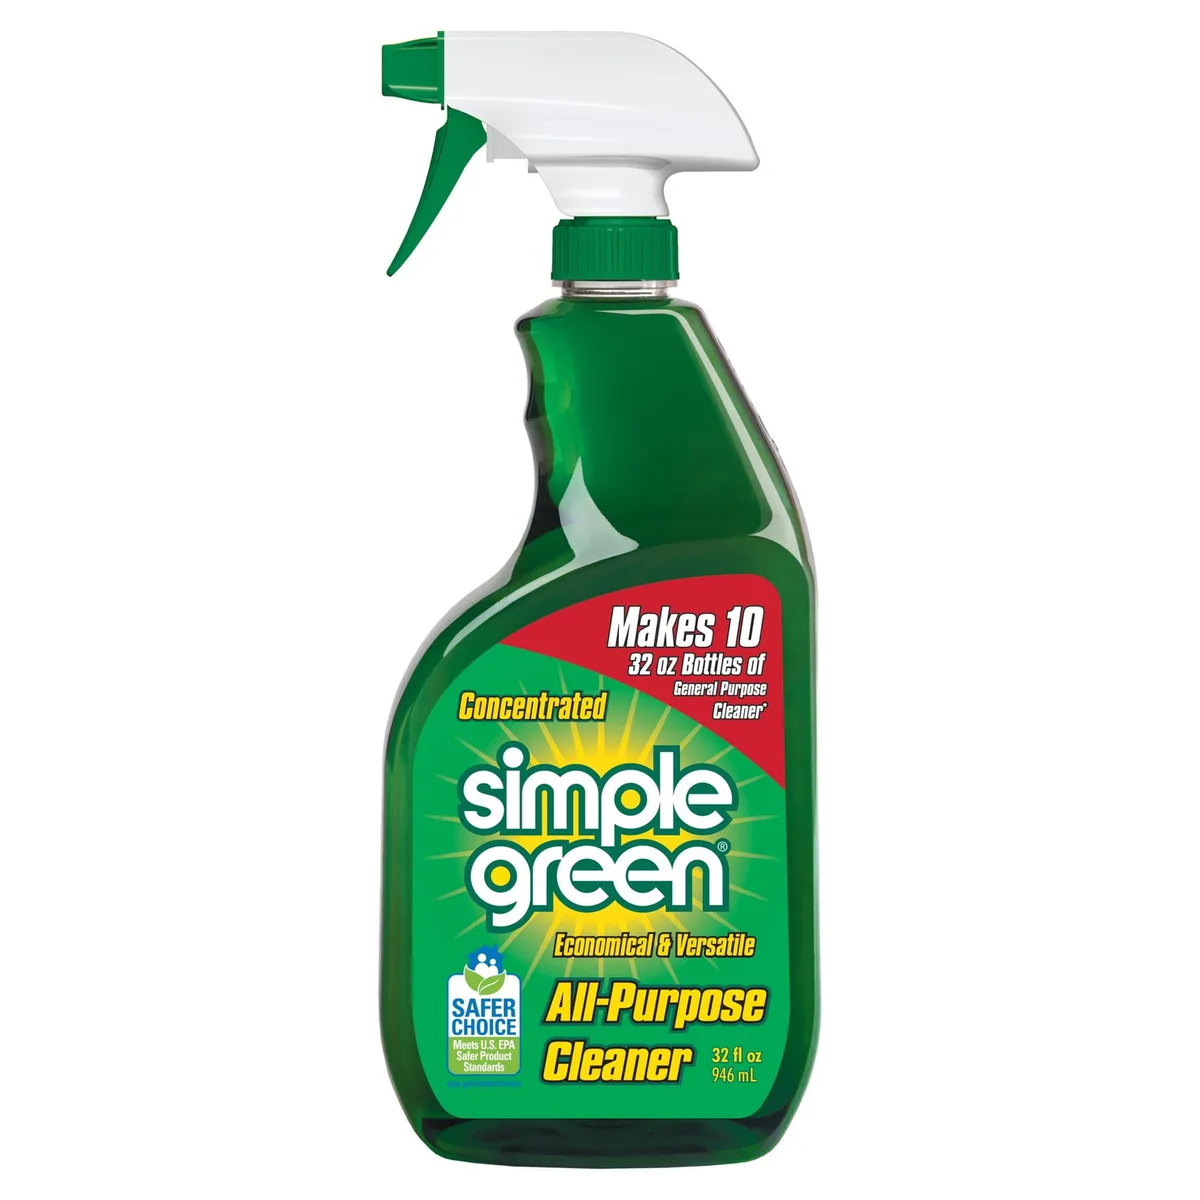
Water-based degreasers are safest for modern engines. Solvent-based options work faster on heavy grime but can damage plastic or rubber. Always check the label for compatibility.
Step-by-Step: How to Clean Your Engine Without Damaging It
Prep Work: Protecting What Matters
Park on a level surface and let the engine cool for at least 30 minutes. Hot surfaces can warp plastic or cause degreaser to evaporate too quickly.
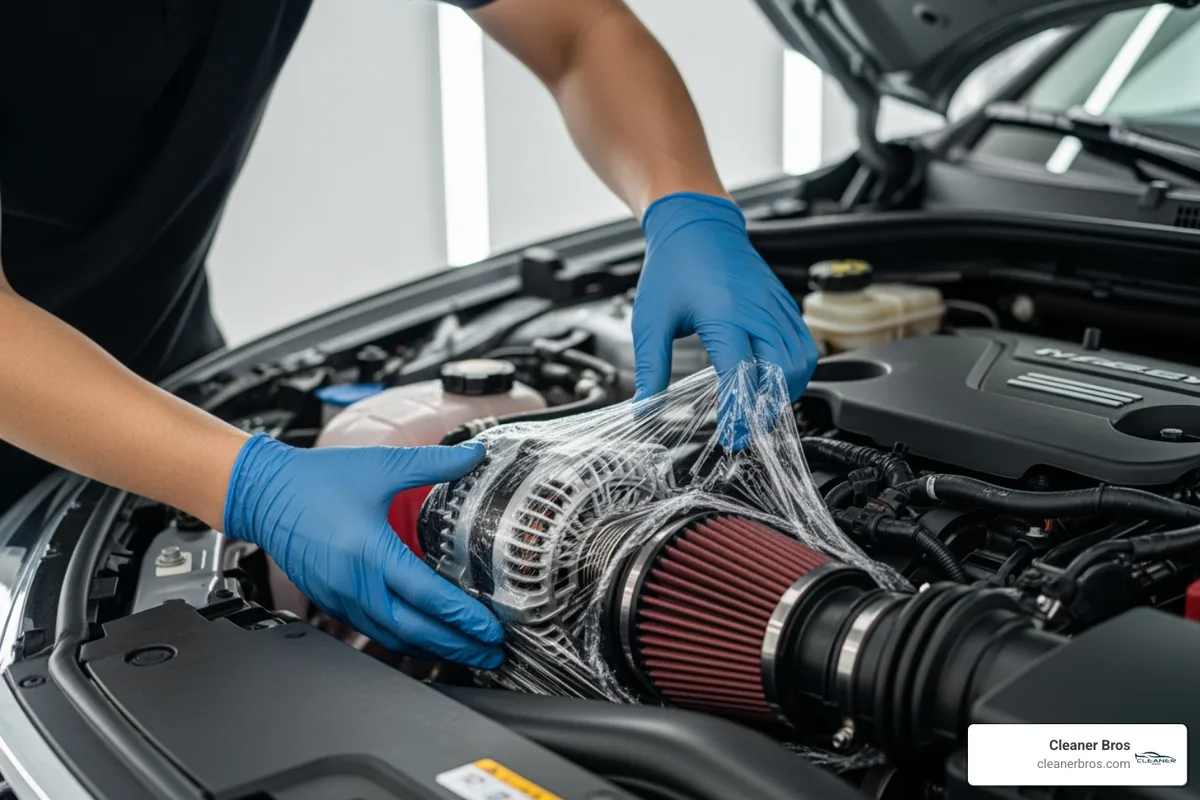
Disconnect the negative battery terminal first, then the positive. Cover the battery, alternator, fuse box, and exposed wiring with plastic bags. Secure them tightly with rubber bands or tape.
Bing (Web (fair-use with source credit))
Remove the engine cover if your model has one. Check the owner’s manual for instructions, as some covers use clips or screws.
Applying Degreaser and Scrubbing Smart
Spray degreaser onto the greasiest areas first. Let it sit for 5 to 10 minutes to break down grime.
Use a soft-bristle brush to agitate stubborn spots. A toothbrush works well for tight areas around bolts and connectors. Avoid scrubbing plastic or rubber parts too hard.
Work in small sections to prevent the degreaser from drying out. If it dries before rinsing, it can leave a film that’s harder to remove.
Rinsing and Drying Without Risk
Use a garden hose with a gentle spray nozzle. Keep the pressure low to avoid forcing water into electrical components. Never exceed 1,500 PSI.
Rinse from the top down, letting water flow away from sensitive areas. Avoid direct sprays at the alternator, fuse box, or spark plug wells.
Dry the engine bay thoroughly with microfiber cloths. A shop vacuum can help remove water from hard-to-reach spots. Letting the engine air-dry can take 30 minutes or more, depending on humidity.
Final Checks Before Starting the Engine
Remove all plastic bags and covers. Double-check that no tools or rags are left in the engine bay.
Reconnect the battery terminals, positive first, then negative. Apply dielectric grease to the terminals to prevent corrosion.
Bing (Web (fair-use with source credit))
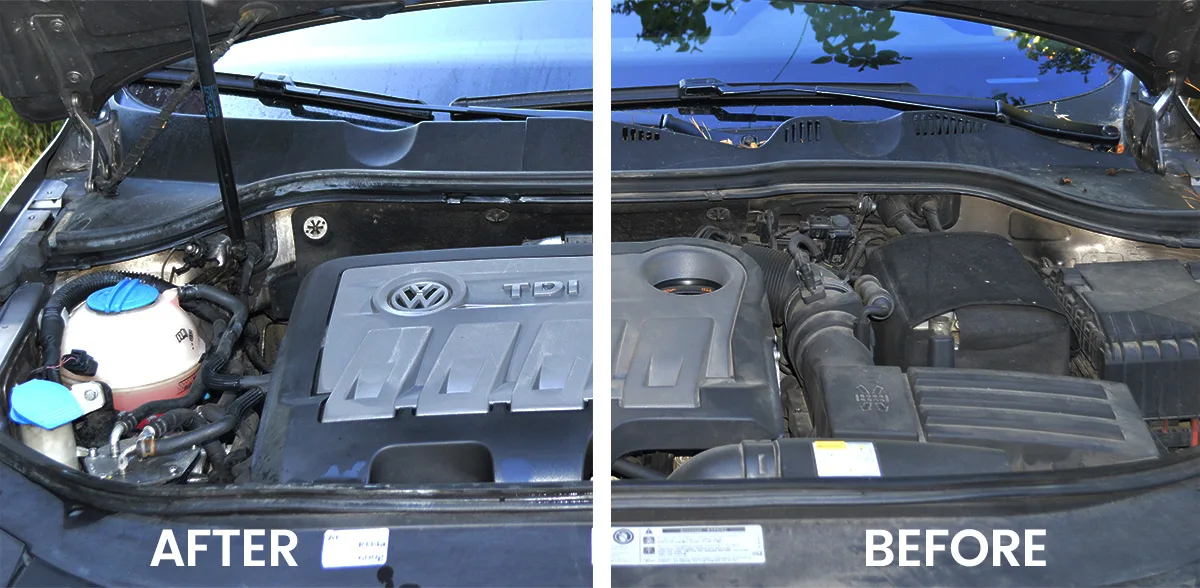
Start the engine and let it idle for a few minutes. Listen for unusual noises and check for warning lights. If everything runs smoothly, the cleaning was successful.
Common Mistakes That Wreck Engines (And How to Avoid Them)
Skipping the cool-down period is a top mistake. Spraying degreaser or water on a hot engine can cause warping or rapid evaporation, leaving residue.
Using high-pressure water is another common error. Even 2,000 PSI can force water into seals and electrical connections. Stick to a garden hose.
Overlooking electrical components is risky. Failing to cover the alternator or fuse box can lead to shorts or corrosion. Always take the extra minute to protect these parts.
Degreaser Showdown: Which One Should You Use?
Water-based degreasers are safest for most engines. They’re less likely to damage plastic or rubber and rinse off easily. Simple Green and Gunk are widely recommended.
Solvent-based degreasers cut through heavy grease faster but can be harsh. Use them only for older engines with thick buildup and in well-ventilated areas.
Biodegradable options are ideal for eco-conscious users. They break down more easily but may require more scrubbing. Always check the label for material compatibility.
When to Skip DIY and Call a Pro
Modern engines with tightly packed bays or sensitive electronics may need professional cleaning. Detailers have specialized tools like steam cleaners, which are gentler than pressure washers.
If you’re unsure about disconnecting the battery or covering components, a pro can do it safely. They also have the expertise to avoid common pitfalls.
As of 2026, professional engine bay cleaning typically costs $100 to $300. This includes degreasing, rinsing, and drying with proper equipment.
How Often Should You Clean Your Engine Bay
Most mechanics recommend cleaning every 1 to 2 years. This prevents excessive grime buildup while avoiding unnecessary wear.
Drive in dusty or muddy conditions? Clean more often. Off-road vehicles or those in agricultural areas may need attention every 6 to 12 months.
Regular light cleaning with a damp cloth can extend the time between deep cleans. This removes surface dust without the risks of full degreasing.
Cost Breakdown: DIY vs. Professional Detailing
| Option | Cost | Time Required | Skill Level |
|---|---|---|---|
| DIY | $20–$50 | 1–2 hours | Beginner |
| Professional | $100–$300 | 1–3 hours | Expert |
DIY cleaning is budget-friendly. Basic supplies like degreaser, brushes, and microfiber cloths cost $20 to $50. You’ll also need a garden hose or low-pressure washer.
Professional detailing offers convenience and expertise. Prices vary but generally range from $100 to $300.
Safety First: Gear, Ventilation, and Chemical Handling
Wear rubber gloves to shield your hands from chemicals. Safety goggles protect your eyes from splashes. A face mask helps avoid inhaling fumes.
Work in a well-ventilated area. Garages with open doors or outdoor spaces are ideal. Never clean in enclosed spaces where fumes can accumulate.
Store degreasers in a cool, dry place. Keep them out of reach of children and pets. Follow the manufacturer’s instructions for disposal.
Mistakes to Avoid After Cleaning
Don’t reconnect the battery while any part of the engine is still wet. Moisture can cause shorts or corrosion. Wait until everything is completely dry.
Avoid starting the engine immediately after cleaning. Let it sit for 10 to 15 minutes to ensure all components are dry.
Don’t ignore warning lights after cleaning. If the check engine light appears, turn off the engine and inspect for issues. Water or degreaser residue may have affected a sensor.
Frequently Asked Questions
Can I use dish soap to clean my engine?
Dish soap can remove light grime but isn’t ideal. It lacks the strength to cut through heavy grease and may leave residue. Engine degreasers are formulated specifically for this task.
How long does it take to clean an engine bay?
A DIY clean typically takes 1 to 2 hours. This includes prep, cleaning, drying, and reassembly. Professional detailing may take 1 to 3 hours, depending on the vehicle.
Is it safe to pressure wash an engine?
Only with extreme caution. Pressure washers can force water into electrical components. If you must use one, keep the PSI below 1,500 and avoid direct sprays at sensitive areas.
What happens if water gets in the spark plug wells?
Water in spark plug wells can cause misfires or engine damage. Always cover these areas before cleaning. If water does get in, remove the spark plugs and dry the wells thoroughly.
Can I clean a hot engine?
No. Always let the engine cool for at least 30 minutes. Cleaning a hot engine can cause degreaser to evaporate too quickly or warp plastic components.