ByMax Lee
Ceramic Coatings: Types, Benefits & Best Uses
Bing (Web (fair-use with source credit))
A coating for ceramics can transform a fragile piece into a durable, waterproof, or food-safe work of art. Whether you're sealing a handmade mug or protecting outdoor tiles, the right finish makes all the difference.
Per ASTM C650 standards, ceramic coatings must meet specific durability and safety benchmarks, especially for food contact. The wrong choice can lead to cracking, toxicity, or premature wear, so understanding your options is key.
Quick Answer
A coating for ceramics is a protective or decorative layer applied to clay-based surfaces. Glazes are kiln-fired for permanence. Sealants are air-dry for quick fixes.
Industrial coatings add heat or chemical resistance. Food-safe options must meet FDA standards. Always match the coating to your ceramic type and use case.
Why Coating Ceramics Matters (And When You Actually Need It)
Ceramics are naturally porous. Without a coating, they absorb stains, moisture, and bacteria. A glaze or sealant fills those microscopic gaps, creating a smooth, non-porous surface.
For functional pieces like dinnerware, a food-safe glaze prevents leaching and contamination. For decorative items, a coating enhances color and adds a professional finish. Industrial ceramics often need specialized coatings to withstand extreme temperatures or corrosive environments.
The 5 Main Types of Ceramic Coatings (And What They Do)
Bing (Web (fair-use with source credit))
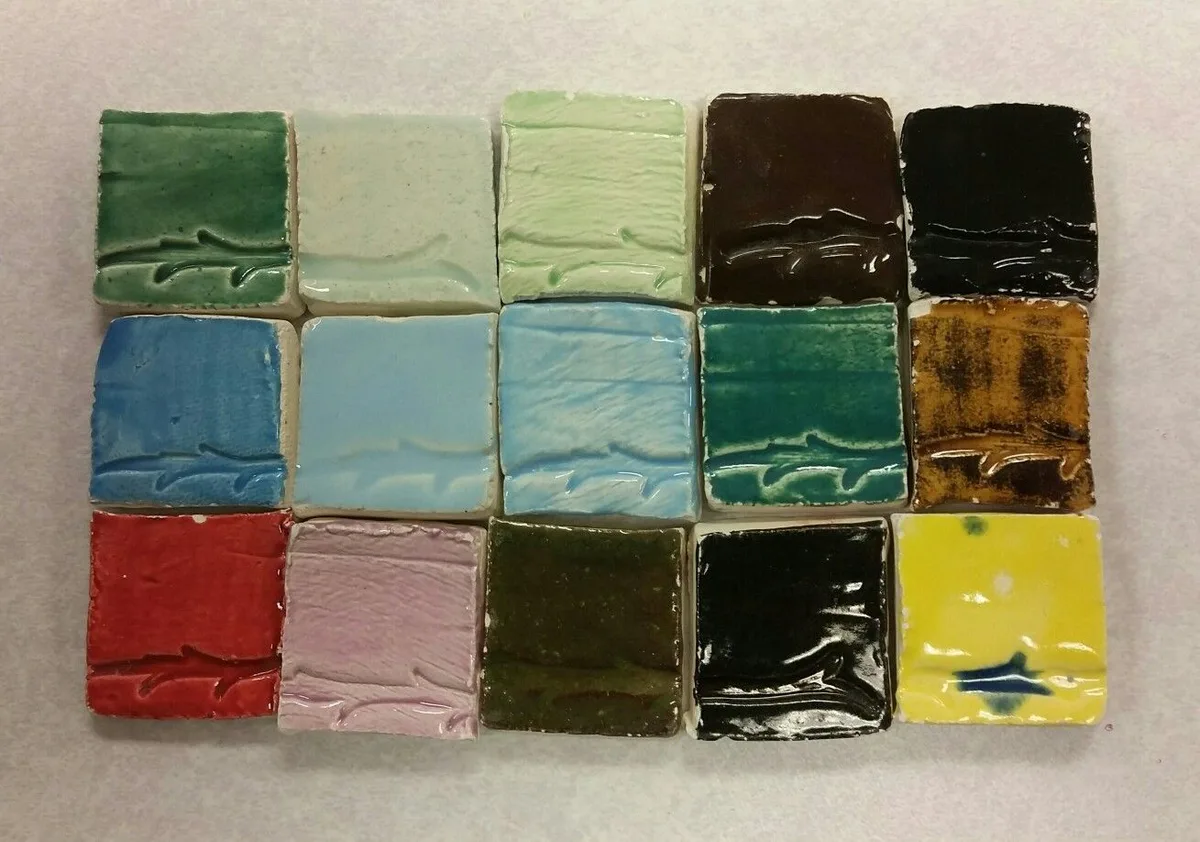
Glazes are glass-like coatings fired in a kiln. They come in low-fire (cone 06, 04), mid-fire (cone 4, 6), and high-fire (cone 8, 10) varieties. Glazes create a permanent, waterproof, and often glossy finish.
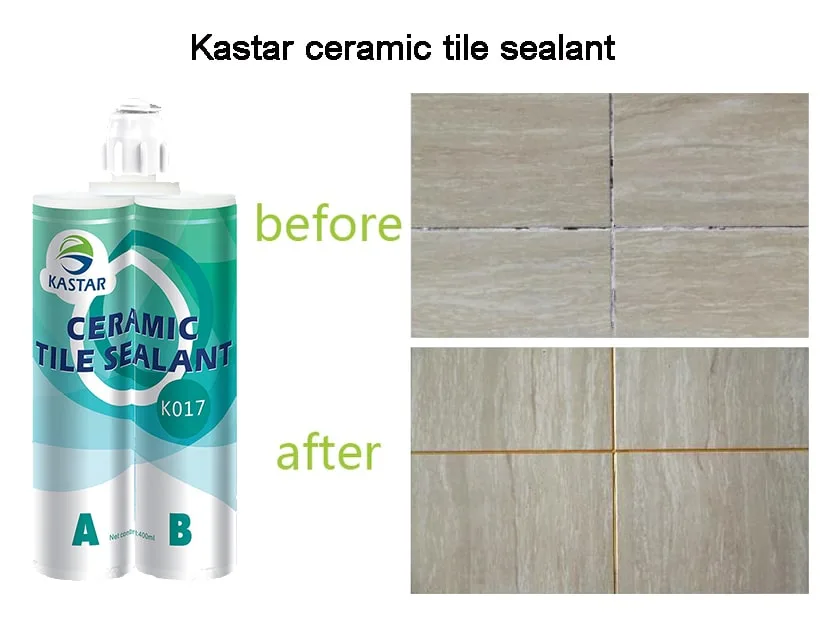
Sealants are post-firing coatings like epoxy, polyurethane, or acrylic. They’re ideal for DIY projects or repairing existing pieces. Sealants cure at room temperature but may require reapplication over time.
Industrial coatings include plasma-sprayed or thermal barrier layers. These are used in aerospace, medical, and automotive applications for extreme durability. They often require professional application.
Underglazes and overglazes are decorative coatings applied before or after the main glaze. Underglazes go on bisqueware, while overglazes are applied over a fired glaze and re-fired.
Nanocoatings are advanced, often hydrophobic or anti-bacterial. They’re used in high-performance or specialty applications, like medical implants or self-cleaning surfaces.
Glaze vs. Sealant vs. Industrial Coating: Key Differences
Bing (Web (fair-use with source credit))
How they’re applied
Glazes require kiln firing at 1,800, 2,400°F. Sealants are brushed, sprayed, or dipped and air-dry. Industrial coatings often use specialized equipment like plasma sprayers.
Durability
Glazes are permanent once fired. Sealants may need reapplication every 1, 3 years. Industrial coatings are the most durable, often lasting decades.
Best for
Glazes are ideal for pottery, tableware, and tiles. Sealants work for quick fixes or non-kiln projects. Industrial coatings are for extreme environments like engines or medical devices.
| Feature | Glaze | Sealant | Industrial Coating |
|---|---|---|---|
| Application | Kiln-fired | Air-dry | Specialized |
| Durability | Permanent | 1–3 years | Decades |
| Cost | Moderate | Low | High |
| Food Safe | Yes (if FDA-approved) | Some (check label) | Rarely |
How to Choose the Right Coating for Your Project
Start with the ceramic type
Earthenware needs low-fire glazes (cone 06, 04). Stoneware works with mid- to high-fire glazes (cone 4, 10). Porcelain can handle high-fire glazes for maximum durability.
Consider the use case
Food contact requires FDA-approved glazes. Outdoor pieces need UV-resistant sealants. Decorative items can use a wider range of finishes.
Match the application method
Kiln-fired glazes need a kiln. Air-dry sealants work for DIY projects. Spray coatings cover large areas quickly.
Check compatibility
Not all glazes bond well with all clays. Test a small area first. For repairs, use a sealant that adheres to glazed surfaces.
Step-by-Step: How to Apply a Ceramic Coating Properly
Bing (Web (fair-use with source credit))
Prep the surface
Clean the ceramic to remove dust, oil, or residues. For bisqueware, wipe with a damp sponge. For glazed pieces, lightly sand to improve adhesion.
Ensure the surface is completely dry before application.
Choose your method
Brushing works for small or detailed areas. Spraying is faster for large, flat surfaces. Dipping is ideal for even, all-over coverage on small pieces.
Apply the coating
For glazes, apply 2, 3 thin, even layers. For sealants, follow the manufacturer’s instructions, some require multiple coats. Avoid thick applications, which can lead to drips or uneven drying.
Cure or fire
Air-dry sealants typically cure in 24, 72 hours. Glazes require kiln firing according to their cone rating (e.g., cone 6 glazes fire at ~2,200°F). Industrial coatings may need heat or UV curing.
Always follow the manufacturer’s recommended curing time and temperature.
Finish and inspect
Once cured, check for uneven spots or bubbles. Lightly sand any rough areas if needed. For glazed pieces, the finish should be smooth and glass-like.
For sealants, ensure full coverage without sticky residue.
Common Mistakes (And How to Fix Them)
Bing (Web (fair-use with source credit))
Applying to dirty surfaces
Dust, oil, or fingerprints prevent proper adhesion. Always clean the ceramic with mild soap and water, then rinse and dry thoroughly. For bisqueware, wipe with a damp sponge to remove clay dust.
Using the wrong coating for the ceramic type
Low-fire glazes on high-fire clay can melt or run. Match the glaze’s cone rating to your clay’s firing range. For example, stoneware (cone 5, 6) needs a mid- to high-fire glaze.
Applying too thick or too thin
Thick layers can crack or bubble during firing. Thin layers may not provide full coverage. Aim for 2, 3 even coats, allowing each to dry before adding the next.
Skipping the bisque fire
Applying glaze to greenware (unfired clay) often leads to crawling or peeling. Always bisque-fire clay first to remove moisture and harden the surface.
Ignoring curing times
Rushing the drying process can result in weak adhesion or incomplete bonding. Air-dry sealants need 24, 72 hours. Kiln-fired glazes require the full firing schedule, including slow cooling to prevent thermal shock.
Not testing first
Always test a new glaze or sealant on a small, hidden area. This reveals color accuracy, adhesion, and potential defects before committing to the whole piece.
Food Safety, Toxicity, and Compliance: What to Watch For
Bing (Web (fair-use with source credit))
Not all ceramic coatings are safe for food contact. For tableware, always use FDA-compliant glazes or sealants. These must meet FDA 21 CFR standards for lead and cadmium limits (under 0.5 ppm).
Lead and cadmium risks
Older or poorly formulated glazes may contain lead or cadmium. These can leach into food or drinks, especially with acidic liquids like coffee or citrus. As of 2026, most reputable manufacturers have phased out these materials, but always verify.
Certifications to look for
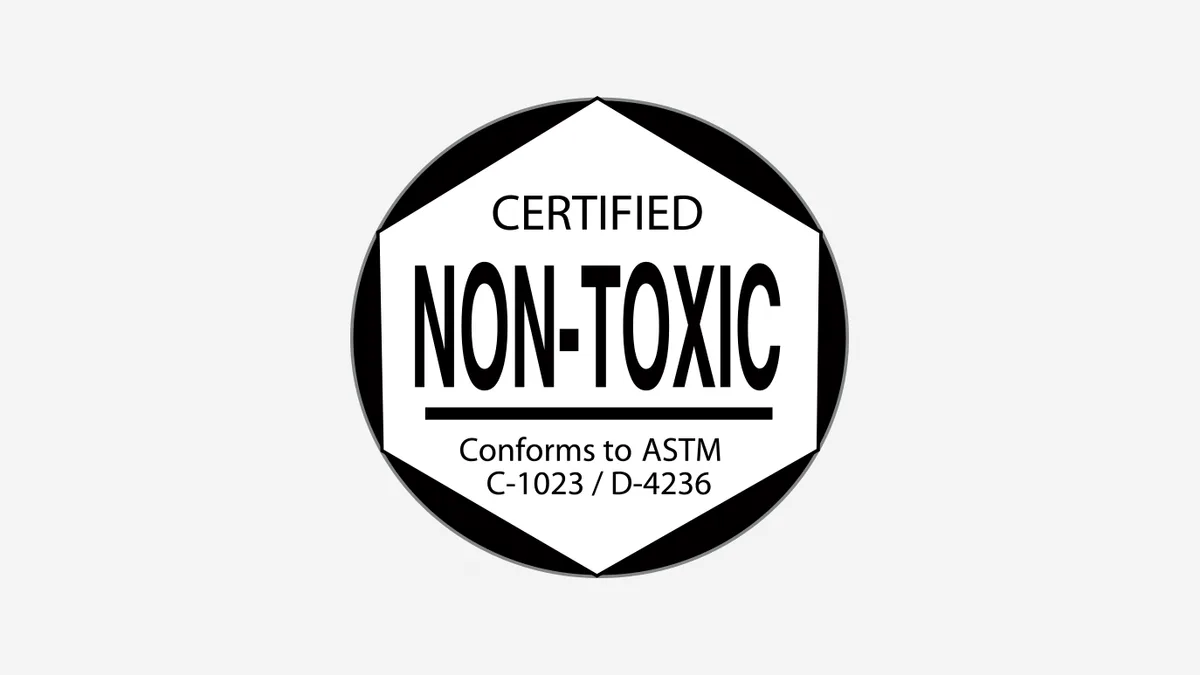
- FDA-approved for food contact
- NSF/ANSI 51 for commercial food equipment
- AP Non-Toxic for art supplies
Testing at home
If unsure, use a lead-testing swab on the coated surface. Avoid pieces with visible cracks or worn areas, as these can harbor bacteria or leach chemicals.
Industrial vs. food-safe
Industrial coatings are rarely food-safe. Never use plasma-sprayed or thermal barrier coatings on items that will touch food. Stick to glazes labeled explicitly for dinnerware.
Costs: What You’ll Pay for Different Coatings
Hobby glazes cost $10, $50 per pint. Low-fire options are cheaper. High-fire and specialty glazes run higher.
Air-dry sealants range from $15, $40 per quart. Epoxy and polyurethane are pricier but more durable. Acrylic sealants are the most budget-friendly.
Industrial coatings cost $50, $500 per gallon. Plasma-sprayed and thermal barrier types are the most expensive. These require professional application.
Tools and equipment add to the cost. Brushes and sponges cost $5, $20. Spray guns run $50, $200.
Kilns start at $500 for small hobby models.
Maintenance & Longevity: Keeping Your Coating in Shape
Clean coated ceramics with mild soap and warm water. Avoid abrasive scrubbers or harsh chemicals. These can scratch or degrade the finish.
Reapply air-dry sealants every 1, 3 years. For outdoor pieces, consider a more durable epoxy. Kiln-fired glazes last indefinitely with proper care.
Store coated pieces carefully. Use felt pads between stacked plates. Keep vases and sculptures in a dry, stable environment.
Expert Tips & Pro Advice
Test new glazes on small tiles first. This reveals true color and texture before committing to a piece. Keep notes on firing temperatures and results.
Layer thinly for best results. Thick coats can crawl or bubble. Two to three thin layers provide better coverage than one thick application.
Ventilate your workspace properly. Use a mask and gloves with solvent-based products. Work in a well-ventilated area to avoid fume exposure.
Follow firing schedules precisely. Rushing can lead to weak or uneven results. Allow the kiln to cool completely before unloading.
Store materials in airtight containers. Keep them in a cool, dry place away from direct sunlight. This extends their shelf life and maintains consistency.
Final Recommendation: Best Coating for Your Needs
For food-safe tableware, use FDA-approved kiln-fired glazes. These provide permanent, non-toxic protection. Cone 5, 6 glazes work well for stoneware dinnerware.
For decorative pieces, air-dry sealants offer convenience. Epoxy provides durability for outdoor or high-traffic items. Always test on a small area first.
For industrial applications, specialized coatings are essential. Plasma-sprayed or thermal barrier types handle extreme conditions. These require professional application.
For repairs, use a sealant compatible with glazed surfaces. Lightly sand the area first for better adhesion. Match the coating type to the original finish.
For beginners, start with low-fire glazes and simple brush application. These are more forgiving and easier to control. Practice on test tiles before moving to final pieces.
Frequently Asked Questions
Can I use any sealant on food-safe ceramics?
No. Only use sealants explicitly labeled as food-safe and FDA-compliant. Many general-purpose sealants contain chemicals that can leach into food.
For dinnerware, stick to kiln-fired glazes designed for food contact.
How do I fix a glaze that’s crawling or peeling?
Crawling often happens when the glaze is too thick or the bisque isn’t clean. Sand the piece lightly, clean it thoroughly, and reapply a thinner, even coat. For peeling, ensure the glaze matches the clay’s firing range.
What’s the difference between underglaze and overglaze?
Underglaze is applied to bisqueware before the glaze and is fired once. Overglaze is applied over a fired glaze and requires a second firing. Underglazes are great for detailed designs, while overglazes add a final decorative touch.
How long does a ceramic coating last?
Kiln-fired glazes last indefinitely with proper care. Air-dry sealants typically last 1, 3 years before needing reapplication. Industrial coatings can last decades, depending on the environment and usage.
Can I apply a coating to already glazed ceramics?
Yes, but it requires preparation. Lightly sand the existing glaze to roughen the surface, then clean it thoroughly. Use a sealant compatible with glazed surfaces, and test a small area first.
Is it safe to microwave ceramics with a coating?
Only if the coating is labeled microwave-safe. Most kiln-fired glazes are safe, but some sealants or decorative coatings may not be. Always check the manufacturer’s guidelines.
Use Cases & Best For
Tableware and food service
For plates, mugs, and bowls, use FDA-approved, lead-free glazes. These must withstand daily use, dishwashing, and food contact. Cone 5, 6 glazes are common for stoneware dinnerware.
Decorative pottery
For vases, sculptures, or wall art, you can use a wider range of glazes and sealants. Matte or textured finishes add artistic flair. Air-dry sealants work well for non-functional pieces.
Outdoor ceramics
For garden pots, tiles, or outdoor tables, prioritize UV-resistant and waterproof coatings. Epoxy or polyurethane sealants offer durability against weather. Glazes should be rated for outdoor use to prevent fading or cracking.
Industrial applications
For aerospace, medical, or automotive parts, specialized coatings like plasma-sprayed ceramics are essential. These provide thermal protection, corrosion resistance, or electrical insulation. They require professional application and curing.
Restoration and repair
For fixing chips or cracks in existing ceramics, use a matching glaze or a clear epoxy sealant. Sand the area lightly before application. For antiques, consult a professional to preserve value and integrity.
Side-by-Side Comparison: Coating Types at a Glance
| Type | Best For | Application | Durability | Food Safe |
|---|---|---|---|---|
| Kiln-fired glaze | Tableware, tiles | Kiln firing | Permanent | Yes |
| Air-dry sealant | DIY, repairs | Brush/spray | 1–3 years | Some |
| Epoxy sealant | Outdoor, high-traffic | Brush/spray | 3–5 years | No |
| Industrial coating | Aerospace, medical | Specialized | Decades | Rarely |
Step-by-Step: How to Apply a Ceramic Coating Properly
Bing (Web (fair-use with source credit))
Gather your materials
You’ll need your chosen coating, application tools, and safety gear. For kiln-fired glazes, ensure your kiln is calibrated to the correct cone rating.
Prepare the workspace
Cover your work area with newspaper or plastic. Work in a well-ventilated space, especially with solvent-based sealants. Keep a damp cloth nearby for spills.
Apply the first coat
Stir your glaze or sealant thoroughly. For brushing, use smooth, even strokes. For spraying, maintain a consistent distance.
For dipping, submerge for 3, 5 seconds.
Let it dry between coats
Air-dry sealants need 1, 2 hours between coats. For glazes, allow each layer to dry to the touch before adding another.
Final coat and curing
Apply the final coat evenly. For air-dry sealants, let the piece cure undisturbed for 24, 72 hours. For kiln-fired glazes, follow the recommended firing schedule.