ByMax Lee
Clean Your Car Motor Like a Pro
Wikimedia Commons / Nick Ares from Auburn, CA, United States (CC BY-SA)
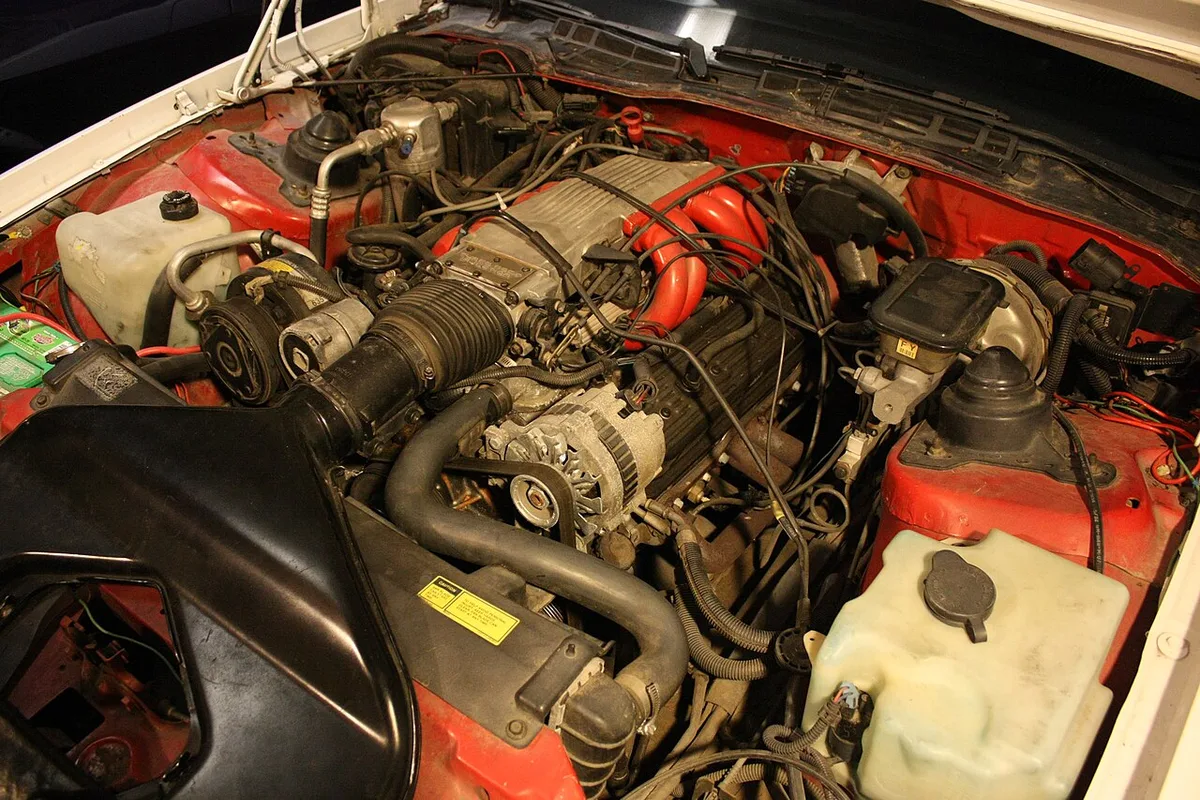
A clean car motor isn’t just about looks. Grime and oil buildup can trap heat, hide leaks, and shorten your engine’s life. Left unchecked, a dirty engine bay makes maintenance harder and can lead to costly repairs.
Per SAE International standards, engine cleanliness directly impacts thermal efficiency. So if you’ve noticed your car running hotter or just want to keep it in top shape, it’s worth tackling this task.
Quick Answer
Cleaning a car motor removes harmful grime and oil. It improves cooling and helps spot leaks early. Use a degreaser and soft brushes for safe cleaning.
Always avoid electrical components. Let everything dry completely before restarting.
Why a Dirty Engine Is a Problem (And When to Worry)
YouTube / Mobeen Mughal (YouTube thumbnail (fair-use with source credit))
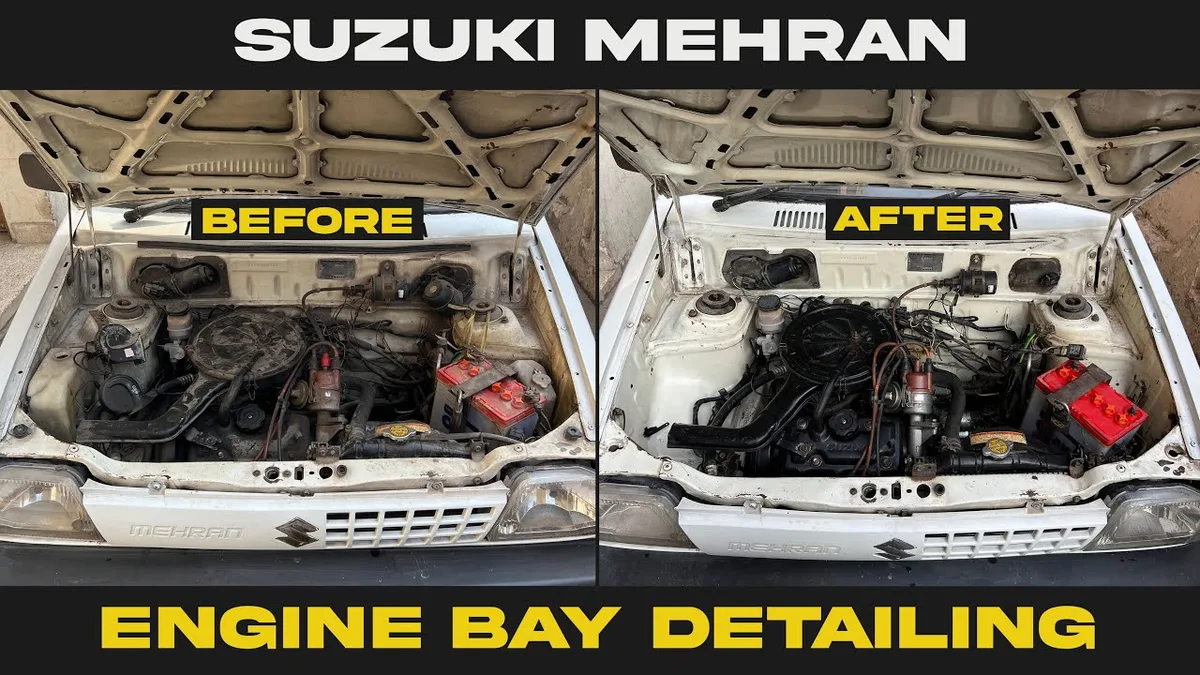
A dirty engine bay isn’t just unsightly. Oil and grease act like insulation, trapping heat and forcing your cooling system to work harder. Over time, this can lead to overheating, a leading cause of engine damage.
You should also worry if you see excessive grime around hoses or belts. That buildup can cause them to degrade faster. Manufacturer specs confirm that dirt accumulation can reduce the lifespan of rubber and plastic components by up to 30%.
When does it become urgent? If you notice oil leaks, a burning smell, or your temperature gauge creeping higher than normal, it’s time to clean. Regular maintenance, like checking under the hood every 6 months, can prevent these issues.
Do You Actually Need to Clean Your Car’s Engine?
Not every car needs a deep clean right away. If your engine bay is just dusty, a quick wipe-down with a damp cloth might be enough. But if there’s thick grease, oil stains, or visible dirt caked on components, a thorough cleaning is worth the effort.
Consider your driving conditions. Cars in dusty climates or those that see frequent short trips tend to accumulate grime faster. As of 2026, most mechanics recommend a full engine bay clean at least once a year for optimal performance.
The 3 Types of Engine Cleaning (Pick Yours)
| Type | Best For | Time Required | Tools Needed |
|---|---|---|---|
| Surface Clean | Light dust, minor grime | 20–30 minutes | Microfiber cloth, mild cleaner |
| Deep Clean | Heavy grease, oil buildup | 1–2 hours | Degreaser, brushes, compressed air |
| Steam Clean | Stubborn dirt, detailed areas | 1.5–2.5 hours | Steam cleaner, protective covers |
Surface Clean works if your engine bay looks a little dusty but isn’t caked in grease. It’s quick and requires minimal tools.
Deep Clean is the go-to for most drivers. It tackles oil leaks, thick grime, and dirt in hard-to-reach spots. You’ll need a degreaser and some elbow grease, but the results are noticeable.
Steam Clean is the most thorough but requires specialized equipment. It’s ideal for show cars or engines with years of built-up grime. Just be cautious, steam can damage electrical components if not done carefully.
What You’ll Need: Tools & Cleaners That Work
YouTube / WD-40 Specialist (YouTube thumbnail (fair-use with source credit))
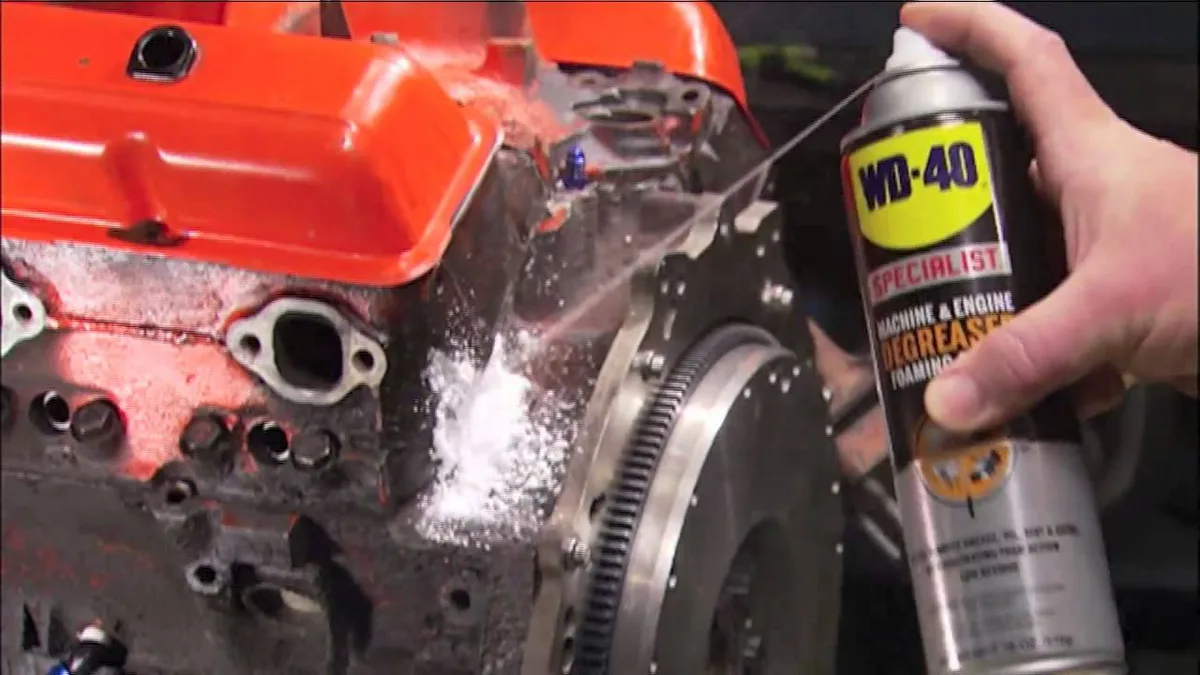
Start with the basics. A quality engine degreaser is non-negotiable. Look for a water-based or solvent-based formula, depending on the level of grime.
Water-based options are safer for plastic and rubber parts, while solvent-based degreasers cut through tough oil faster.
You’ll also need:
- Soft-bristle brushes (toothbrushes work for tight spots)
- Microfiber cloths or shop towels
- Plastic bags and rubber bands (to cover electrical components)
- Compressed air (optional, for drying and blowing out debris)
- A garden hose or pressure washer (set to low PSI, under 1,500)
Avoid household cleaners like dish soap or bleach. They can damage seals and gaskets. Stick to products designed for automotive use.
Aggregate reviews report that brands like Gunk, Simple Green, and CRC perform consistently well for most engines.
For safety, grab nitrile gloves and safety goggles. Engine degreasers can be harsh on skin, and you don’t want any splashes in your eyes. OSHA guidelines recommend these precautions when handling chemical cleaners.
Step-by-Step: How to Clean a Car Engine Safely
Wikimedia Commons / Eddie August Schneider
Start with a cool engine. Park on a flat surface and let it sit for at least 30 minutes. Hot components can warp or crack if exposed to cold water or cleaners.
Prep Work (Skip This, Regret It Later)
Disconnect the negative battery terminal first. This prevents electrical shorts if water or cleaner gets where it shouldn’t. Cover the alternator, fuse box, and spark plug wells with plastic bags secured by rubber bands.
Remove loose debris with a dry cloth or compressed air. This makes the degreaser more effective.
Deep Cleaning Without Damaging Anything
Spray degreaser generously on greasy areas. Let it sit for 5 to 10 minutes to break down grime. Use a soft-bristle brush to agitate stubborn spots.
For heavy buildup, a second application may be needed. Avoid scrubbing too hard on painted surfaces or aluminum parts. These can scratch or corrode.
Rinse with low-pressure water if your degreaser requires it. A garden hose on a gentle setting works best. A pressure washer should never exceed 1,500 PSI.
Drying & Finishing (The Most Overlooked Step)
Use compressed air to blow water out of crevices. Wipe down all surfaces with a clean microfiber cloth. Let the engine bay dry completely before reconnecting the battery.
Start the engine and let it run for a few minutes. Check for any warning lights or unusual noises. If everything looks good, you’re done.
Engine Cleaning Mistakes That Cost You
Using the wrong cleaner is a common mistake. Household cleaners can damage rubber hoses and plastic components. Stick to automotive-specific degreasers.
Another error is skipping the prep work. Failing to cover electrical parts can lead to shorts or corrosion. Always take the extra 5 minutes to protect sensitive areas.
Overlooking drying time is just as bad. Moisture left in the engine bay can cause rust or electrical issues. Give it at least 30 minutes to air dry, longer in humid conditions.
Finally, don’t ignore the small spots. Dirt in tight areas like around the battery terminals or under hoses can still cause problems. Use a toothbrush or cotton swabs for these spots.
Degreaser Showdown: Which One’s Best for Your Engine?
| Type | Pros | Cons | Best For |
|---|---|---|---|
| Water-based | Safer for plastic/rubber, eco-friendly | Less effective on heavy grease | Light to moderate grime |
| Solvent-based | Cuts through tough oil fast | Harsh on skin, strong fumes | Heavy grease, industrial use |
| Citrus-based | Pleasant smell, biodegradable | May require more scrubbing | Moderate grime, eco-conscious users |
Water-based degreasers are the safest choice for most drivers. They won’t damage seals or hoses and are easier to rinse off. Brands like Simple Green are popular for their balance of effectiveness and safety.
Solvent-based degreasers pack more power. They’re ideal for engines with years of built-up grime. However, they require careful handling.
Always use in a well-ventilated area and wear gloves.
Citrus-based options offer a middle ground. They’re effective and eco-friendly but may need a bit more elbow grease. They’re a good pick if you prefer natural products.
How Often Should You Really Do This?
Most mechanics recommend cleaning your engine bay once a year. This keeps grime from building up to problematic levels. If you drive in harsh conditions, like dusty roads or extreme heat, consider doing it every 6 months.
Short trips are tough on engines. They don’t allow the engine to fully warm up, which can lead to more oil and grease buildup. If your daily commute is mostly stop-and-go traffic, a twice-yearly clean may be worth it.
Watch for signs that it’s time for a clean. Oil leaks, a burning smell, or visible dirt accumulation are all red flags. Addressing these early can prevent bigger issues down the road.
Special Cases: Old Cars, High-Mileage Engines, and Mods
Older cars often have more grime and wear. Be gentle with aging hoses and wires. They can become brittle over time and may not handle aggressive cleaning well.
High-mileage engines may have more oil leaks. Cleaning can help you spot these issues early. Just be sure to use a degreaser that won’t damage older seals.
Modified engines often have exposed components that need extra care. If you’ve added aftermarket parts, check the manufacturer’s guidelines for cleaning. Some materials, like certain metals or coatings, may require special products.
Safety First: What Can Go Wrong (And How to Avoid It)
Never spray degreaser directly onto electrical components. This includes the alternator, fuse box, and battery terminals. Even a small amount of liquid can cause shorts or corrosion.
Avoid cleaning a hot engine. The rapid temperature change from cold water or cleaner can warp metal parts. Always wait until the engine is cool to the touch.
Wear protective gear. Nitrile gloves protect your skin from harsh chemicals. Safety goggles prevent splashes from reaching your eyes.
OSHA guidelines recommend these precautions when handling automotive cleaners.
Maintenance / Long-Term Optimization
Regular cleaning makes future maintenance easier. A clean engine bay lets you spot leaks, worn hoses, or loose connections quickly. This can save you from costly repairs down the line.
After cleaning, consider applying a protective coating. Products like 303 Aerospace Protectant can help repel dirt and UV damage. This is especially useful for plastic and rubber components.
Keep a cleaning schedule. Mark it on your calendar alongside other maintenance tasks like oil changes. Consistency is key to preventing grime buildup.
FAQs
Can I use dish soap to clean my engine?
No. Dish soap can damage rubber hoses and plastic parts. It’s also not formulated to cut through automotive grease effectively.
Stick to a dedicated engine degreaser for safe and effective cleaning.
How long does it take to clean a car engine?
A surface clean takes about 30 minutes. A deep clean can take 1 to 2 hours, depending on the grime level. Steam cleaning may add another 30 to 60 minutes.
Always factor in drying time.
Is it safe to pressure wash an engine?
Yes, but with caution. Use a low-PSI setting, under 1,500 PSI. Keep the nozzle at least 2 feet away from electrical components.
Cover sensitive areas with plastic bags before starting.
What should I avoid when cleaning my engine?
Avoid electrical components, hot surfaces, and harsh household cleaners. Never use a high-pressure washer directly on the engine. Skip abrasive tools that can scratch or damage parts.
How do I dry my engine after cleaning?
Use compressed air to blow water out of crevices. Wipe down surfaces with a clean microfiber cloth. Let the engine bay air dry for at least 30 minutes before reconnecting the battery.