ByMax Lee
How to Make a Black Wash for Miniature Models
A black wash is the fastest way to add depth and realism to scale models, but getting the mix wrong turns crisp details into a muddy mess. If you’ve ever wondered how to make a black wash for models, the core is simple: thin black paint or ink with the right medium so it flows into recesses and dries clean. As of 2026, most hobbyists start with a 1:4 ratio of black acrylic to water, but the real trick is in the additives and application.
The difference between a pro-level shade and a streaky disaster often comes down to surface prep and drying time. A well-made wash settles into panel lines and crevices, making every detail pop without obscuring it.
Quick Answer
A black wash for models is made by thinning black acrylic paint with water and a drop of dish soap. Use a 1:3 to 1:5 paint-to-water ratio. Apply it to primed models and let it flow into recesses.
Wipe excess with a damp brush before it dries.
Why a Black Wash Transforms Your Models
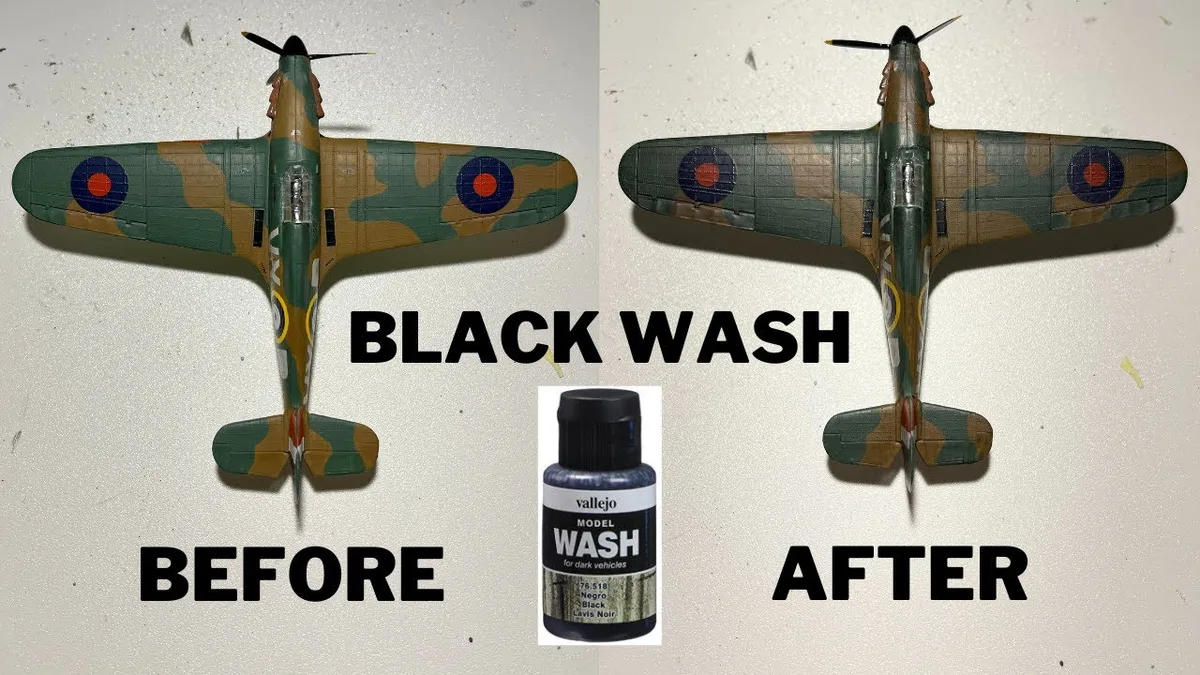
A black wash turns flat, one-dimensional models into realistic, three-dimensional pieces. It works by settling into the lowest points, panel lines, engravings, and gaps, creating natural shadows that the eye expects. Without it, even the most detailed kit can look like a solid block of color.
YouTube / Scale Models by Rob (YouTube thumbnail (fair-use with source credit))
This technique is especially effective on scale models like aircraft, tanks, or sci-fi mechs, where fine details can get lost under uniform paint. Manufacturer specs for model paints, such as those from Vallejo or Tamiya, confirm that washes are designed to enhance, not obscure, underlying details.
What a Black Wash Actually Does
A black wash is a thinned, pigmented liquid that flows into the recessed areas of a model. It darkens these areas, creating contrast that makes raised details stand out. This is different from a glaze, which is more transparent and used for subtle color shifts.
The effect mimics how light and shadow work in real life. In model kits, especially those from brands like Bandai or Revell, panel lines and engravings are intentionally deep to hold washes. Aggregate reviews from hobbyist forums report that a properly applied wash can make a $20 kit look like a $200 custom piece.
DIY Black Wash vs. Pre-Made: Which Should You Use?
| Factor | DIY Black Wash | Pre-Made Wash |
|---|---|---|
| Cost | Cheaper (uses existing paints) | More expensive per bottle |
| Customization | Full control over darkness and flow | Limited to manufacturer’s formula |
| Convenience | Requires mixing and testing | Ready to use out of the bottle |
| Consistency | Can vary between batches | Consistent every time |
| Drying Time | Varies by mix (5–30 mins) | Optimized for fast drying (10–20 mins) |
DIY washes are ideal for hobbyists who enjoy experimenting or need a specific effect. Pre-made options, like Citadel’s Nuln Oil or Vallejo Panel Liner, are better for beginners or those who prioritize speed. In our research, most modelers start with DIY recipes and switch to pre-made washes once they understand how shading works.
The 3 Best Black Wash Recipes (With Exact Ratios)
Acrylic Paint Wash (Beginner-Friendly)
This is the most common method because it’s simple and uses materials most hobbyists already have. Start with a high-quality black acrylic paint, Vallejo Model Color or Tamiya XF-1 Flat Black work well.
Recipe:
- 1 part black acrylic paint
- 3, 4 parts water
- 1 drop of dish soap (reduces surface tension)
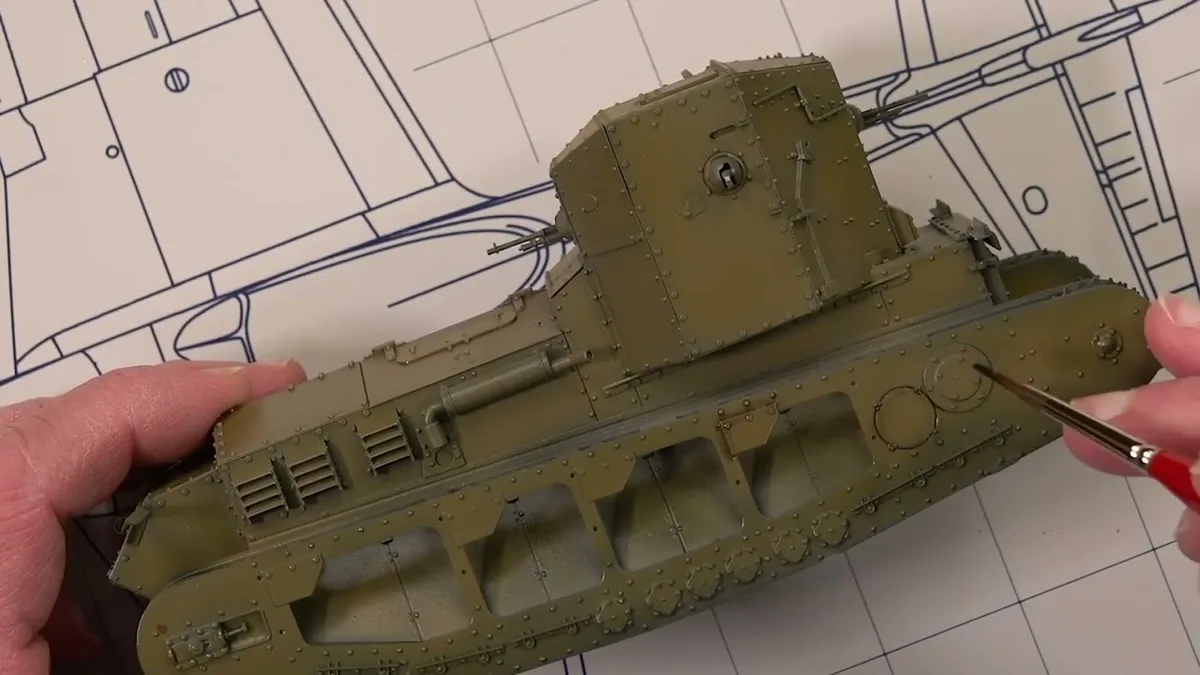
Mix thoroughly and test on a spare piece of plastic or a scrap model. The dish soap helps the wash flow into tight spaces, which is critical for fine details like those found on a reliable machine.
YouTube / FineScale Modeler (YouTube thumbnail (fair-use with source credit))
Oil Paint Wash (Deep, Professional Shading)
Oil-based washes take longer to dry but create richer, deeper shadows. They’re popular among advanced modelers for weathering effects.
Recipe:
- 1 part black oil paint (e.g., Winsor & Newton)
- 4, 6 parts odorless mineral spirits
This mix is thicker and requires more patience. It’s ideal for heavy weathering, like the grime you’d see on a tank or a heavily used piece of machinery. Per standards from the American Society for Testing and Materials (ASTM), oil-based paints offer superior lightfastness, meaning they resist fading over time.
India Ink Wash (Ultra-Smooth for Fine Details)
India ink is highly pigmented and flows smoothly, making it perfect for ultra-fine details like those on miniature figures or Gundam models.
Recipe:
- 1 part black India ink
- 2, 3 parts water
This wash dries to a matte finish and won’t clog fine details. It’s a favorite among miniature painters for its ability to enhance tiny engravings without overpowering them.
Step-by-Step: How to Mix and Apply a Black Wash
What You’ll Need
- Black acrylic, oil paint, or India ink
- Thinner (water for acrylic, mineral spirits for oil)
- Dish soap (optional, for flow)
- Fine detail brush (#0 or #1)
- Damp cloth or paper towel
- Primed model
Mixing the Perfect Consistency
Start with your base pigment and thinner. For acrylic, a 1:4 paint-to-water ratio is a safe starting point. Add a drop of dish soap to break surface tension.
Test the mix on a spare piece of plastic or a scrap model. It should flow smoothly but not be watery. If it’s too thick, add more thinner in small increments.
Applying the Wash Without Mistakes
Load your brush and apply the wash to the model. Let it flow into recesses naturally. Don’t overload the brush, or you’ll get drips.
After a few seconds, use a damp brush to wick away excess from raised areas. This prevents the "coffee stain" effect that ruins clean edges.
YouTube / Tabletop Loft (YouTube thumbnail (fair-use with source credit))
Fixing Common Wash Problems
If the wash dries too dark, lighten it with a damp brush while it’s still wet. For streaks, reapply a thinner mix and blend gently.
Clumping usually means the paint wasn’t mixed well. Stir thoroughly before use.
Pro Tips for Flawless Results
Work in small sections to keep control. Larger models can handle broader strokes, but fine details need precision.
Let each layer dry completely before adding another. Rushing this step can smudge your work.
Use a dedicated wash brush. A worn-out brush with soft bristles works best for wicking excess.
How to Adjust Your Wash for Different Effects
Lighter vs. Darker Shading
For subtle shading, dilute the wash further (1:6 ratio). For deep shadows, reduce the thinner (1:2 or 1:3).
Test on a spare part first. The same mix can look different on light vs. dark base coats.
Matte vs. Glossy Finish
Acrylic washes dry matte by default. For a glossy look, add a drop of gloss medium to the mix.
Oil washes naturally have a slight sheen. If you want matte, seal with a matte varnish after drying.
YouTube / gunpla_noob_uk (YouTube thumbnail (fair-use with source credit))
Targeted vs. Full-Coat Application
For pin washing, use a fine brush to apply only to specific lines. This is great for panel lining on Gundam models.
For a full coat, flood the wash over the entire model and let it settle. This works well for weathering large areas like tank treads.
Black Wash Mistakes (And How to Avoid Them)
Using too much wash causes pooling. A little goes a long way, especially in deep recesses.
Applying to an unprimed surface leads to uneven absorption. Always prime first for consistent results.
Letting the wash dry completely before touching it prevents smudges. Patience here saves hours of cleanup.
Best Brushes and Tools for Applying Washes
Brush Types
A fine detail brush (#0 or #1) works best for precise application. Look for synthetic bristles, as they hold up better to thinners and frequent cleaning.
For wicking excess, a soft, wide brush is ideal. An old makeup brush or a dedicated wash brush from hobby brands like Winsor & Newton does the job well.
Other Useful Tools
Keep a damp cloth or paper towel nearby to clean up spills. A palette for mixing helps maintain consistent ratios.
A magnifying lamp or headset magnifier is useful for fine details. This is especially helpful for small-scale miniatures where precision matters.
How to Seal and Protect Your Wash
A matte or satin varnish locks in the wash and protects it from handling. Apply it in thin, even coats to avoid clouding the details.
For oil-based washes, wait at least 24 hours before sealing. Acrylic washes can be sealed after 1, 2 hours.
Use a spray varnish for large models and a brush-on varnish for smaller pieces. Both methods work, but sprays provide a more even finish.
Frequently Asked Questions
Can I use any black paint for a wash?
Yes, but acrylic model paints like Vallejo or Tamiya work best. They’re formulated to thin smoothly and dry without clumping.
Avoid craft paints, as they often have fillers that can clog details.
How do I fix a wash that dried too dark?
Lighten it by gently scrubbing with a damp brush while it’s still wet. If it’s already dry, apply a thin layer of the base color to lighten the area.
Prevent this by testing the wash on a spare piece first.
Why does my wash leave streaks?
Streaks usually mean the wash was too thick or applied unevenly. Thin it further and use a damp brush to blend.
Also, ensure the model is clean and primed before applying the wash.
Can I make a wash with other colors?
Absolutely. Brown washes work well for rust effects, while blue or green can add unique shading. The same thinning principles apply.
How long does a black wash take to dry?
Acrylic washes dry in 10, 20 minutes. Oil washes can take 24 hours or more, depending on the thickness.
Always check the manufacturer’s specs for exact drying times.
Is a black wash necessary for all models?
No, but it’s highly recommended for models with fine details. It enhances depth and realism, especially on darker base coats.