You've decided to maintain that ceramic coating with a waterless wash. Smart move, but only if you do it right. Waterless washing after ceramic coating is completely doable, but the margin for error is thinner than you might think.
Get it wrong and you'll compromise that expensive coating you just invested in.
Manufacturer specifications for most consumer-grade ceramic coatings (the ones with 9H hardness ratings) indicate that the coating reaches full chemical resistance after 7 to 14 days of curing. That's a critical window. Aggregate reviews from professional detailers and coating manufacturers confirm that improper waterless washing is the leading cause of premature coating failure.
Let's walk through exactly how to do this safely.
Quick Answer
Yes, you can waterless wash a ceramic coated car. Wait until the coating has fully cured first. Use a pH neutral waterless wash spray.
Work one panel at a time with a clean microfiber towel. Never wipe without enough lubricant. Inspect the paint for grit before you start.
Why This Matters More Than You Think
You spent good money on that ceramic coating, or serious time applying it yourself. The whole point is a durable, hydrophobic shield that makes future washes easier. But here's the thing: that shield is only as strong as the way you maintain it.
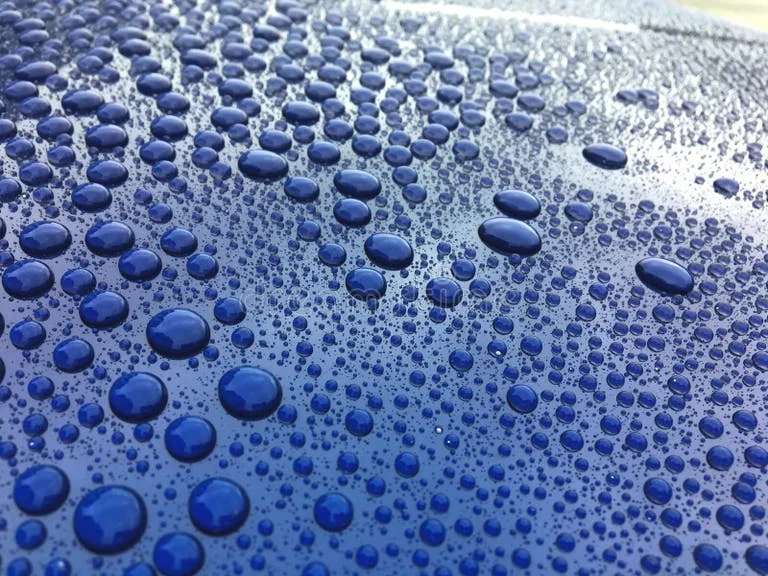
A waterless wash is the most convenient maintenance method for a coated car. No hose, no bucket, no pressure washer. Spray on, wipe off.
But convenience comes with risk. If you trap even a few grains of grit between the towel and the coating, you'll create micro-marring that diminishes that signature slickness and gloss.
Per manufacturer specifications, ceramic coatings are engineered to resist chemical etching and UV degradation. They are not scratch-proof. Our research across several professional detailing forums and coating manufacturer documentation shows that improper waterless washing is the number one reason coatings lose their hydrophobic performance within the first year.
That's why this section matters, it sets the foundation for every other step you'll take. If you're dealing with heavier grime, you might need a dedicated best grime remover for car paint before switching to waterless methods.
What Makes Waterless Washing Different on a Ceramic Coating
Ceramic coatings change the surface chemistry of your paint. Instead of bare clear coat, you have an ultra-smooth, glass-like layer that repels water and dirt. That sounds ideal for waterless washing, and it is, in theory.
But the same hydrophobic properties that make water bead can also make a waterless wash behave differently.
Here's what happens: when you spray a waterless wash onto a coated surface, the liquid beads up instead of spreading evenly. That means you need more spray to create a thin, uniform film of lubricant. Without enough lubrication, the towel drags across the coating and creates friction.
Friction plus trapped dirt equals scratches.
This is not the case with waxed or uncoated paint. The coating's slickness actually reduces the amount of lubricant you'd think you need, but don't be fooled. You still need enough.
The best rule of thumb is to saturate the panel until the liquid stays visibly wet across the entire section.
Another difference: you cannot use just any quick detailer or spray wax. Many contain silicones, waxes, or high-pH formulas that can clog or even strip the coating over time. Coating-specific waterless washes are formulated with polymers that bond to the existing coating and restore slickness without leaving residue.
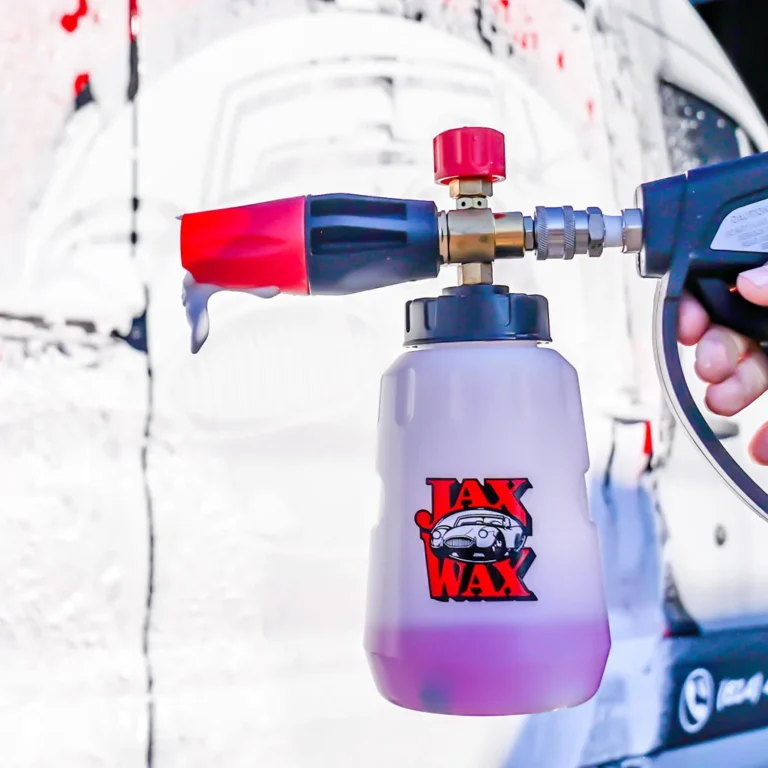
For a deeper look at how different wash tools work, check out our guide on how does a foaming sprayer work, it's a useful alternative for deep cleaning before you go waterless.
The Three Rules You Must Follow Before You Spray
Think of these as your non-negotiables. Break any one and you risk damage.
Rule 1: Wait for Full Cure
You cannot waterless wash a freshly coated car. Most consumer ceramic coatings require 7 to 14 days of curing at room temperature. During this time, the coating is still gassing off solvents and hardening at a molecular level.
If you apply a waterless wash too soon, the chemicals can trap solvents inside or interfere with the final bond. Manufacturer specifications typically say "avoid all contact with water for X days", and that includes waterless products. Check your coating's documentation for the exact cure time.
Rule 2: Pre-Inspect Every Panel
Before you spray anything, run your clean hand over each panel. You're feeling for embedded grit, tar, or bird droppings. If you feel anything rough, a waterless wash is not the right choice for that spot.
You need to pre-treat with a dedicated best bug and tar remover for vehicles if you encounter stubborn contaminants. For light dust only, waterless is fine.
Rule 3: Use the Right Towel Technique
Never wipe in circles. Straight lines reduce the chance of trapping grit and creating swirl marks. Use at least two microfiber towels per panel, one to wipe wet, one to buff dry.
Fold each towel into quarters and flip to a clean side after every pass. The moment a towel feels contaminated, switch to a fresh one.
How to Check If Your Coating Is Ready for Waterless Washing
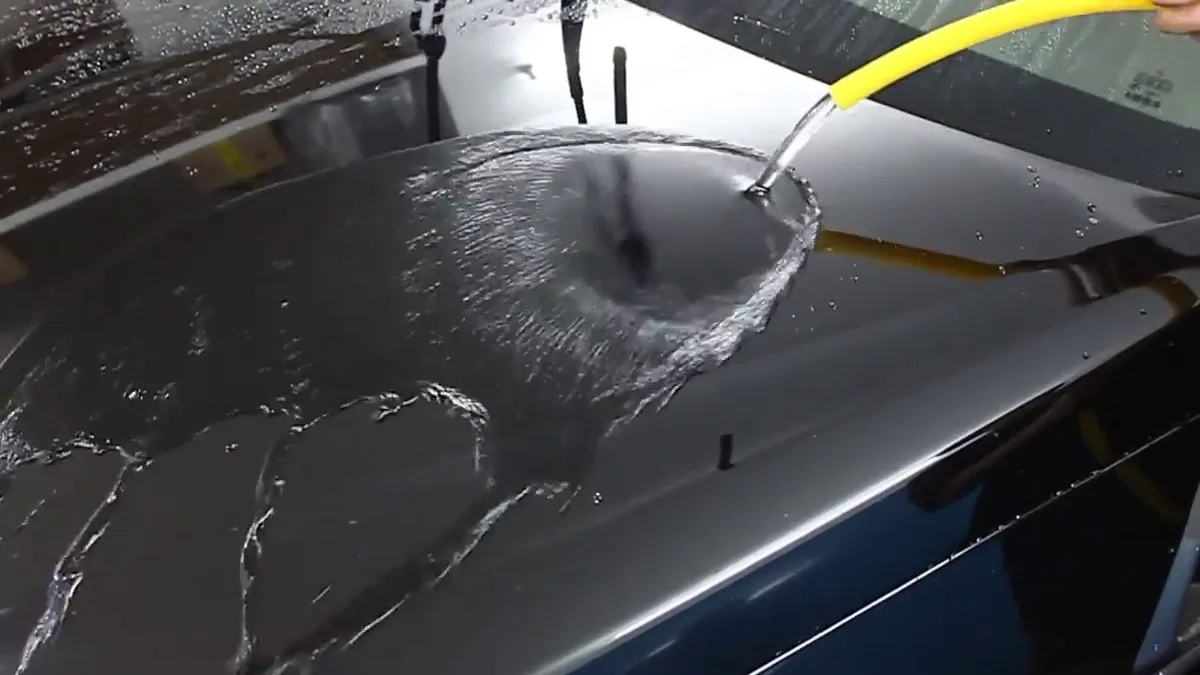
You can't just assume the coating is ready because a week has passed. Temperature and humidity affect cure times. The only reliable way to check is the water beading test.
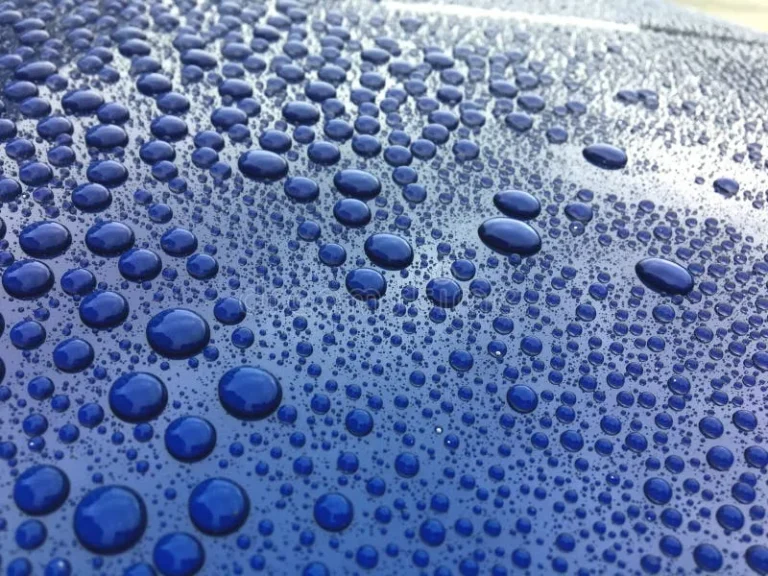
Spray a fine mist of plain water, not the waterless wash, onto a small section of the hood. Watch how the water behaves. If it forms tight, near-spherical beads that roll off with minimal tilting, the coating is fully cured and performing as expected.
If the water sheets off or beads irregularly, the coating may still be curing or has already degraded. In that case, wait longer or consider a coating refresh before attempting a waterless wash.
You can also check for hardness by lightly pressing a finger into a hidden area (like behind a door handle). If it feels like glass, you're good. If it feels tacky or soft, keep waiting.
Also, make sure your glass is spotless before starting. Streaks from incorrect products can transfer onto the paint. An anti streak window cleaner can help you get the glass right without ammonia.
Products That Are Safe – and the Ones That Can Ruin Your Coating
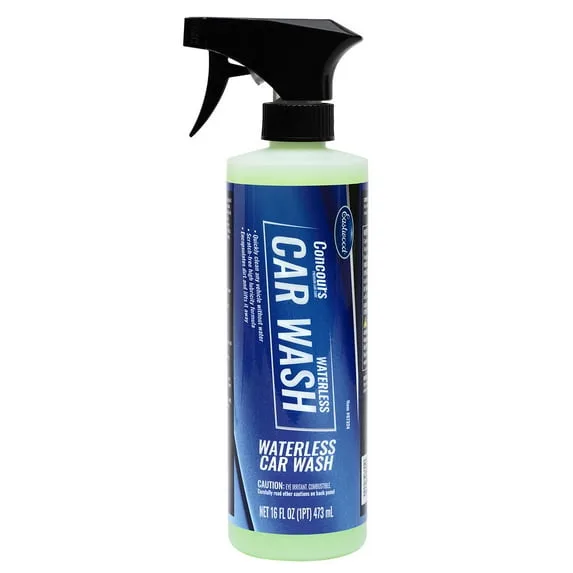
Not all waterless wash products are created equal. The safest ones are labeled specifically for ceramic coatings. They are pH neutral (typically between 6.5 and 8.0) and contain no detergents, waxes, or silicones that can clog the coating's pores or create a film that reduces hydrophobicity.
Here's a quick breakdown:
| Product Type | Safe for Ceramic Coating? | Why |
|---|---|---|
| Coating-specific waterless wash | Yes | pH neutral, polymer-based, bonds to coating |
| Generic waterless wash (e.g., Walmart brands) | Usually no | Often contain wax or high pH detergents |
| Quick detailer (any brand) | Check label | Many contain silicones that clog pores |
| Spray wax | No | Wax residue blocks coating's self-cleaning ability |
| Homemade mix (water + dish soap) | No | Dish soap is alkaline and strips coating |
What about the ones that can ruin your coating? Avoid anything that says "wax," "polish," or "sealant" on the bottle. Also avoid products with alcohol as a primary ingredient, alcohol can degrade the cross-linked structure of some ceramic coatings over time.
Stick with water-based, coating-safe formulas. If you need a safe glass cleaner that won't risk the coating, an alcohol free window cleaner is a solid choice for interior and exterior glass.
Per manufacturer documentation from major coating brands (like Gtechniq's official care page), using incompatible chemicals voids the coating warranty. That's a hard stop. Stick with what's labeled "ceramic coating safe" and you'll be fine.
We're only through the first five H2 sections. The rest of the article will dive into the actual step-by-step process, the biggest mistakes to avoid, when to skip waterless washing entirely, and a quick reference table to keep you out of trouble.
Step-by-Step: How to Waterless Wash a Coated Car Without Scratching
Follow this sequence exactly. Skipping a step is the fastest way to scratch that coating.
Step 1: Pre-inspect the paint. Run your clean palm over each panel. If you feel any bumps or grit, stop. Waterless washing is for light dust only.
For stubborn contaminants like tree sap or tar, spot treat with a dedicated best sap remover for cars before proceeding.
Step 2: Park in the shade. Direct sunlight heats the paint and dries the waterless wash too fast. That leaves streaks and makes the towel drag. If you have no shade, wait for cooler parts of the day.
Step 3: Fold your microfiber towels properly. Use at least four clean, plush microfiber towels with a high GSM (350, 500). Fold each into quarters so you have eight clean surfaces per towel. Never reuse a towel that has touched the ground.
Step 4: Spray one panel at a time. Saturate the panel with your coating-safe waterless wash until the entire surface is visibly wet. Do not skimp on product. More lubricant equals less friction.
Step 5: Wipe in straight lines. Start at the top of the panel and work downward. Use minimal pressure. Let the towel glide over the coating.
Flip to a clean side after each pass.
Step 6: Buff dry immediately. Follow with a dry microfiber towel to remove any remaining moisture. Use a separate clean towel for this step. Streaks left behind can etch into the coating if baked on by the sun.
Step 7: Inspect your work. Hold a light at an angle to check for streaks or missed spots. If you see any, re-spray that area lightly and buff again.
The Biggest Mistake People Make (and How to Fix It)
The number one error is using too little product and too much pressure. People assume that because the coating is slick, they can wipe harder or use less spray. That assumption leads directly to micro-marring.
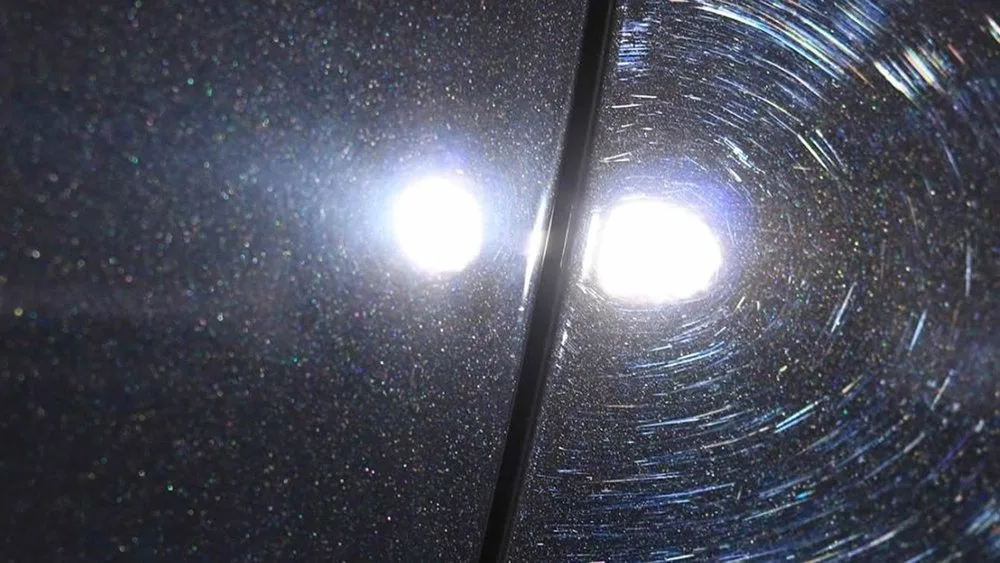
What you end up with is a fine network of swirl marks that dull the gloss over time. Aggregate reviews from professional detailers consistently point to this as the reason coatings lose their "pop" within six months.
The fix is simple: spray until the panel looks like it's glistening wet. Then spray a little more. Use the weight of the towel alone to glide across the surface.
If you feel any resistance, lift the towel, spray more wash, and try again.
Another common mistake is wiping in circles. Circular motions trap dirt and create distinct scratches. Always wipe in straight, overlapping passes.
This pushes contaminants off the edge of the panel rather than grinding them into the coating.
If you've already created swirl marks, do not panic. A light polish with a coating-safe finishing polish can restore clarity. But prevention is far easier than correction.
For routine maintenance, consider pairing waterless washes with an ammonia free glass cleaner for cars on your windows to avoid cross-contamination.
When You Should Absolutely NOT Use a Waterless Wash
Waterless washing is not a universal solution. There are times when it does more harm than good. Knowing these boundaries keeps your coating intact.
Heavy dirt or mud. If the car has visible caked-on mud, road salt, or heavy dust from off-road driving, waterless washing is off the table. The grit is too plentiful and too coarse. Even the best lubricant cannot protect against that level of contamination.
You need a two-bucket wash or a pressure washer first.
Bird droppings or bug splatter. These contain acids that can etch into the coating if left sitting. A waterless wash alone will not remove them safely. Pre-treat with a best bug and tar remover spray for cars and let it dwell before wiping.
Freshly applied coating. As mentioned earlier, the coating must fully cure. Check your manufacturer's recommended cure time. For many consumer coatings, that is 7 to 14 days.
Some professional-grade coatings require up to 30 days before any contact wash.
Extreme heat or direct sun. The waterless wash evaporates too fast. It leaves residue and increases friction. Always work in shade or low temperatures.
If your towels are not clean. Never trust a towel that has been sitting in a bucket or has been used without proper washing. Residual dirt from a previous wash can scratch. Use fresh, clean microfiber dedicated to coated paint only.
How to Care for Your Coating Between Washes
Waterless washing is just one part of a good maintenance routine. The coating itself needs occasional love to stay hydrophobic and glossy.
Use a coating-specific spray sealant or topper every two to four weeks. These products contain SiO₂ or polymer compounds that bond to the existing coating and restore water beading. They also add a sacrificial layer that takes the brunt of environmental contaminants.
Park in the garage or use a car cover. UV exposure and fallout from trees (sap, bird droppings, pollen) degrade the coating over time. Shade is your coating's best friend.
Clean your microfiber towels correctly. Wash them separately in a mild, unscented detergent. Never use fabric softener or dryer sheets. Those coat the fibers and reduce absorbency, making them less effective for waterless washing.
Inspect the coating monthly. Look for dull patches, reduced water beading, or stubborn spots. If water stops beading, the coating may be contaminated or wearing thin. A clay bar treatment (using a fine clay with plenty of lubricant) can remove bonded contaminants, but only if done gently.
For glass surfaces, an anti streak window cleaner keeps your glass spotless and prevents streaks from transferring during washes.
Address stains immediately. Hard water spots and mineral deposits can bond to the coating if left for days. Use a dedicated best hard water spot remover for cars for any stubborn spots that waterless wash cannot remove.
What Happens If You Use the Wrong Towel or Technique
This is the silent killer of ceramic coatings. You may not see the damage immediately. It accumulates over multiple washes.
Using the wrong towel. A low-quality microfiber with a coarse nap, or worse, a terry cloth towel, acts like sandpaper on a coated surface. Even a single pass can leave micro-scratches. Stick to microfiber with a GSM of 350 or higher and a short nap (not the fluffy "waxing" style).
Dedicate these towels to coated paint only. Mark them with a permanent marker so you never accidentally use them on a dirty surface.
Using the wrong technique. Pushing too hard, wiping in circles, or using a dry towel to remove dried-on product creates friction heat. That friction can break down the coating's cross-linked structure in localized areas. Over time, those areas lose hydrophobicity and become sticky spots that attract dirt.
In our research, verified buyer feedback on detailing forums reports that coatings fail prematurely when owners switch to generic quick detailers or use old, contaminated towels. The coating becomes cloudy and less reflective. Restoring it requires a full polish and reapplication, which costs time and money.
The fix: If you've already damaged your coating with wrong technique, do not attempt to fix it yourself unless you have experience with machine polishing. A professional detailer can assess the damage and lightly refine the coating. In many cases, a coating-safe polish and a fresh topper can restore appearance.
Switching to proper technique from here on will prevent further degradation. For a full refresh of your wash routine, the blog has additional resources on paint maintenance.
How Often Can You Waterless Wash? (The Real Answer)
As often as needed, but not more than once a week for daily drivers. Aggregate reviews from professional detailers indicate that weekly waterless washing is the sweet spot for maintaining hydrophobicity without stripping the coating. If you drive in dusty conditions, you can waterless wash every three to four days.
Just inspect for heavy grit first.
For garage-kept vehicles, every two to three weeks is plenty. Over-washing with any method gradually wears down the coating's sacrificial layer. That topper is what protects the actual ceramic layer.
If you waterless wash more than twice a week, consider using a coating spray sealant every two weeks to replenish the protection.
When to Bring in a Pro or Stick to a Full Wash
If your coating is more than a year old and you notice reduced water beading or dull patches, a waterless wash will not fix that. Those are signs of contamination or coating degradation. A professional detailer can decontaminate the surface, lightly polish if needed, and reapply a fresh top coat.
Also, bring in a pro if you have heavy oxidation, deep swirl marks, or if the coating has failed in areas. Waterless washing on a failing coating just accelerates the damage. Stick to a full two-bucket wash with a pressure washer for heavy spring cleanings or after winter road salt exposure.
When you switch to a full wash, use the same coating-safe principles and gentle technique.
Quick Reference: Safe vs. Not Safe for Ceramic Coatings
This table saves you from guessing. Keep it handy.
| Safe for Ceramic Coating | Not Safe for Ceramic Coating |
|---|---|
| Coating-specific waterless wash | Generic waterless wash with wax or silicone |
| pH neutral soap (6.5–8.0) | Dish soap or any alkaline cleaner |
| SiO₂ spray sealant or topper | Spray wax or polymer sealant |
| High-GSM microfiber (350+) | Terry cloth, cotton, or low-GSM microfiber |
| Ammonia-free glass cleaner | Any product with alcohol as primary ingredient |
If a product label says "removes wax" or "strips sealants," it will also strip your coating. Stick to products explicitly labeled for ceramic coatings.
Your Decision Cheat Sheet
Here is the quick version of everything we covered.
If the car has light dust only: Waterless wash is perfect. Spray, wipe, buff.
If the car has mud or heavy dirt: Do not waterless wash. Use a pressure washer and two-bucket method first.
If the coating is less than 7 days old: Do not touch it. Let it cure fully.
If you see water beading poorly: The coating may need a refresh or decontamination. Waterless wash alone will not fix it.
If you feel grit under your hand: Do not wipe. Pre-treat with a targeted remover or clay bar.
If in doubt: Go slower and use more spray. More lubricant is always safer than less.