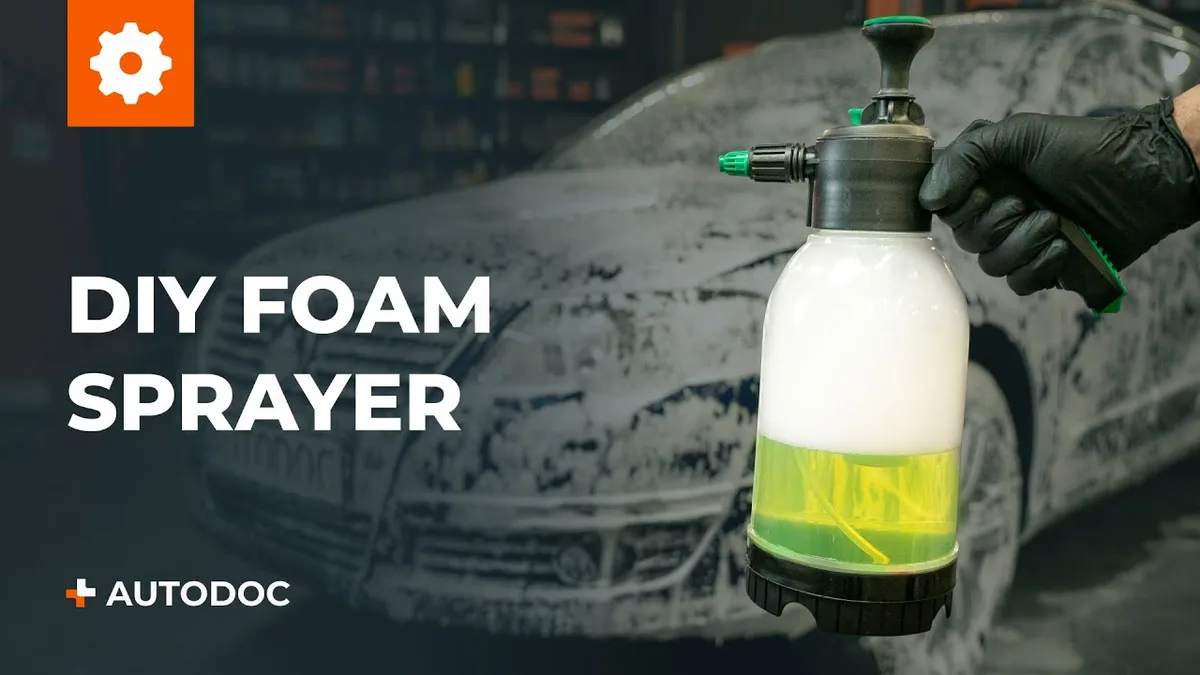
A foam sprayer mechanism turns liquid into thick, clinging foam by mixing air with a chemical solution under pressure. Unlike standard sprayers, it relies on a precise air-to-liquid ratio to create stable bubbles that stick to surfaces longer.
Manufacturer specs confirm most foam sprayers operate between 20, 100 PSI, with expansion ratios ranging from 2:1 to 20:1 depending on the nozzle design. This makes them ideal for applications where coverage and dwell time matter.
Quick Answer
A foam sprayer mechanism mixes air and liquid under pressure to create foam. The air chamber and nozzle design control bubble size and stability. Pressure settings typically range from 20 to 100 PSI.
Foam clings to surfaces better than liquid spray.
How a Foam Sprayer Mechanism Actually Works
The process starts with a liquid solution, usually water mixed with a foaming agent, being drawn into the sprayer’s pump. As the pump pressurizes the liquid, it forces it through a narrow passage where air is injected. This air-liquid mixture then exits through a specially designed nozzle, which breaks it into fine bubbles, creating foam.
The key difference from a regular sprayer is the air induction step. Without it, you’d just get a fine mist. The foam’s thickness and stability depend on the nozzle’s ability to shear the liquid into tiny droplets while trapping air inside.
Why Foam Sprayers Need a Different Mechanism Than Regular Sprayers
Regular sprayers atomize liquid into fine droplets but don’t introduce air in a controlled way. Foam sprayers require a mechanism to blend air and liquid at the right ratio to form stable bubbles.
This is why foam sprayers have an air chamber or venturi system. Without it, the liquid would just spray out as a mist, not foam. The mechanism also needs to handle higher viscosity solutions, which can clog standard sprayer nozzles.
The Core Components That Make Foam Happen

Air Chamber & Compression System
The air chamber stores compressed air, which is then mixed with the liquid as it passes through the system. In manual sprayers, this is often a simple pump that builds pressure with each stroke. Electric or pneumatic models use a compressor or external air source to maintain consistent pressure.
Manufacturer specs indicate that most foam sprayers require at least 20 PSI to generate foam effectively. Higher pressures, up to 100 PSI, produce denser foam with smaller bubbles.
Nozzle Design: How Air and Liquid Mix
The nozzle is where the magic happens. It’s designed to create turbulence, shearing the liquid into tiny droplets while pulling in air. Some nozzles use a venturi effect, where fast-moving liquid creates a low-pressure zone that sucks in air.
Adjustable nozzles let you control foam density. A wider setting produces larger, wetter bubbles, while a narrower setting creates finer, drier foam. This is critical for applications like pest control, where you need the foam to cling to vertical surfaces.
Pump Types and Their Role in Foam Consistency
The pump is the heart of the system, moving liquid from the reservoir to the nozzle. Manual pumps are common in handheld sprayers, while electric or pneumatic pumps are used in larger, industrial models.
Pneumatic pumps, which rely on compressed air, are often the most consistent for foam applications. They maintain steady pressure, which is key for uniform foam quality. Electric pumps are convenient but may struggle with highly viscous solutions.
How Foam Is Created: The Step-by-Step Process
Liquid Intake and Pressurization
The process begins when you pump or activate the sprayer, drawing liquid from the reservoir into the pump chamber. As the pump builds pressure, it forces the liquid toward the nozzle.
In electric or pneumatic systems, this step is automated. The pump continuously pressurizes the liquid, ensuring a steady flow to the nozzle.
Air Injection and Mixing
As the liquid nears the nozzle, it passes through a restriction where air is introduced. This can happen in a few ways: some sprayers use a venturi tube, while others have a separate air chamber that injects air directly into the liquid stream.
The ratio of air to liquid is critical. Too much air, and the foam will be weak and collapse quickly. Too little, and you’ll get a wet, sloppy spray instead of foam.
Nozzle Discharge and Foam Formation
Once the air-liquid mixture reaches the nozzle, it’s forced through a small orifice at high speed. This shears the liquid into tiny droplets, each trapping a pocket of air. The result is a stable foam that expands as it exits the nozzle.
The foam’s expansion ratio depends on the nozzle design and pressure. Low-expansion foam (2:1 to 20:1) is common for cleaning and pest control.
Types of Foam Sprayers and Their Mechanisms
Handheld foam sprayers are the most common for DIY and small-scale use. They use a manual pump to pressurize the liquid, then rely on a venturi nozzle to pull in air. These are lightweight and portable but require consistent pumping to maintain pressure.
Backpack foam sprayers work similarly but with a larger reservoir and a more robust pump. They’re ideal for agricultural or pest control applications where you need to cover more area without refilling.
Industrial foam sprayers use pneumatic or high-pressure electric pumps. They’re built for heavy-duty applications like firefighting or large-scale cleaning. These systems often include adjustable nozzles and pressure regulators to fine-tune foam quality.
What Affects Foam Quality (And How to Fix Common Issues)
Pressure Settings for Different Foam Types
Low pressure (20, 40 PSI) works for light, wet foam. This is typical for car detailing or light cleaning. Higher pressure (60, 100 PSI) creates denser, drier foam, which is better for pest control or industrial cleaning.
If your foam is too wet, increase the pressure or switch to a nozzle with a smaller orifice. If it’s too dry, reduce the pressure or use a wider nozzle setting.
Nozzle Size and Pattern Adjustments
Nozzle size directly impacts foam expansion. A 0.5 mm nozzle creates finer foam with more air, while a 2.0 mm nozzle produces thicker, wetter foam. Adjustable nozzles let you switch between patterns like fan, cone, or stream.
Clogged nozzles are a common issue. If foam output drops or becomes uneven, check for dried residue in the nozzle. A quick backflush with clean water often clears minor blockages.
Chemical Compatibility and Dilution Ratios
Not all chemicals work well in foam sprayers. Surfactant-based solutions are ideal because they stabilize bubbles. Avoid oils or highly viscous liquids, which can clog the system.
Dilution ratios matter. Too much water weakens the foam, while too little can leave residue in the sprayer. Manufacturer guidelines typically recommend a 1:10 to 1:50 ratio of concentrate to water.
Visual Cues: How to Tell If Your Foam Sprayer Is Working Right
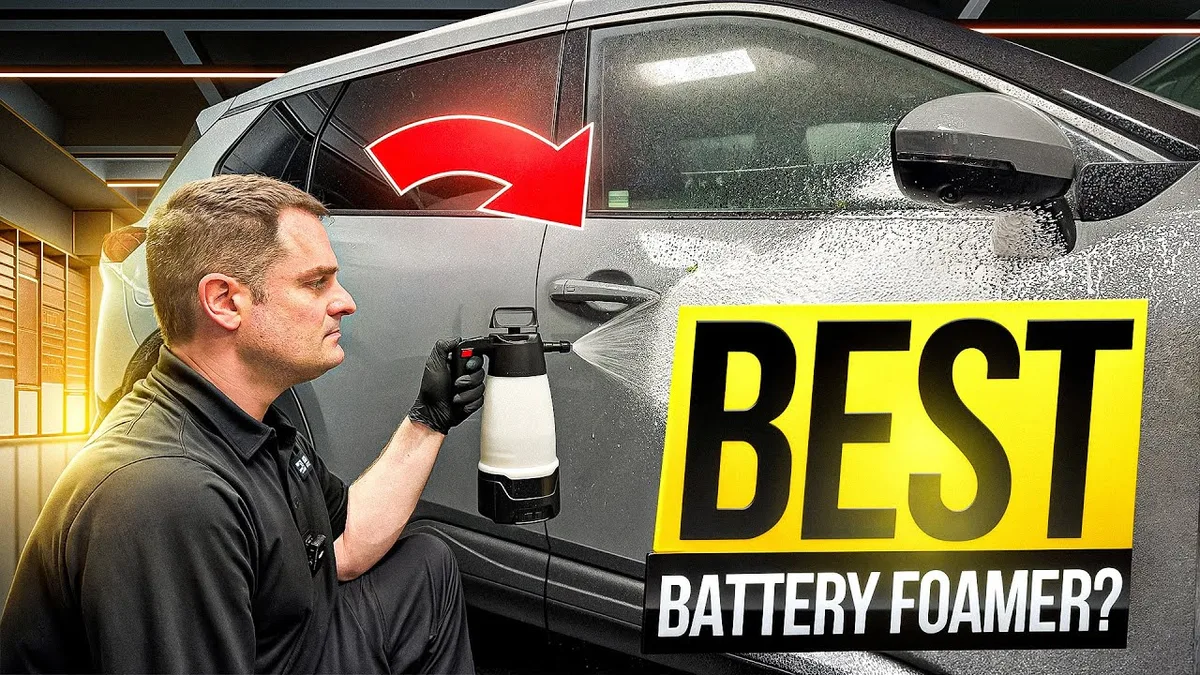
Proper foam should be uniform in texture, with consistent bubble size. If you see large, irregular bubbles or liquid streaks, the air-to-liquid ratio is off. Adjust the nozzle or pressure to even it out.
A healthy foam sprayer produces a steady, even stream. Sputtering or uneven output usually means a clog or air leak. Check the nozzle, hose connections, and pump seals for issues.
Foam should cling to surfaces without immediately collapsing. If it slides off or dissipates quickly, the surfactant concentration may be too low. Try a stronger mix or a different foaming agent.
Maintenance That Keeps the Mechanism Running Smoothly
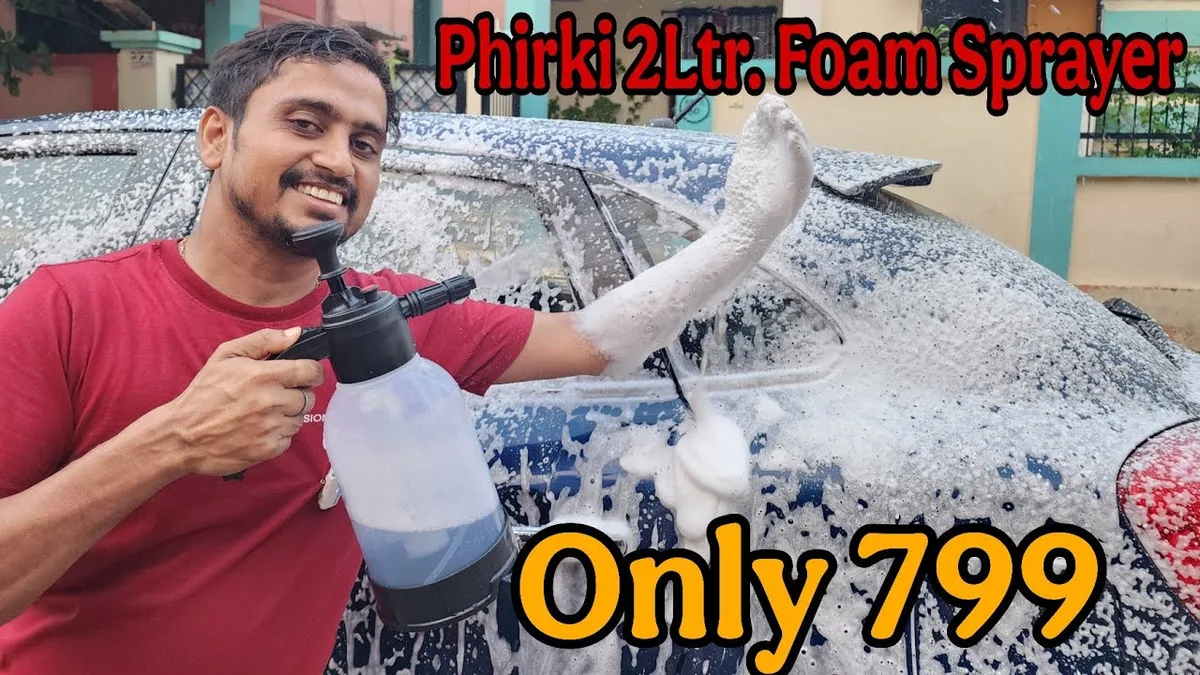
Always flush the system with clean water after use. This prevents chemical residue from drying and clogging the nozzle or pump. A 30-second flush is usually enough for handheld sprayers.
Lubricate the pump and seals periodically, especially in manual sprayers. Use a silicone-based lubricant to keep the mechanism moving smoothly. Check the manufacturer’s guidelines for recommended intervals.
Store the sprayer with water in the reservoir, not chemical. This prevents seals from drying out and cracking. If storing for long periods, disassemble the nozzle and clean it thoroughly.
When to Use a Foam Sprayer (And When It’s Overkill)
Foam sprayers excel in applications where cling and dwell time matter. Pest control, weed killing, and cleaning vertical surfaces are perfect use cases. The foam sticks to walls, leaves, or equipment, giving the active ingredients more time to work.
They’re also great for car detailing, especially the pre-wash foam cannon step. The foam lifts dirt and grime before you even touch the vehicle. This reduces the risk of scratching the paint during washing.
Avoid foam sprayers for large, flat areas where liquid spray would be faster and more efficient. They’re also not ideal for highly viscous liquids or solutions that don’t foam well. In these cases, a standard sprayer will perform better.
Frequently Asked Questions
Why does my foam sprayer produce weak foam?
Weak foam usually means the air-to-liquid ratio is off. Check your pressure settings and nozzle size. If the issue persists, your foaming agent may be too diluted.
Can I use any chemical in a foam sprayer?
No. Stick to surfactant-based solutions designed for foaming. Oils and thick liquids can clog the mechanism.
How do I clean a clogged foam nozzle?
Backflush the nozzle with clean water. For stubborn clogs, soak it in warm, soapy water, then use a soft brush to clear the orifice.
What’s the best pressure for pest control foam?
Aim for 40, 60 PSI. This range produces dense foam that clings well to plants and structures.
How often should I maintain my foam sprayer?
Flush it after every use. Lubricate the pump and seals every few months, or as recommended by the manufacturer.