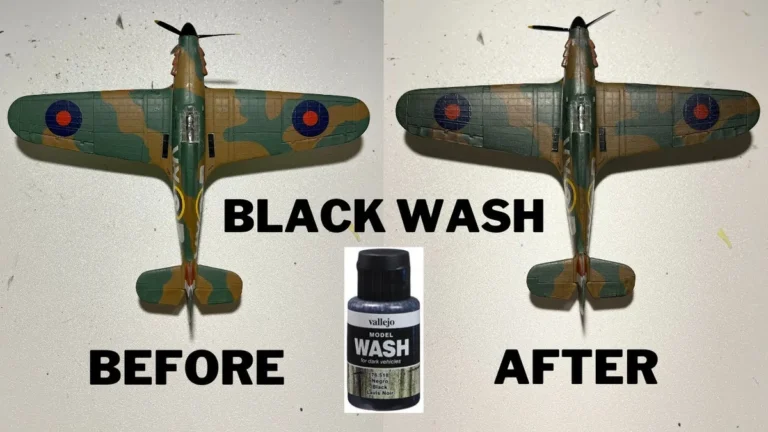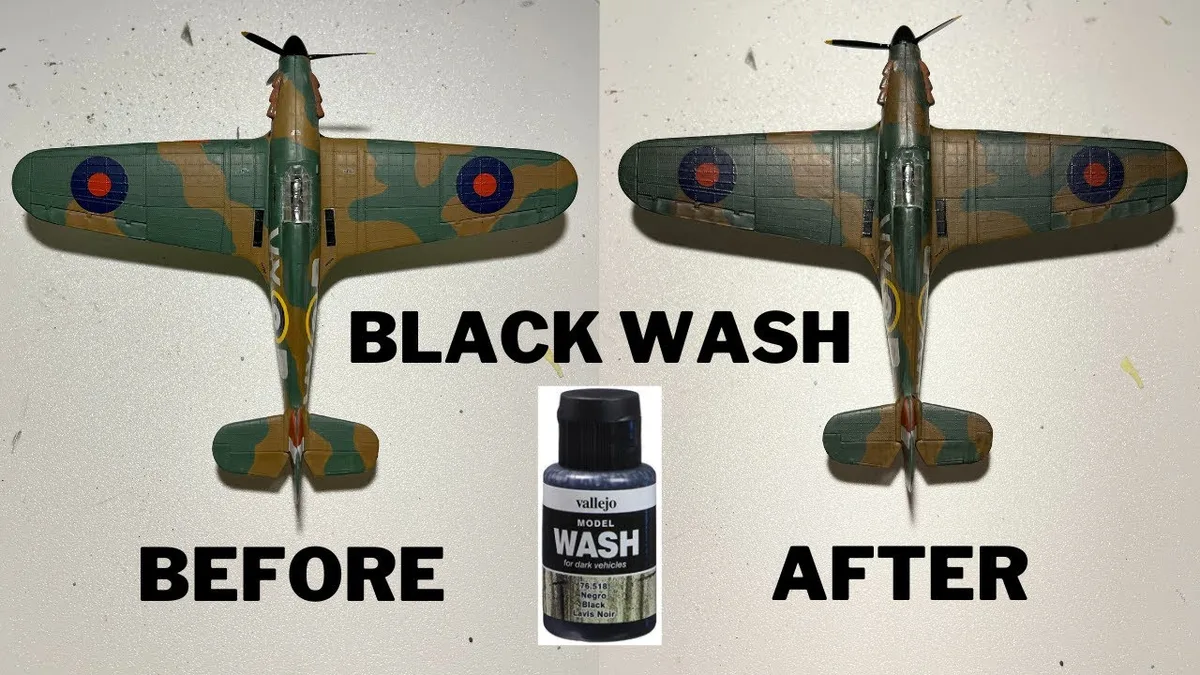
A black wash is the fastest way to make your scale models look realistic. If you’ve ever wondered how to make black wash for models, the answer is simpler than you think: mix black acrylic paint with water and a drop of dish soap. It flows into panel lines and recesses, instantly adding depth and definition.
Most hobbyists use a 1:4 paint-to-water ratio for a smooth, workable consistency. As of 2026, this method remains the standard for both beginners and experienced modelers.
Quick Answer
To make black wash for models, mix black acrylic paint with water. Use a 1:3 to 1:5 ratio. Add a drop of dish soap to reduce surface tension.
Test on scrap plastic first.
Why a Black Wash Transforms Your Models
A black wash settles into the tiny grooves of a model, darkening recesses while leaving raised surfaces untouched. This creates instant contrast, making details like panel lines, rivets, and textures pop. Without it, even a well-painted model can look flat and toy-like.
The effect mimics real-world dirt and shadows, which naturally collect in low areas. Manufacturer specs for model paints confirm that matte finishes work best for wash application, as glossy surfaces can repel the liquid.
What You’ll Need to Make a Black Wash at Home
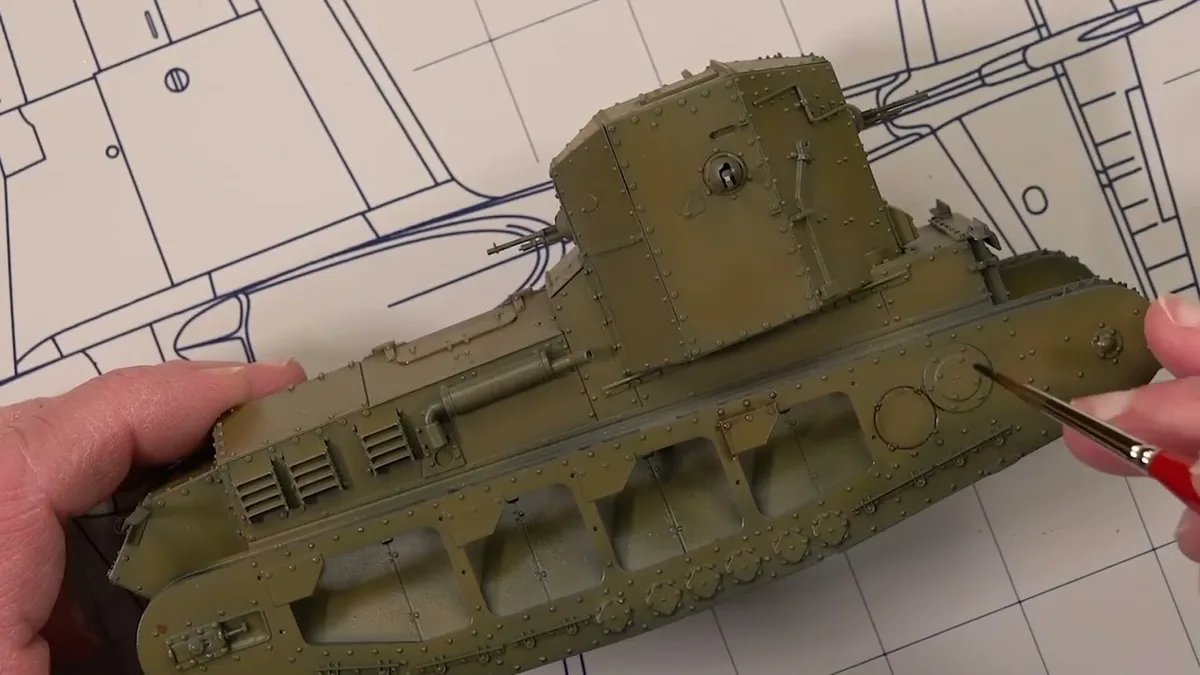
You only need a few basic supplies to get started. Black acrylic paint is the foundation, and any matte black will work. Water thins it out, while dish soap helps the wash flow smoothly into panel lines.
| Item | Purpose | Notes |
|---|---|---|
| Black acrylic paint | Base pigment | Matte finish preferred |
| Water | Thins the paint | Distilled avoids mineral deposits |
| Dish soap | Reduces surface tension | 1-2 drops per 10ml mix |
| Fine-tip brush | Application | Size 0 or 00 for precision |
| Palette | Mixing | Plastic or glass for easy cleanup |
Pre-Made Washes vs. DIY: Which Should You Use?
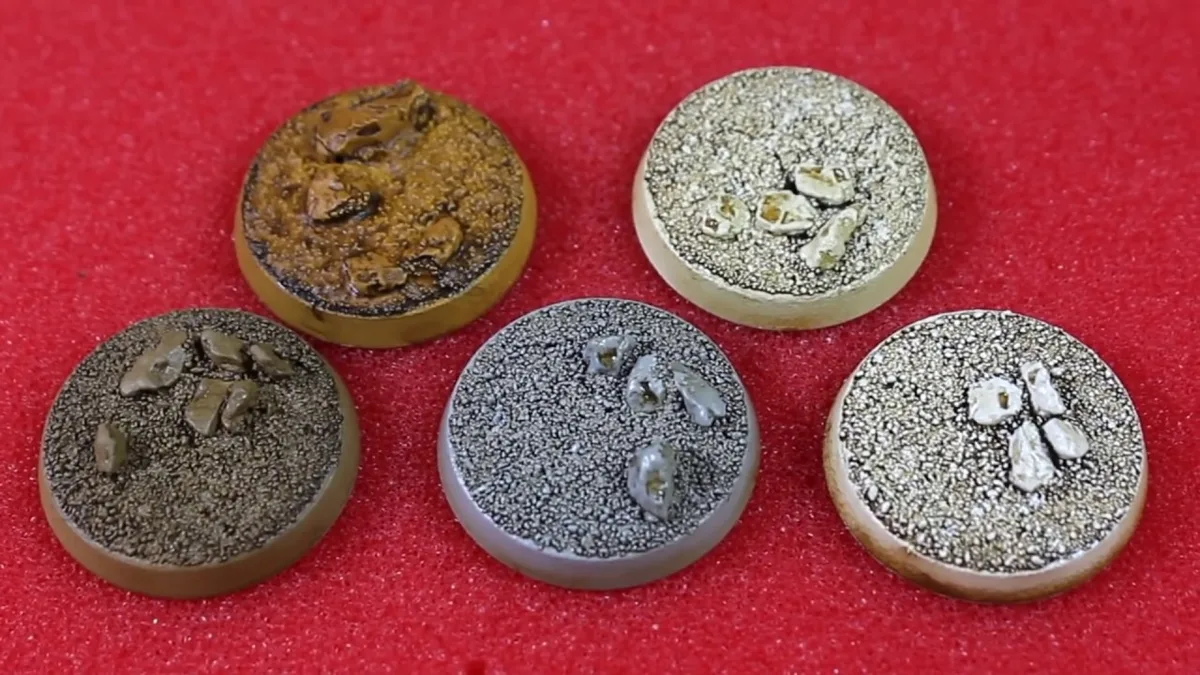
Pre-made washes like Citadel’s Nuln Oil or Vallejo Panel Liner offer consistency and convenience. They’re formulated to flow perfectly into recesses, and you’ll get the same results every time. For hobbyists who want reliability without mixing, these are the best choice.
DIY washes cost pennies per batch and let you tweak the opacity and flow. Aggregate reviews from model forums show that many painters prefer homemade mixes for full control over the finish. If you’re working on a budget or enjoy experimenting, DIY is the way to go.
Step-by-Step: How to Mix the Perfect Black Wash
Start with a clean mixing surface. Add one part black acrylic paint to three parts water, then stir gently. The goal is a milk-like consistency, thin enough to flow but thick enough to leave a visible tint.
Next, add a single drop of dish soap and mix again. This breaks the surface tension so the wash can seep into tight spaces. Test the mix on a spare piece of plastic or an inconspicuous part of your model.
If it beads up, add another drop of soap. If it’s too transparent, add a bit more paint.
How to Apply a Black Wash for Flawless Results
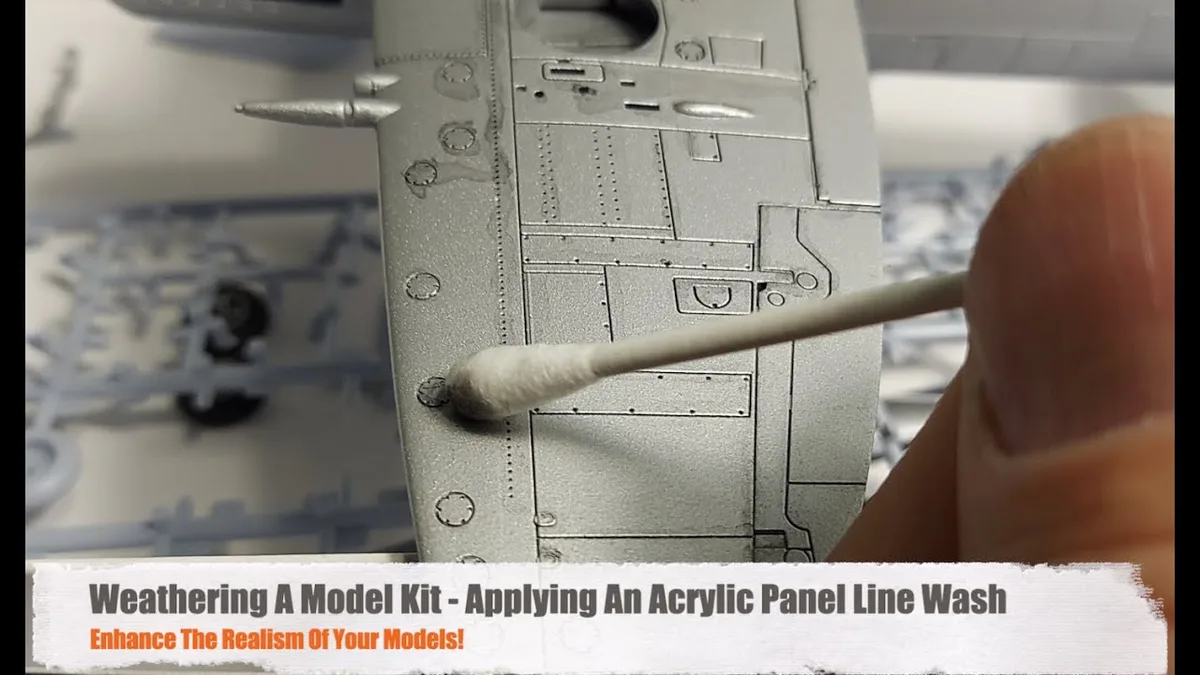
Start with a clean, dry model that has a matte base coat. A glossy surface will cause the wash to bead up instead of flowing into the details. Use a fine-tip brush to apply the wash generously over the entire area you want to shade.
Let the wash sit for 30 to 60 seconds so it can settle into the recesses. Then, use a clean, slightly damp brush to gently wipe away the excess from the raised surfaces. This leaves the wash only in the panel lines and crevices.
For large models, work in sections to prevent the wash from drying too quickly. If you notice streaks or uneven coverage, apply a second thin coat once the first has fully dried.
Common Mistakes (and How to Fix Them)
Using too much paint in the mix will create a thick, glossy finish. This can obscure details rather than enhance them. Thin it down with more water and a drop of soap to restore the right consistency.
Applying wash to a glossy surface causes beading. Lightly sand the model with fine-grit sandpaper or apply a matte varnish first. This ensures the wash flows smoothly into the panel lines.
If the wash dries too fast, it can leave coffee-ring stains. Work in a cooler environment or add a few drops of acrylic retarder to slow the drying time. Keep a damp paper towel nearby to clean up mistakes immediately.
Pro Tips for Advanced Weathering Effects
For a more natural look, apply the wash in layers. Start with a lighter mix for subtle shading, then add a darker wash to the deepest recesses. This builds depth gradually.
To create streaks or grime, use a slightly thicker wash and drag it downward with a dry brush. This works well for vertical surfaces like tank hulls or aircraft fuselages.
If you want a more realistic dirt effect, mix a small amount of brown or gray paint into your black wash. This mimics the way real-world grime isn’t purely black.
Best Ratios for Different Model Types
The standard 1:4 paint-to-water ratio works for most plastic models. For resin or metal models with finer details, thin it further to 1:5 or even 1:6. This helps the wash flow into the smallest crevices.
For larger models like 1/35 scale tanks, a slightly thicker mix (1:3) can help prevent the wash from running too much. Test on a small area first to ensure it settles properly.
If you’re working on a diorama with multiple materials, adjust the ratio based on the surface. Porous materials like plaster or wood may absorb more wash, so a thicker mix can help.
How to Store and Reuse Your Wash
Store leftover wash in an airtight container to prevent it from drying out. A small dropper bottle or empty paint pot works well. Label it clearly with the mix ratio and date.
If the wash thickens over time, stir in a few drops of water to restore the original consistency. Avoid adding more soap, as this can affect the surface tension.
For best results, use the wash within a few weeks. Acrylic paint can separate or develop mold if stored too long, especially in humid conditions.
Safety Notes for Acrylic and Enamel Washes
Acrylic washes are water-based and non-toxic, making them safe for most hobbyists. Still, avoid skin contact with undiluted paint, as some pigments may cause irritation. Work in a well-ventilated area to prevent inhaling fine mist if airbrushing.
Enamel washes contain solvents that require more caution. Use them in a ventilated space and wear gloves to prevent skin contact. Manufacturer specs for enamel products often recommend respirators for prolonged exposure.
Always clean brushes with water for acrylics or mineral spirits for enamels. Never pour wash remnants down the drain, as pigments can settle and clog pipes.
Frequently Asked Questions
Can I use any black paint for a wash?
Any matte black acrylic paint works, but avoid glossy or metallic finishes. These can create unwanted shine in the recesses. Test a small batch first to ensure the pigment suspends evenly.
How long does a black wash take to dry?
A thin acrylic wash typically dries to the touch in 10 to 15 minutes. Full curing can take up to 24 hours, depending on humidity and temperature. Avoid handling the model until it’s completely dry.
Why does my wash look streaky?
Streaks usually mean the mix was too thick or the surface wasn’t clean. Thin the wash further and ensure the model is free of dust or oils. A drop of flow improver can also help.
Can I use a black wash on any color?
Yes, but the effect varies. Darker base coats show less contrast, while lighter colors make the wash more visible. Test on a spare part to gauge the result.
How do I remove mistakes?
For acrylics, a damp cotton swab can lift fresh wash. For dried mistakes, use a fine brush with clean water or a dedicated acrylic remover. Enamel washes may require mineral spirits.